
Trending Fireplace Ideas for 2026
Transform your space with cutting-edge 2026 fireplace designs that blend luxury and warmth. Discover innovative styles, smart features, and statement pieces that redefine modern home comfort.
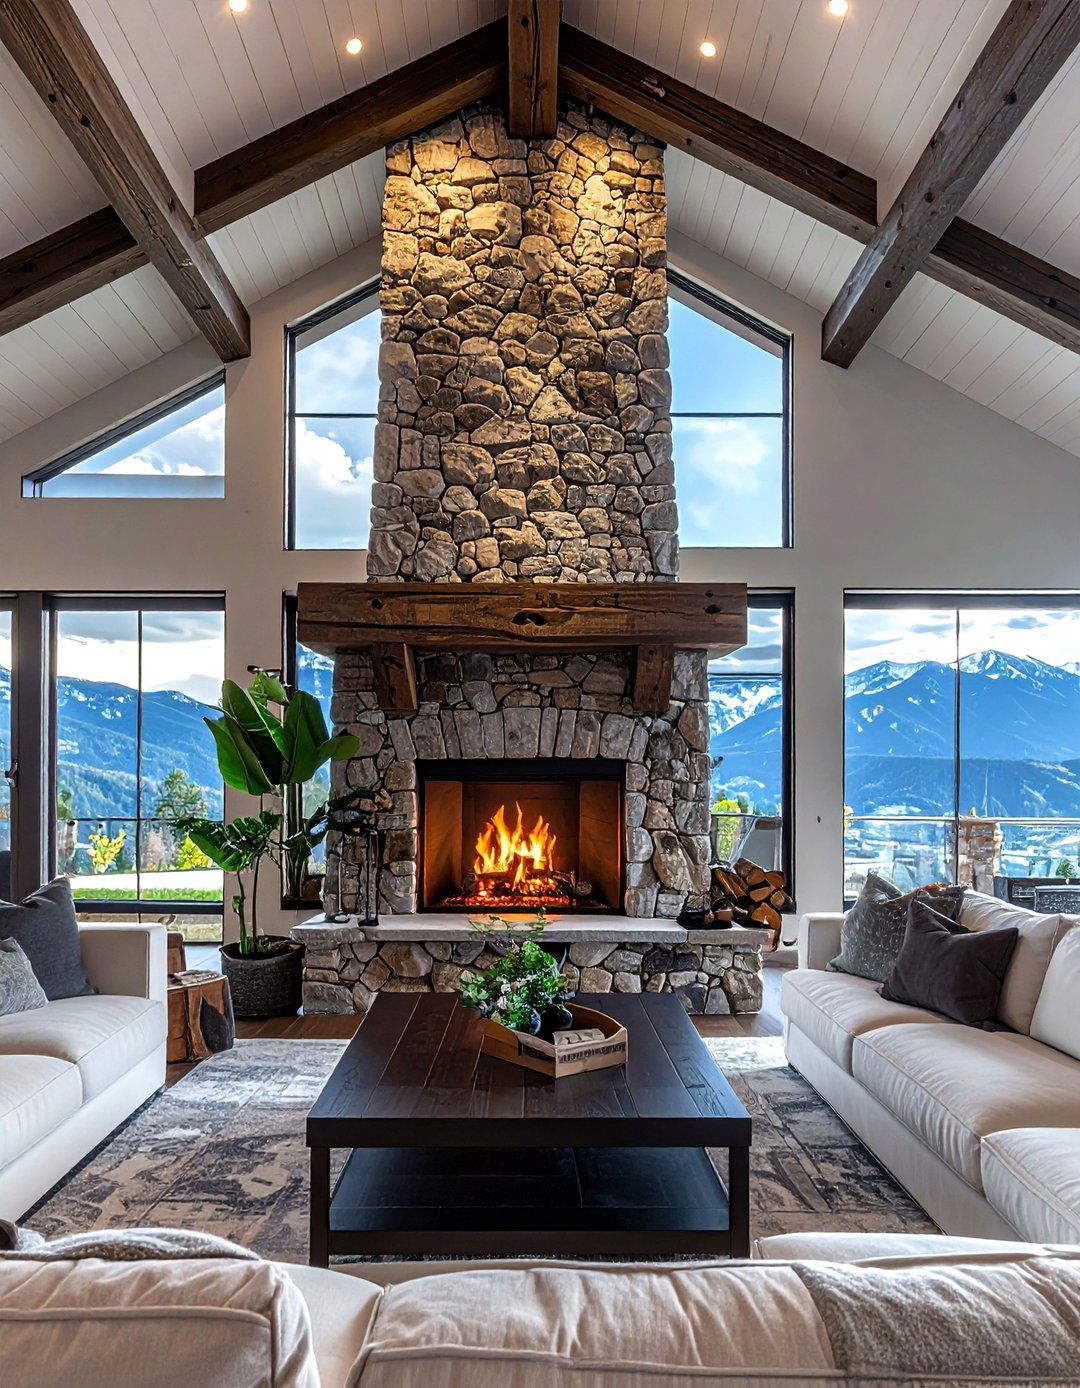 30 Living Room Wood Burning Fireplace Ideas for a Cozy Home
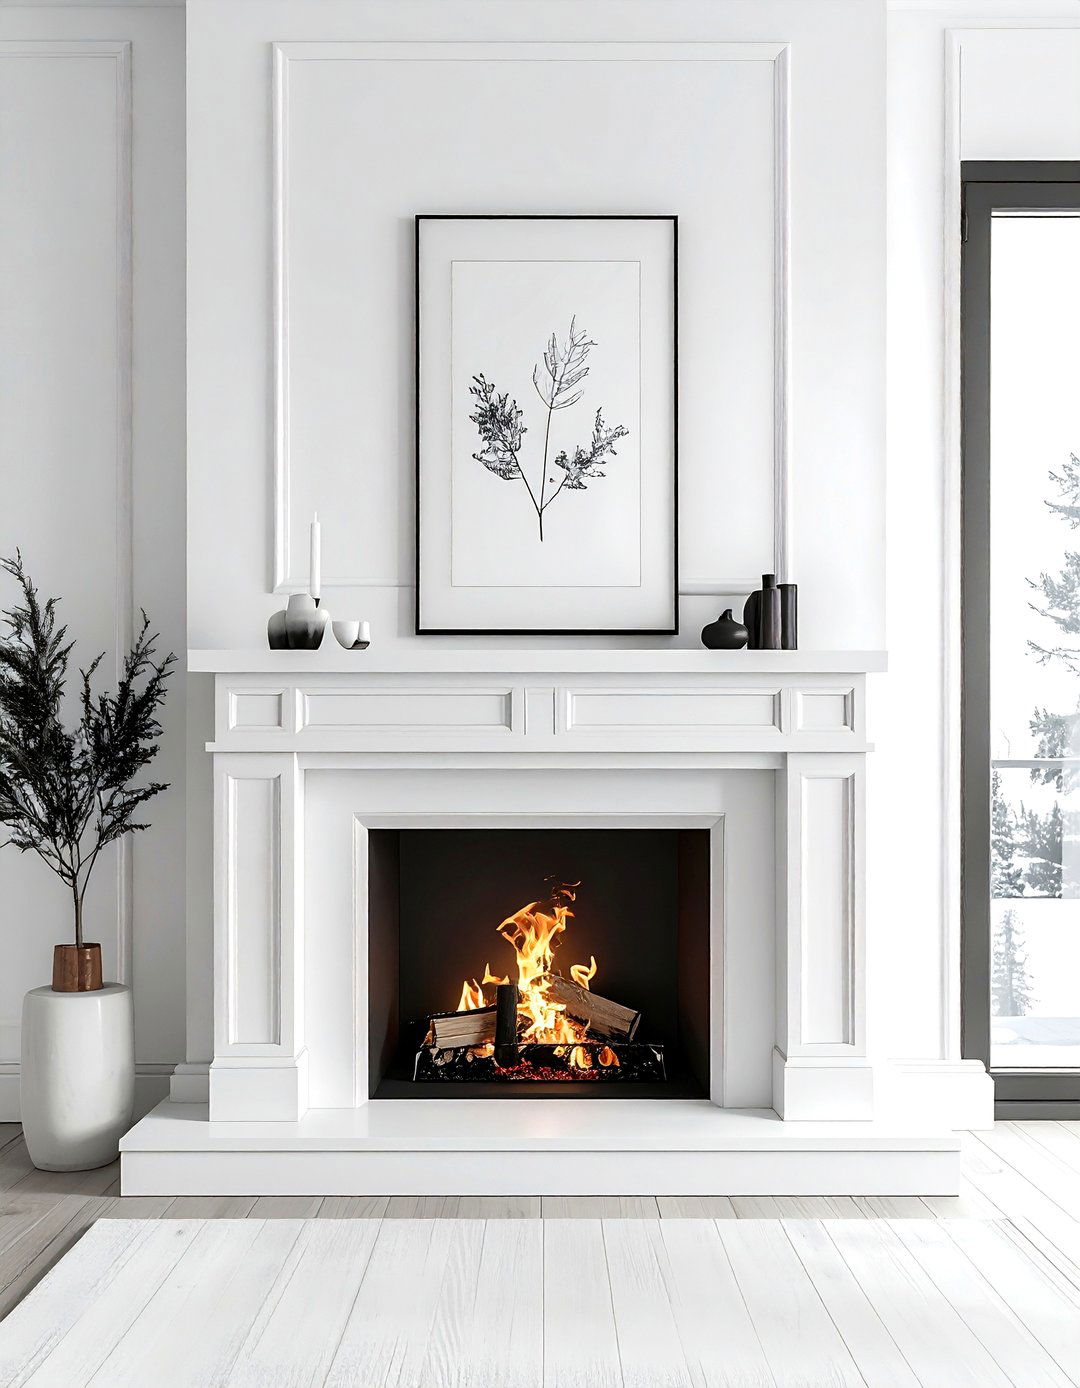 30 Minimalist Mantel Ideas to Elevate Your Home's Focal Point
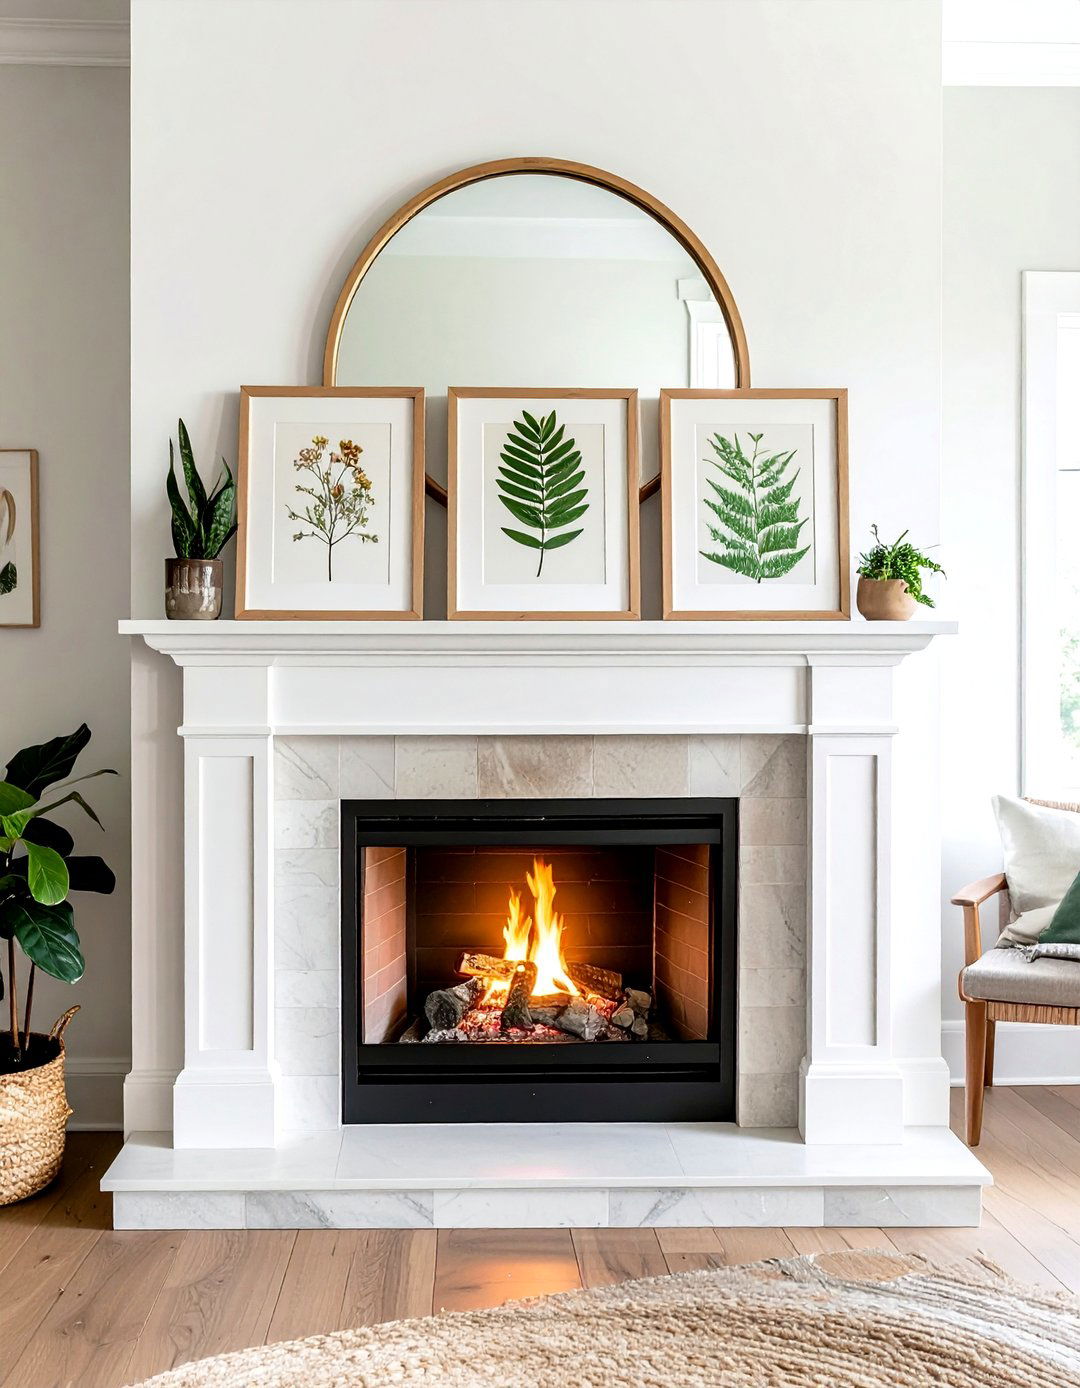 30 Creative Layered Mantel Ideas to Elevate Your Living Space
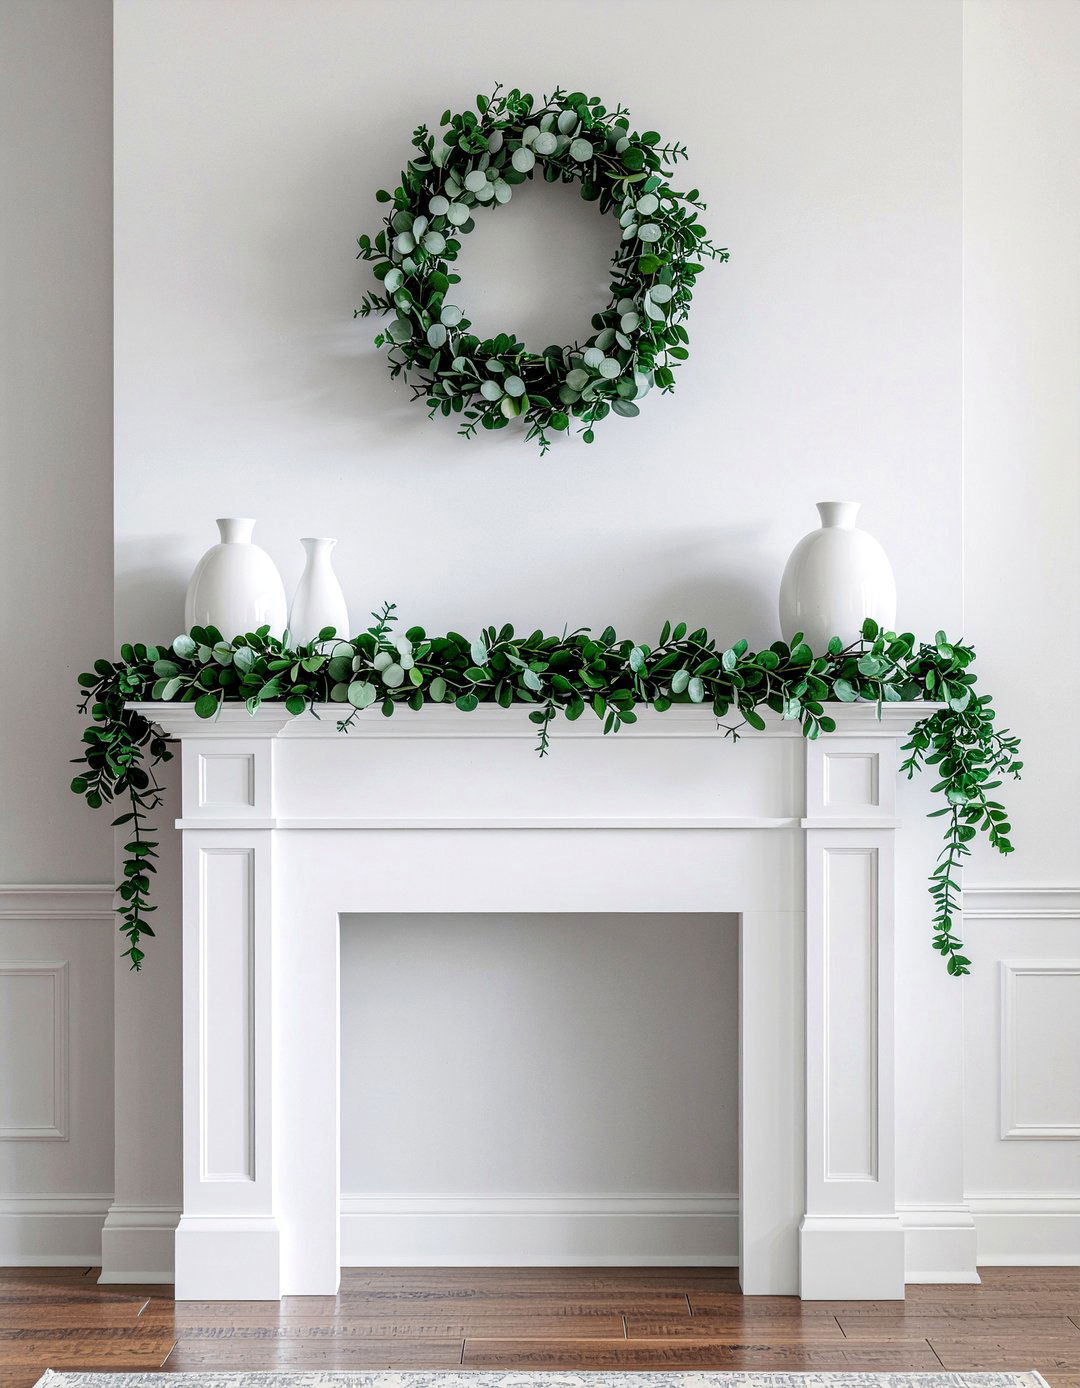 30 Fireplace Decor Ideas for a Cozy and Stylish Hearth
Search Home Decor and Design Ideas
Unlock endless home decor possibilities with our curated collection of design ideas. Browse stunning visuals, expert tips, and trending styles to create your perfect living space effortlessly.
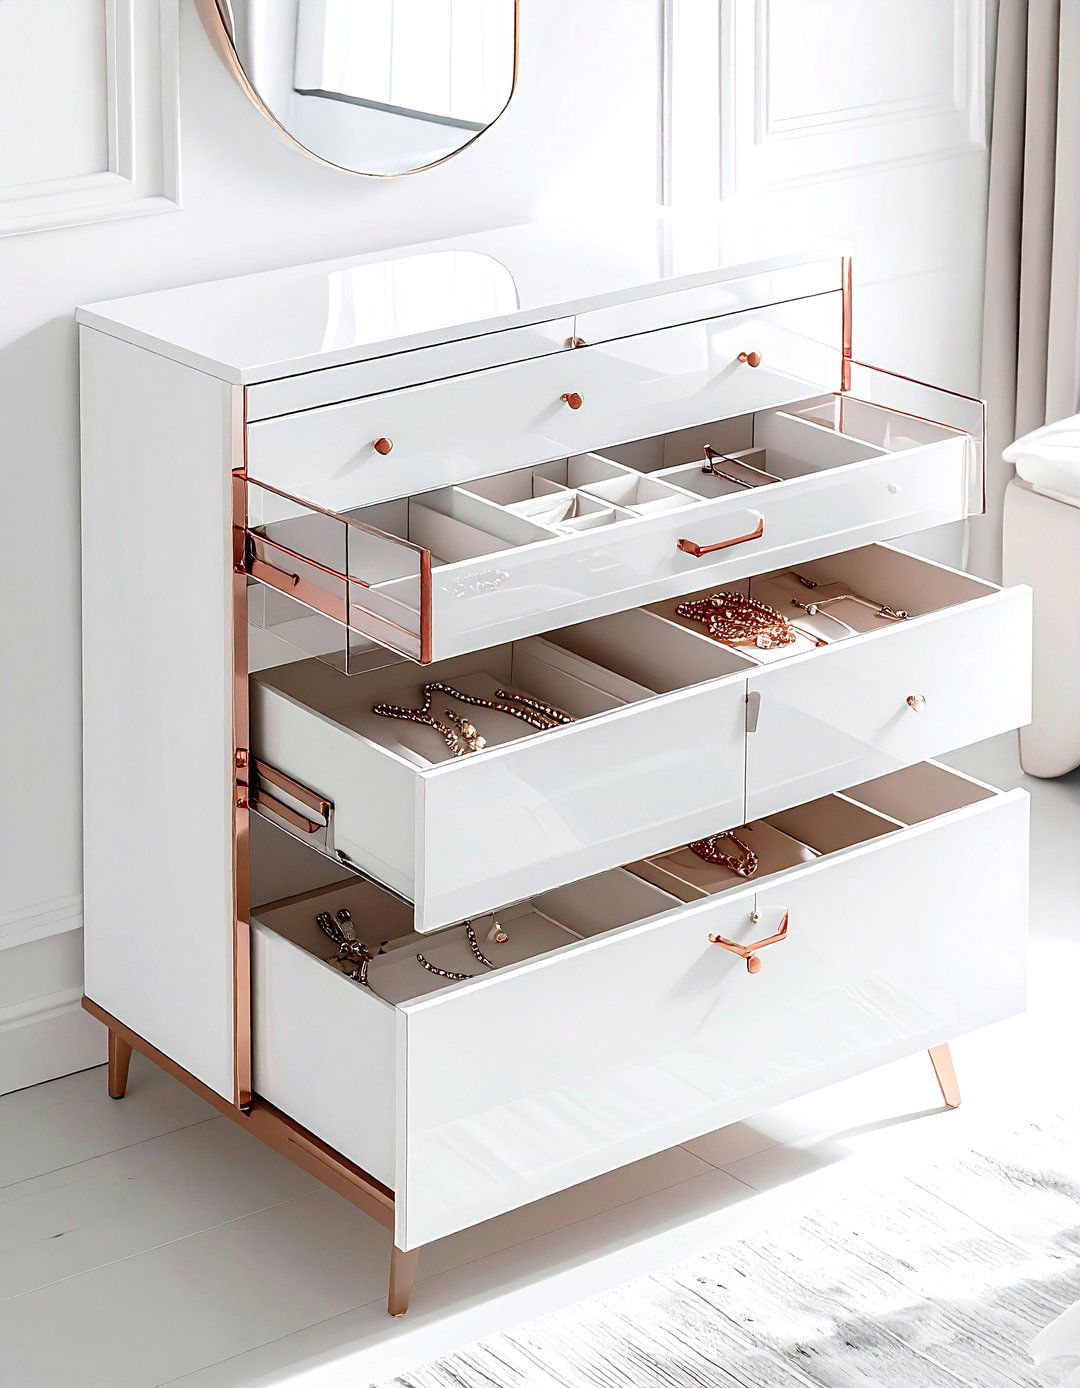 30 Modern Acrylic Decor Ideas for a Sleek and Stylish Home
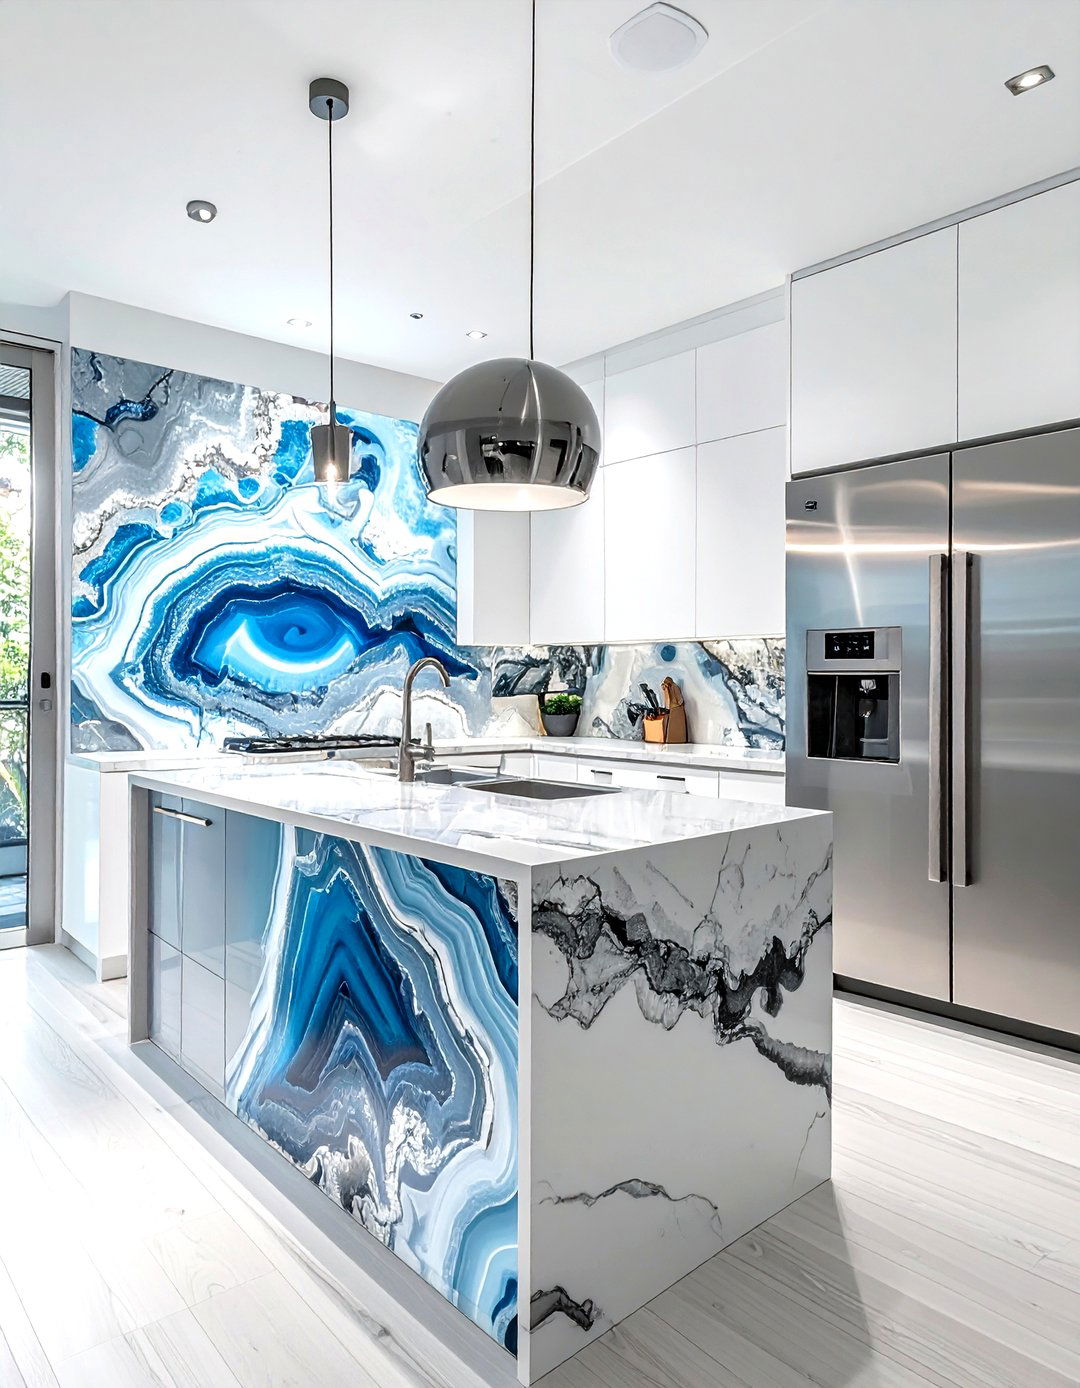 30 Beautiful Agate Decor Ideas to Add Natural Home Elegance
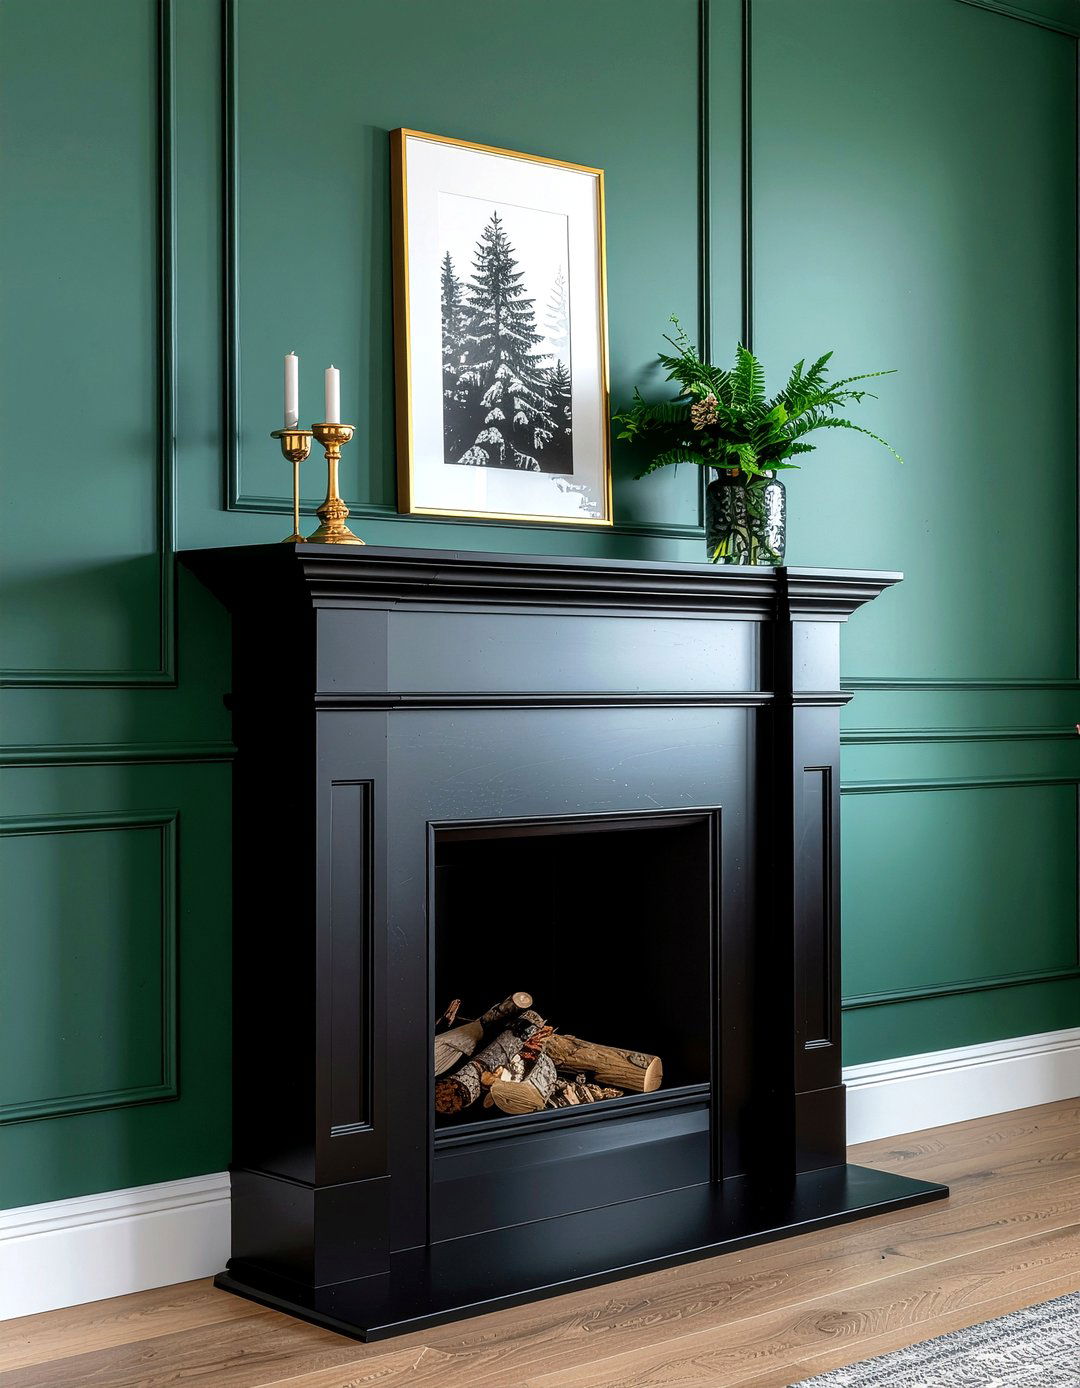 30 Creative Faux Fireplace Ideas to Add Character and Warmth
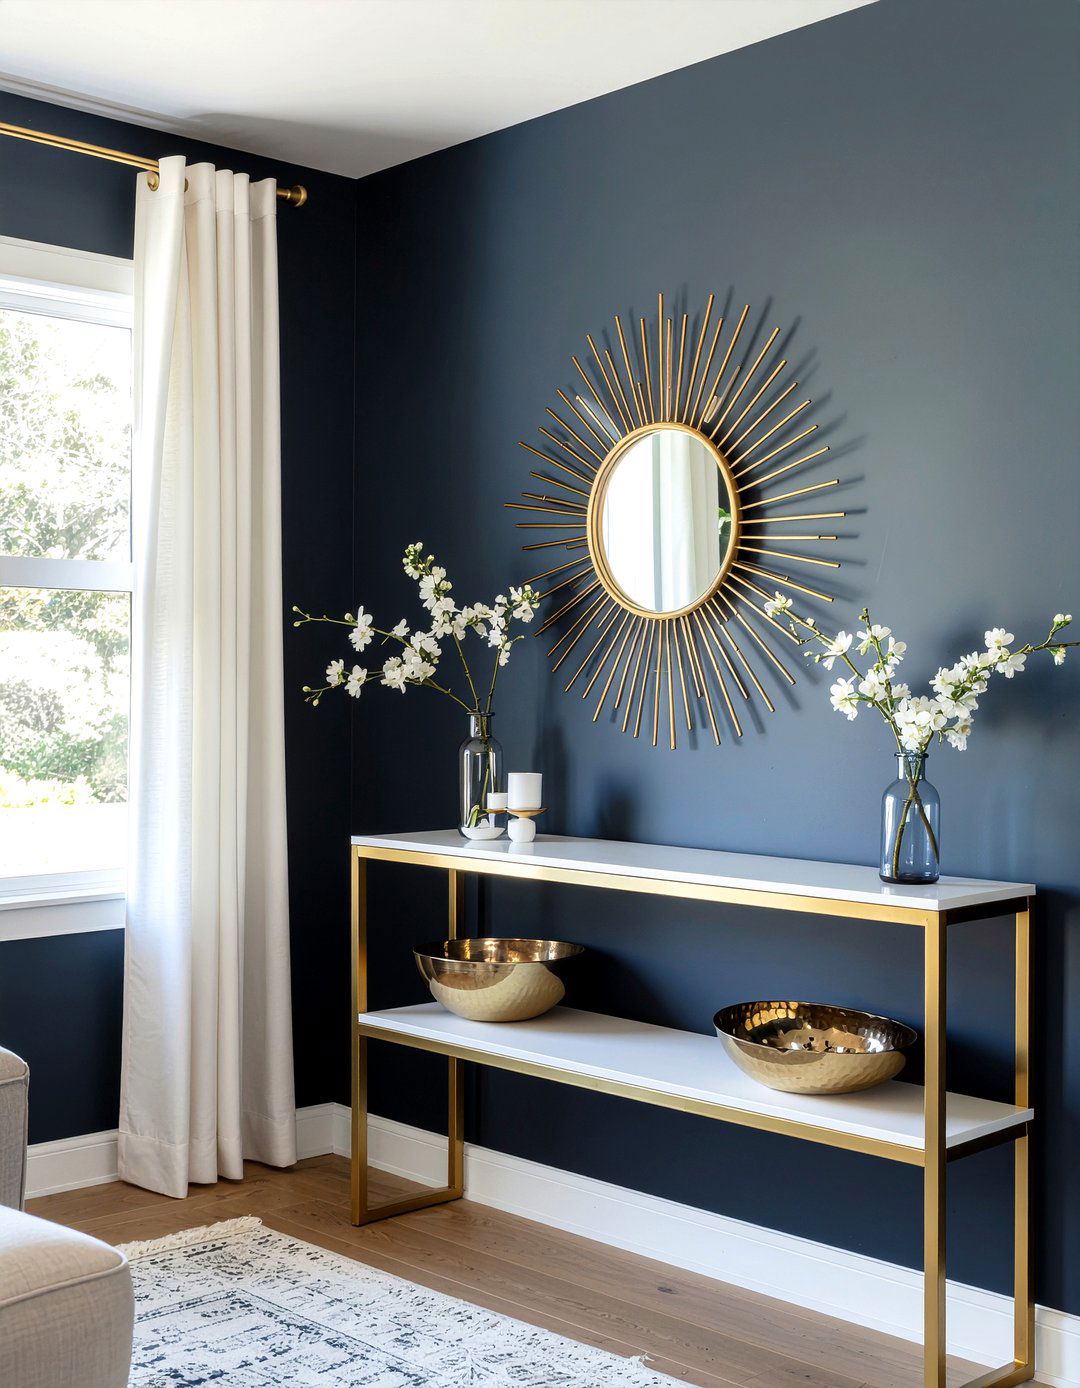 30 Bold Living Room Navy Walls for a Sophisticated Aesthetic
 30 Cozy Living Room Lake House Furniture Ideas for Relaxing
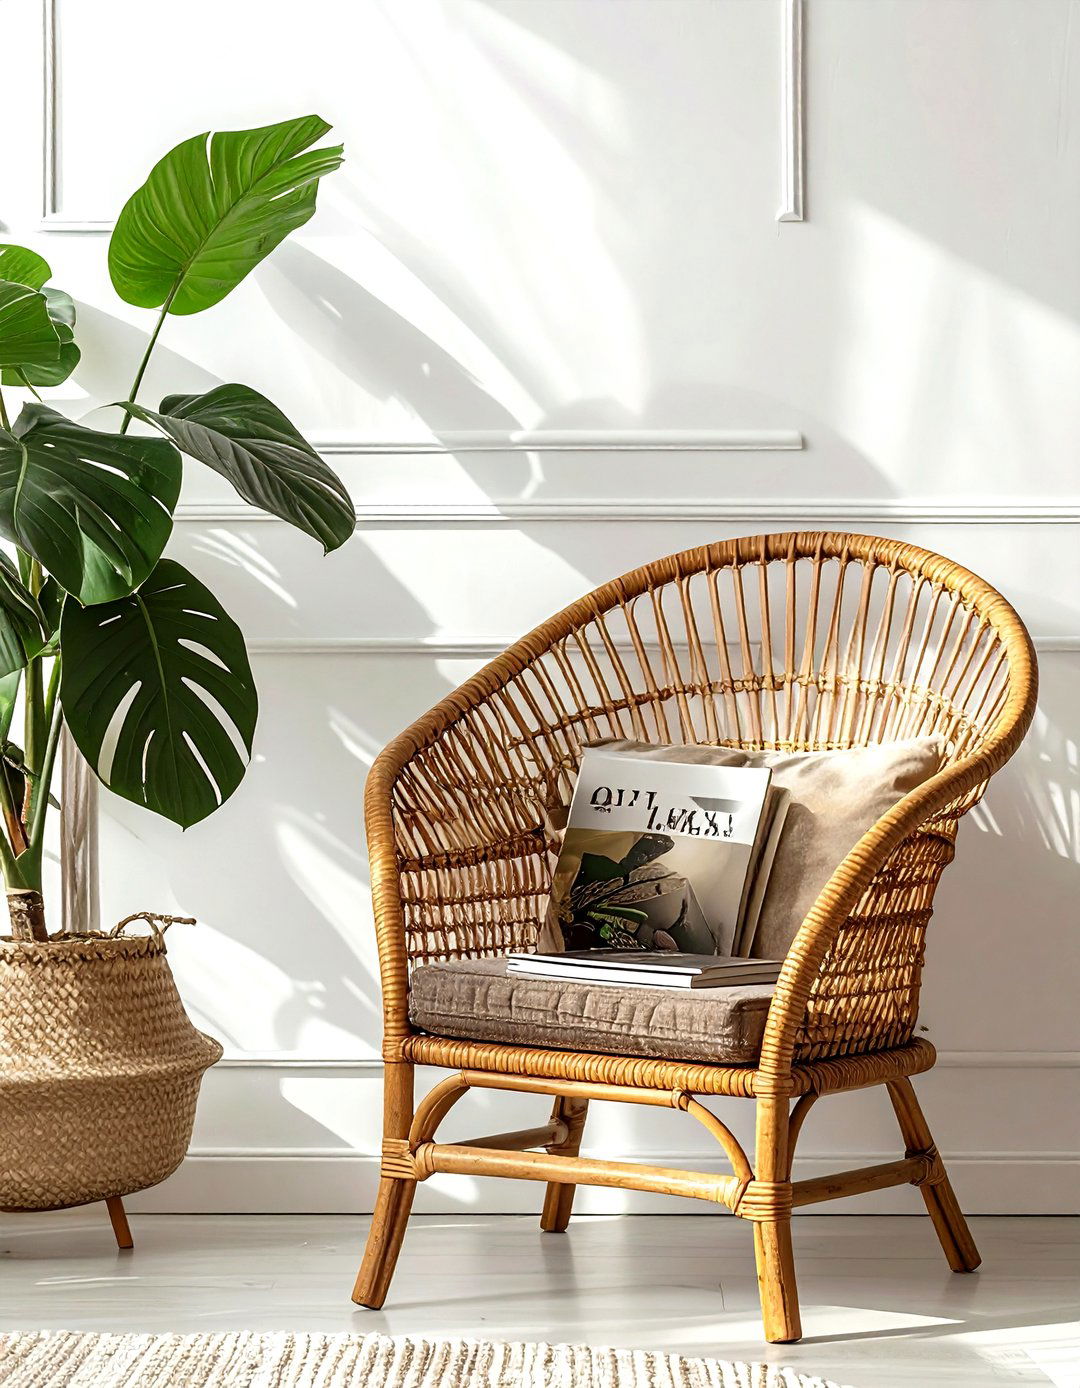 30 Living Room Finishing Touches Ideas for a Polished Look
Explore Room Design Ideas for Every Home Space
Master the art of room design with expertly curated ideas spanning contemporary, traditional, and emerging styles. Transform any space with proven color schemes, innovative decor solutions, and space-maximizing storage that elevates both form and function.
Bedroom Ideas
Create your dream bedroom retreat with innovative design concepts, soothing color palettes, and luxurious touches. Discover space-enhancing layouts and personalized styling that transforms your bedroom into a serene haven of comfort and style.
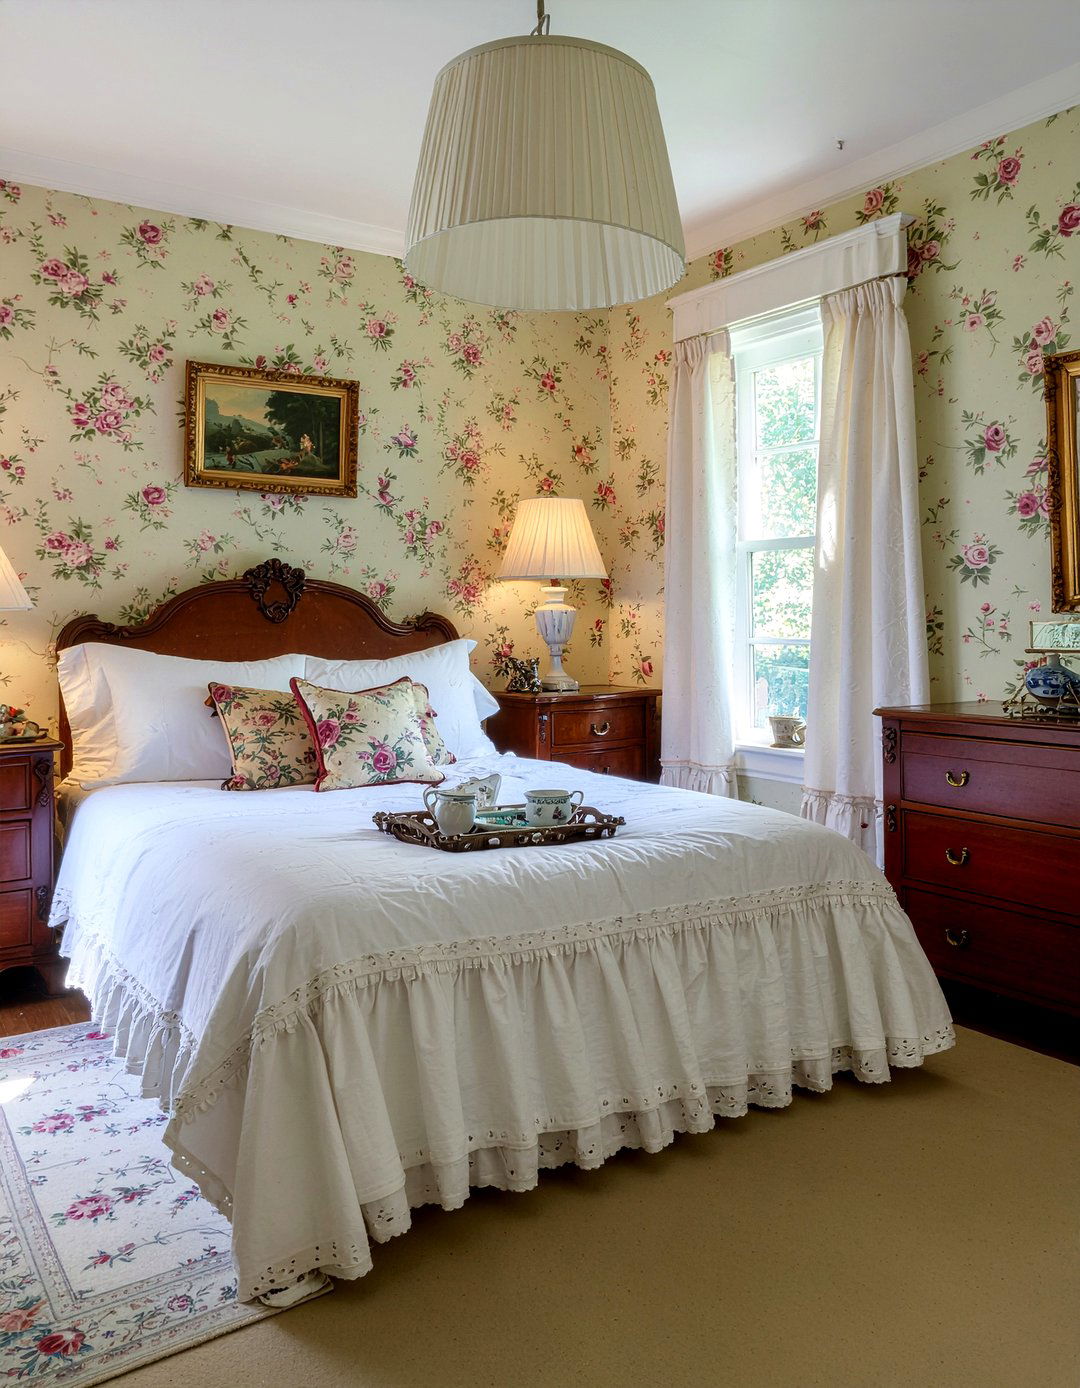 30 Best Bedroom Themes to Help You Design Your Perfect Space
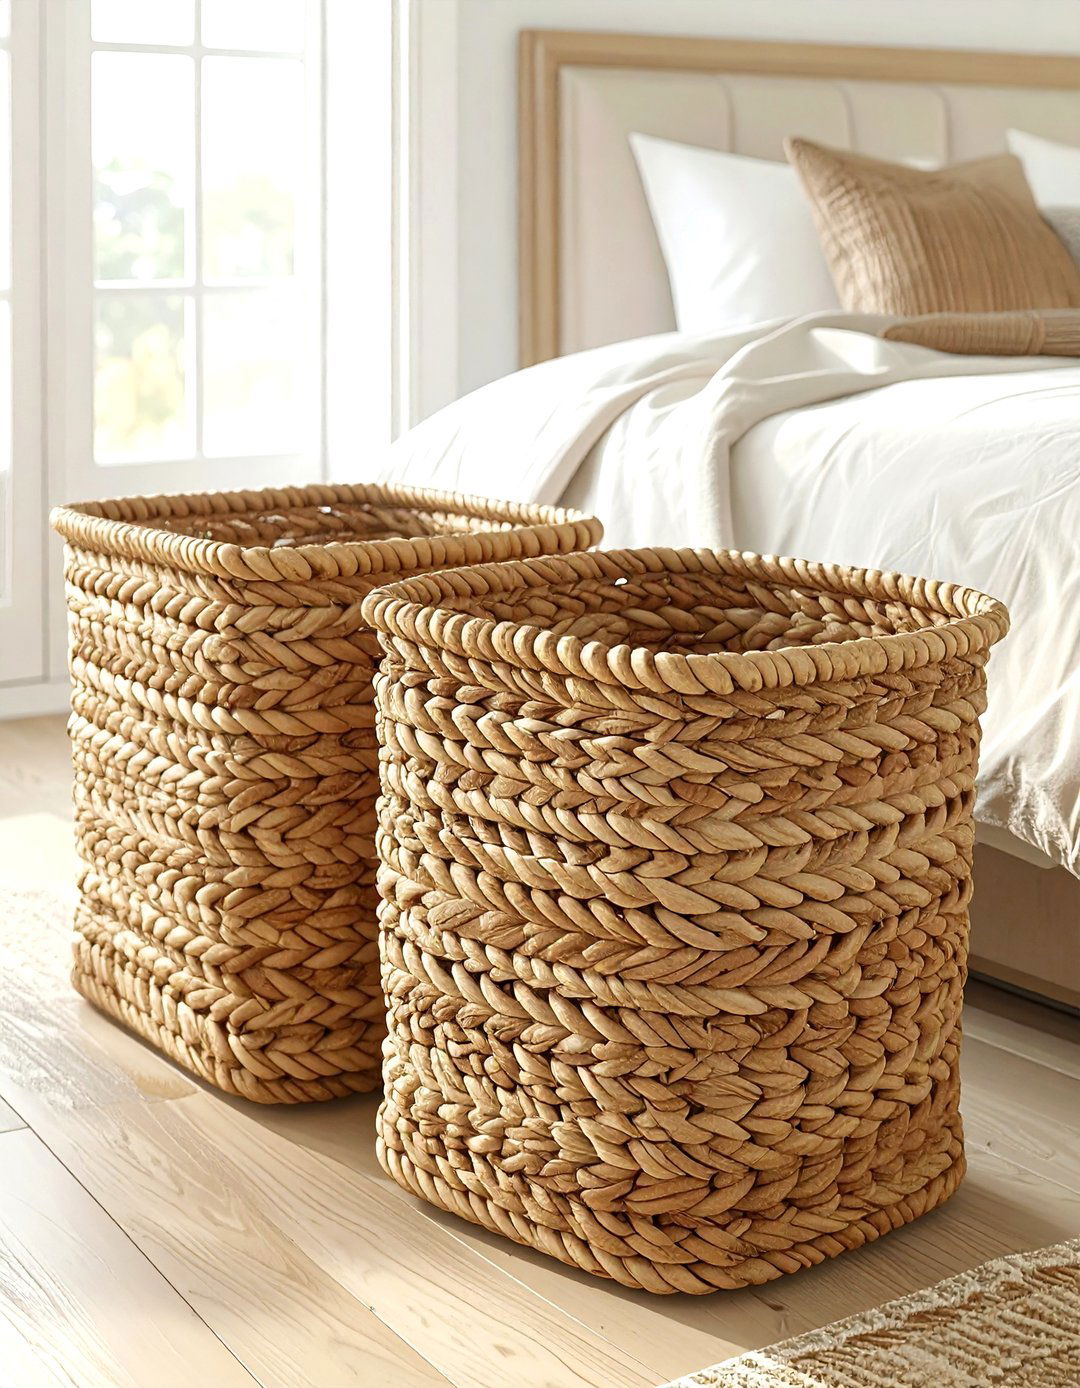 30 Affordable Bedroom Ideas for a Stylish Budget Makeover
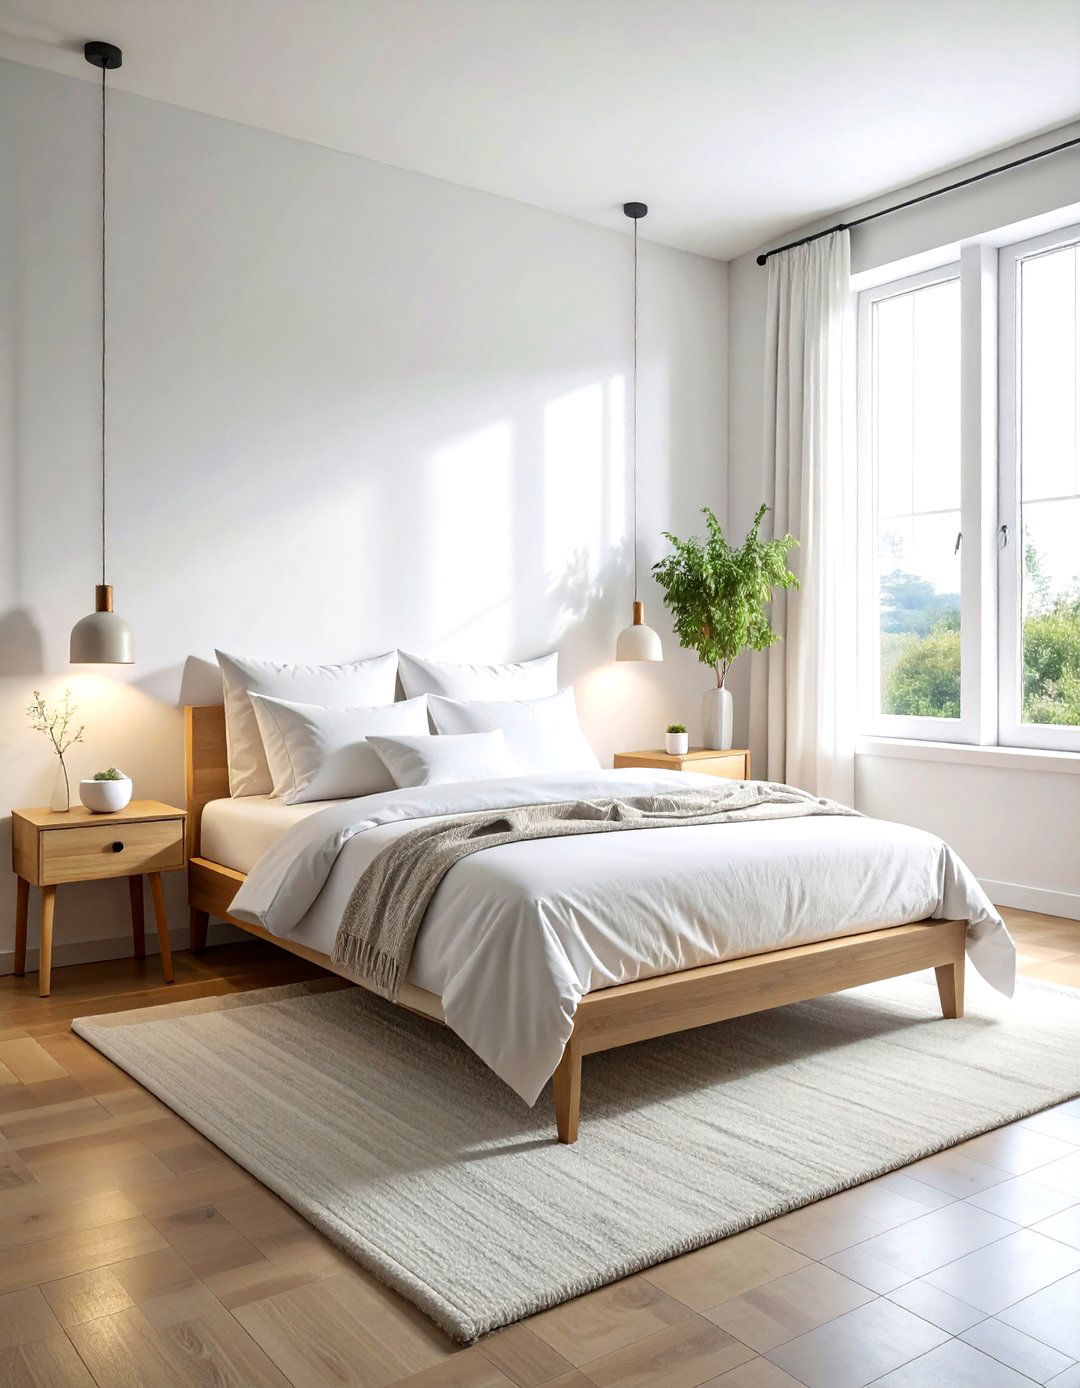 30 Airy Bedroom Ideas for a Peaceful and Light Sanctuary
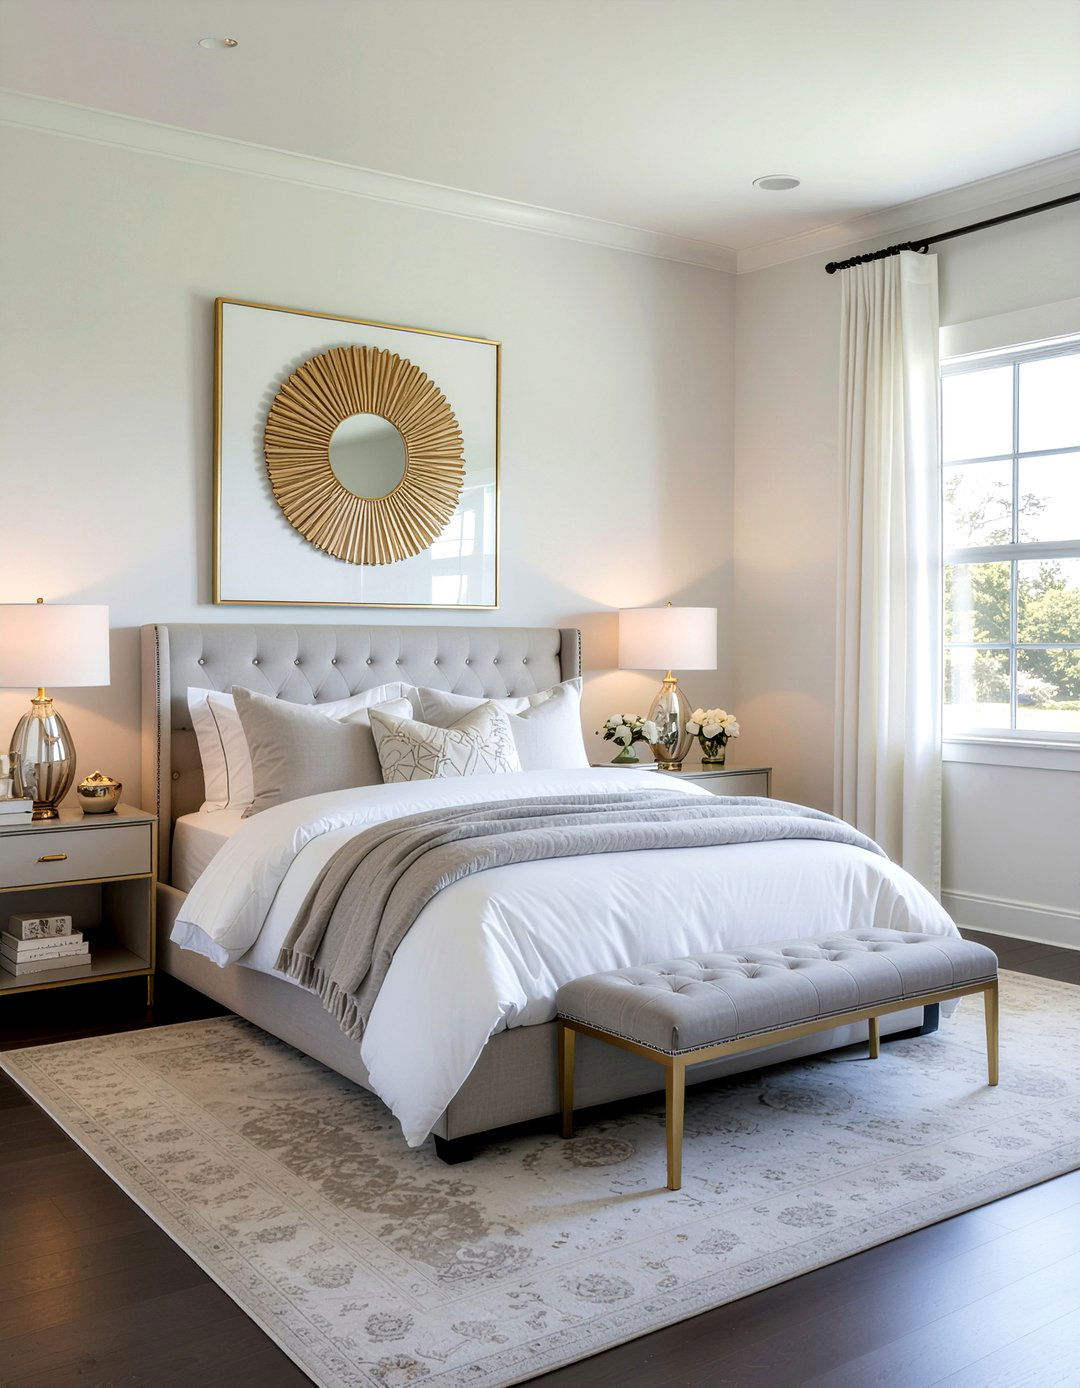 30 Elegant All Gray Bedroom Ideas for a Sophisticated Room
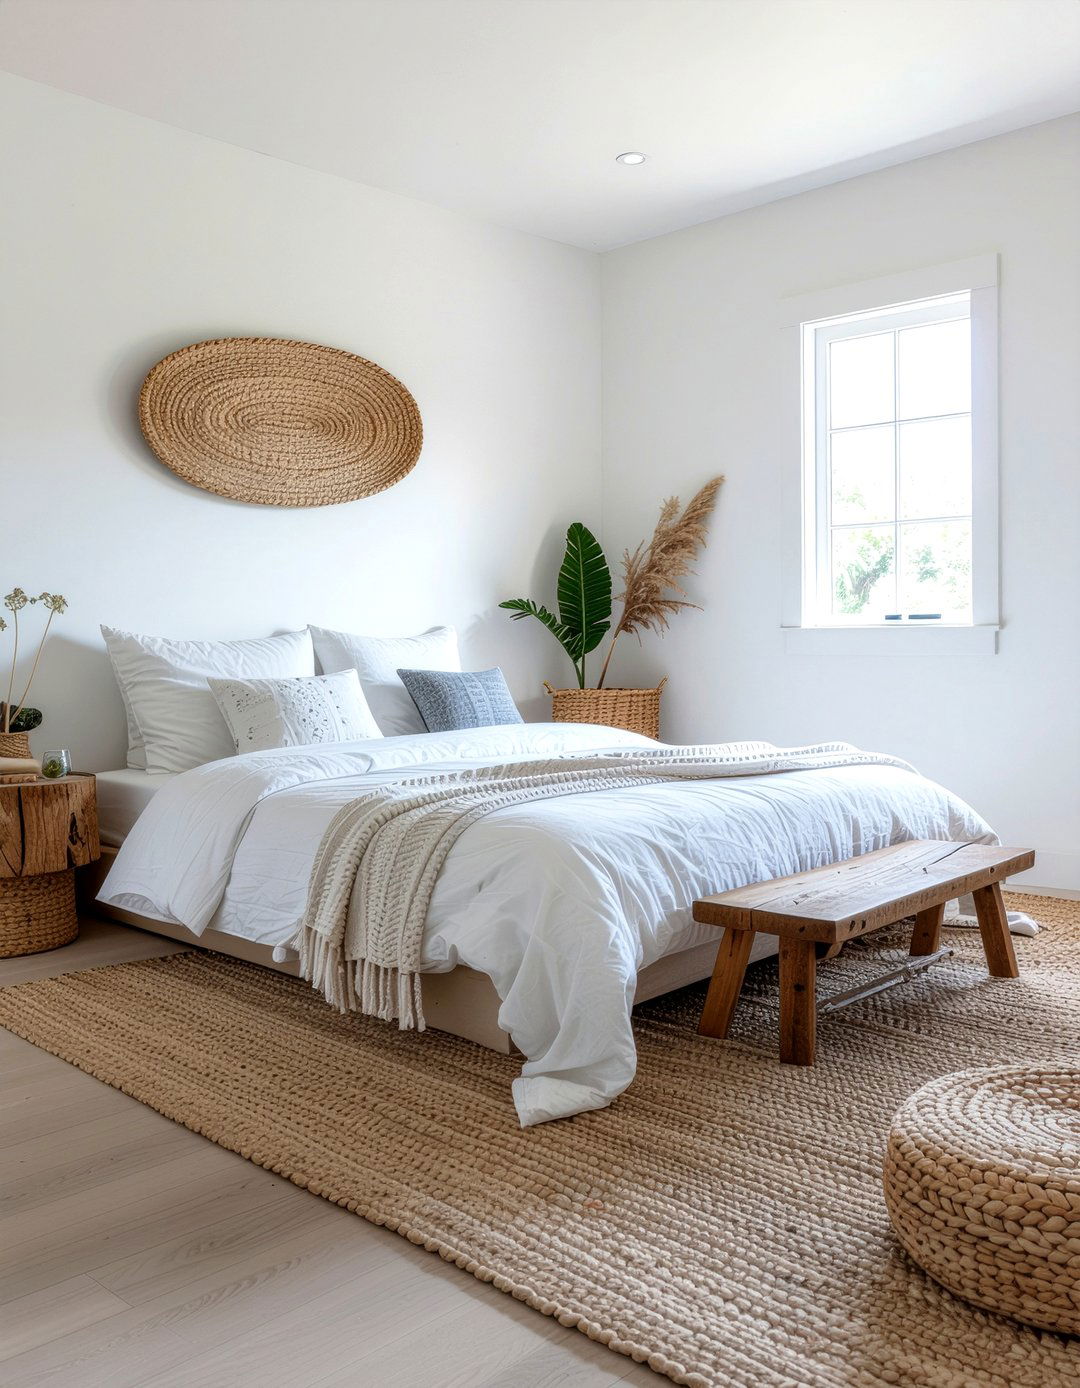 30 All White Bedroom Ideas for a Serene and Modern Look
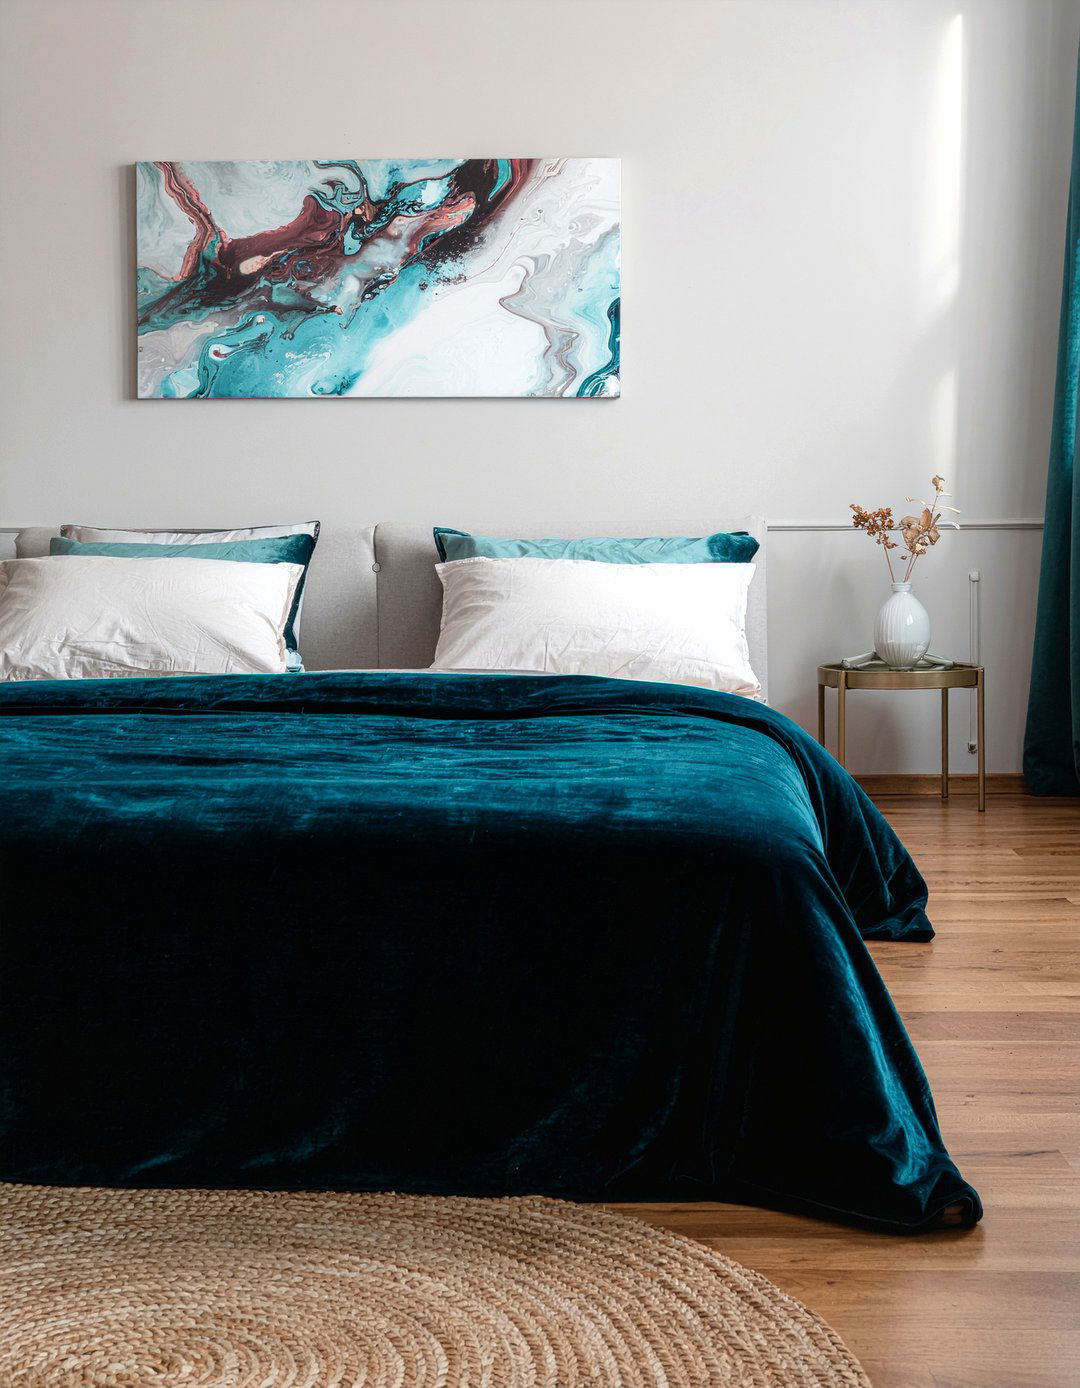 30 Stunning Aqua Bedroom Ideas for a Refreshing Home Oasis
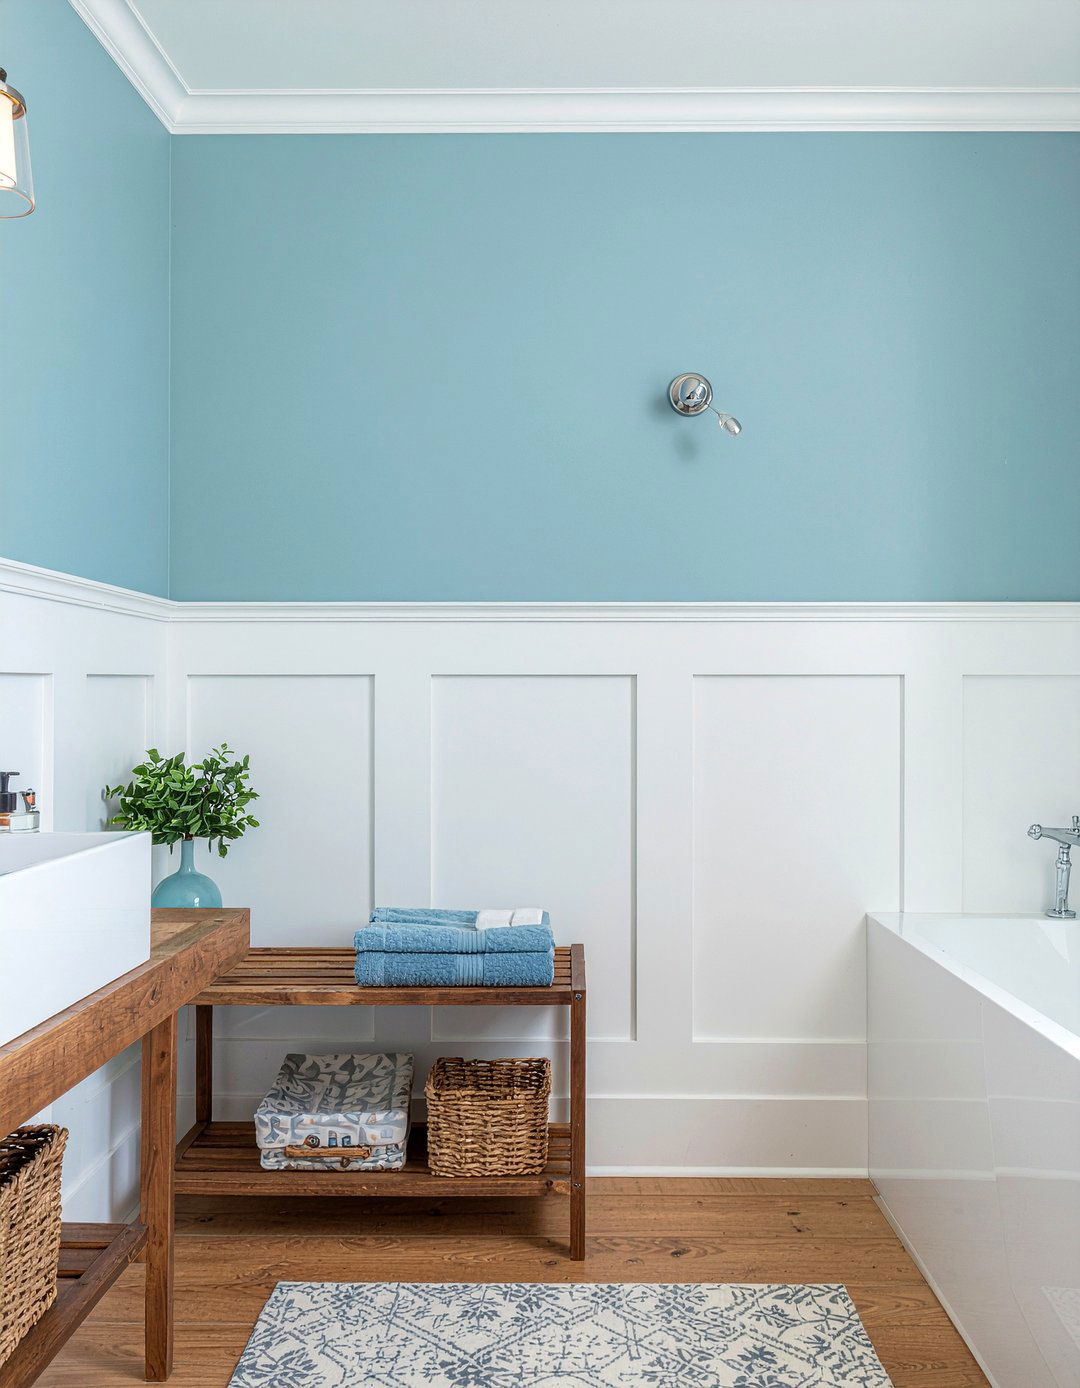
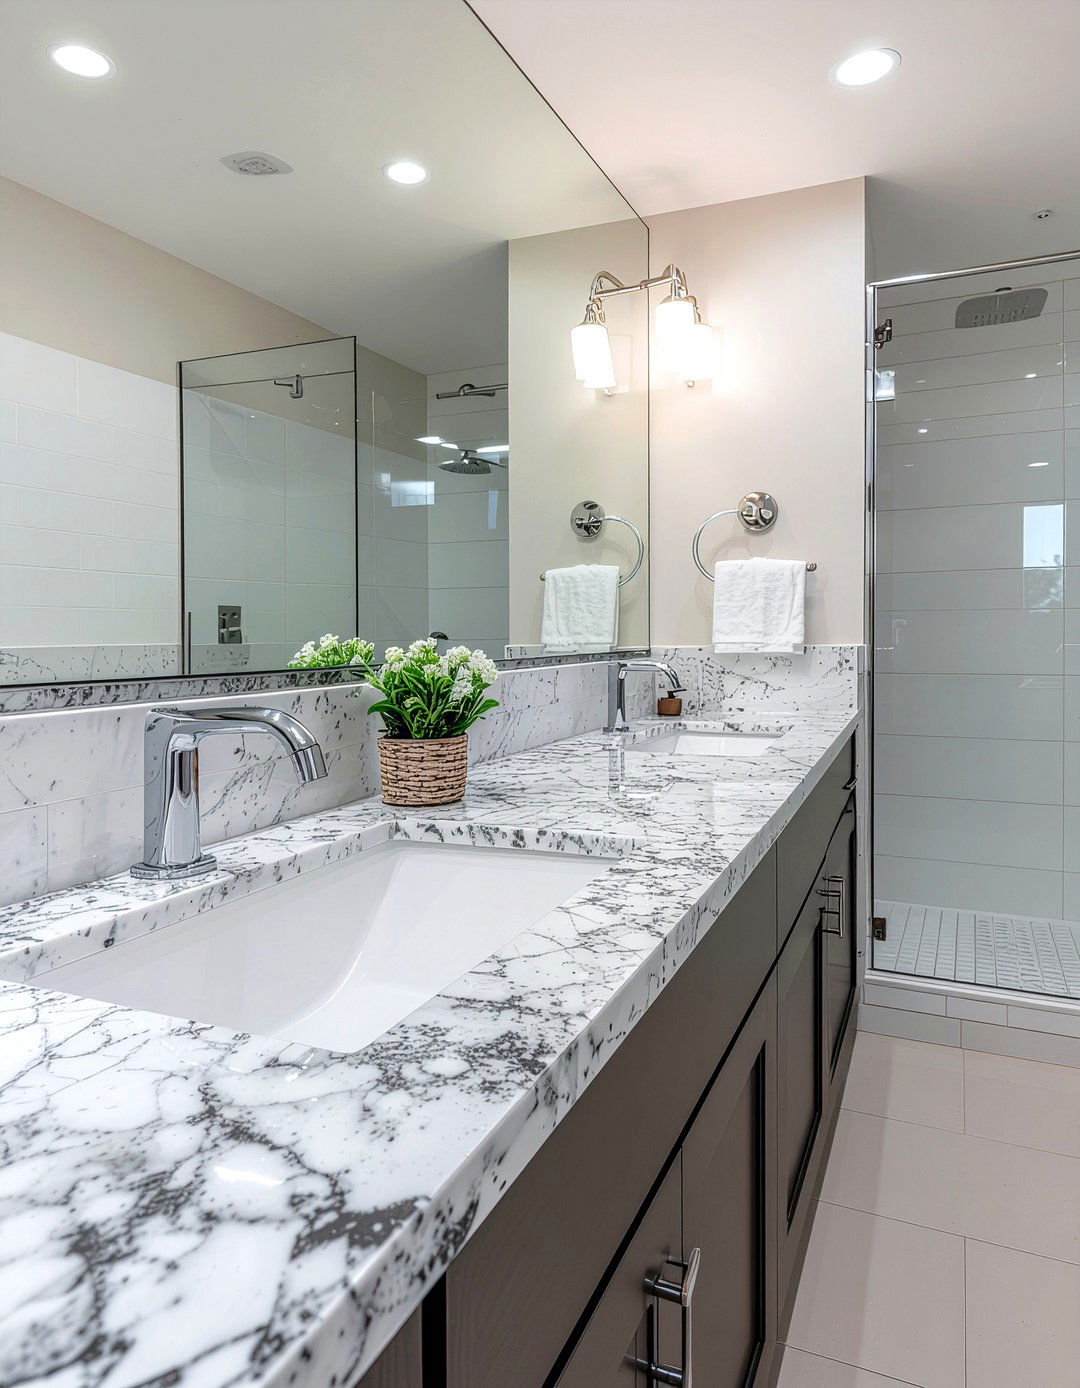
Bathroom Ideas
Revolutionize your bathroom with contemporary design trends and ingenious space solutions. From spa-inspired features to storage innovations, explore stunning makeover ideas that blend luxury aesthetics with everyday functionality.
 30 Affordable Bathroom Ideas for a Fresh and Modern Look
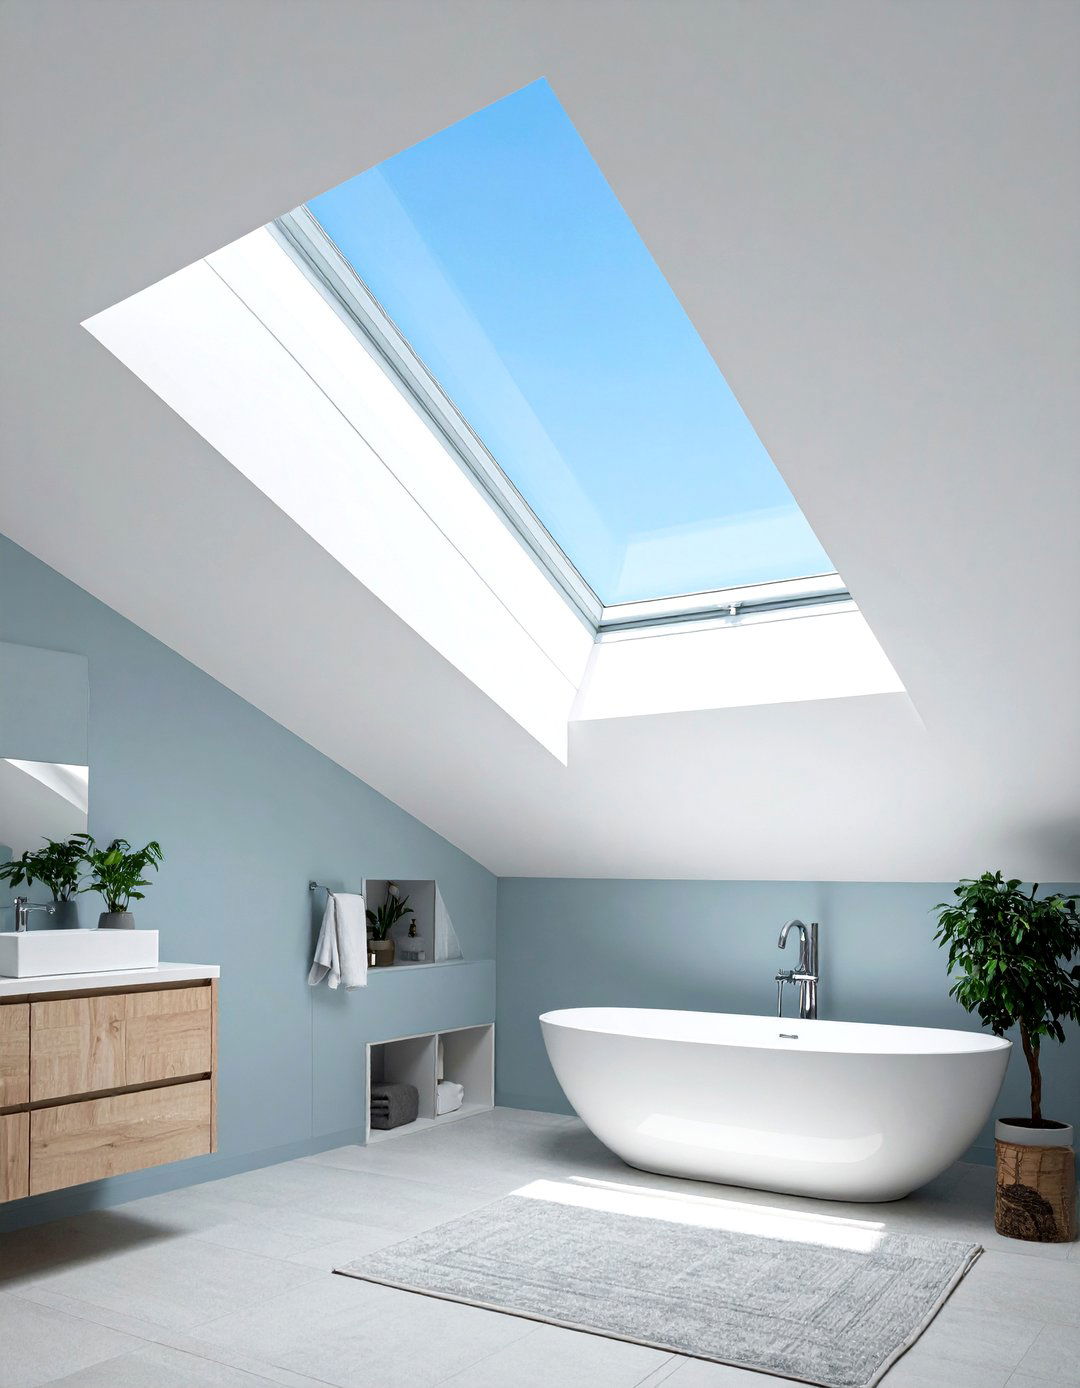 30 Bright and Airy Bathroom Ideas for a Spa-Like Retreat
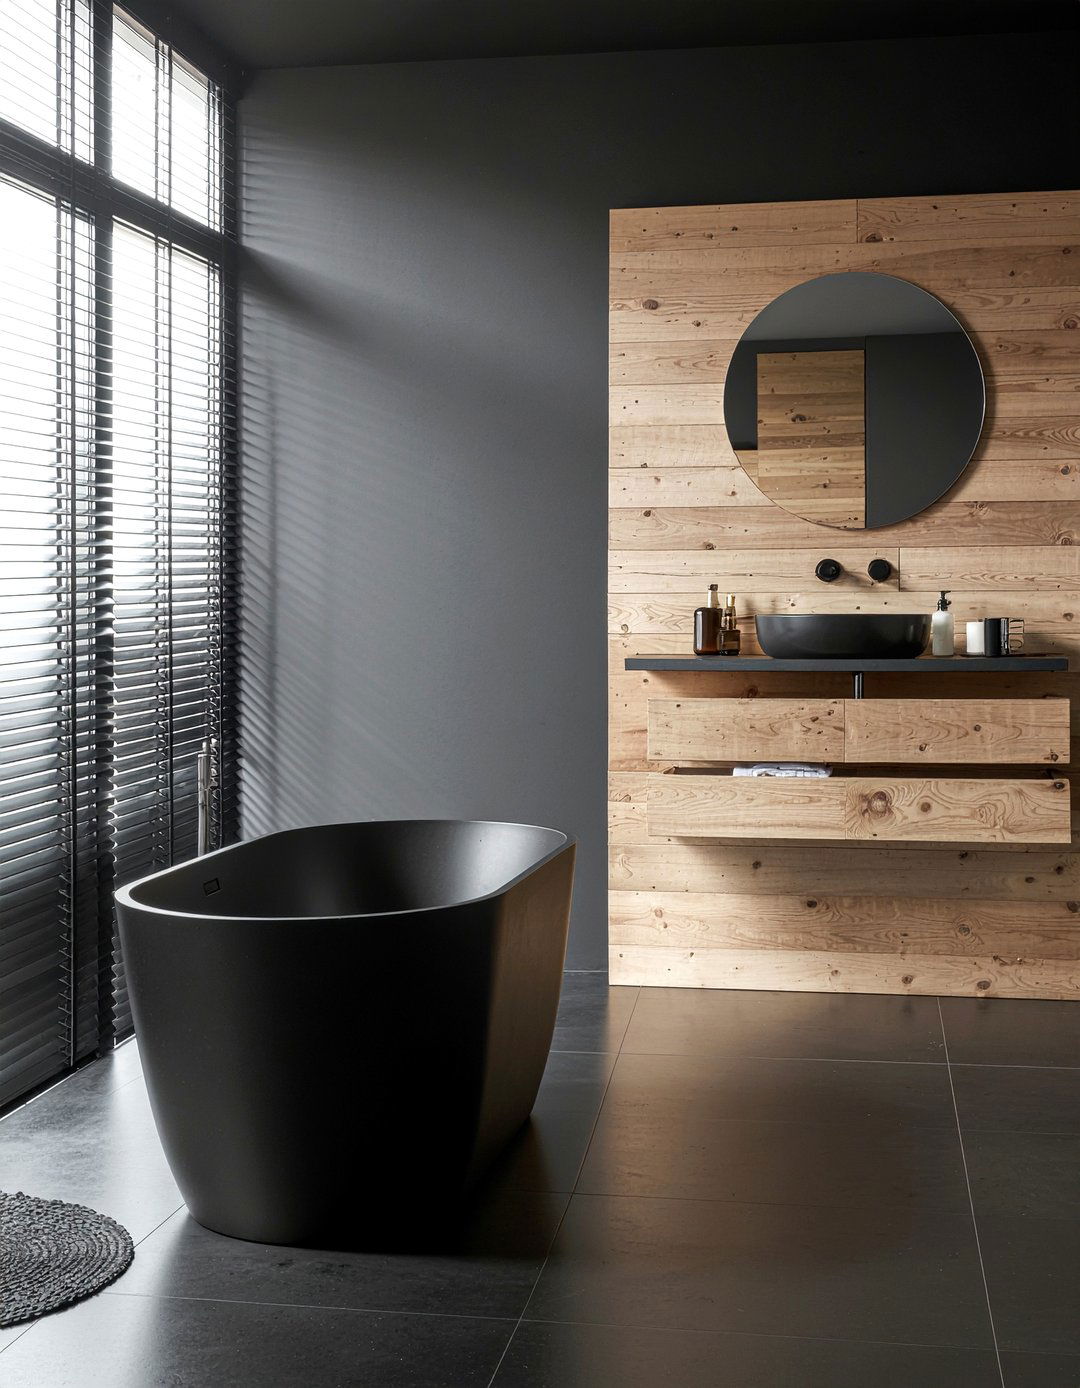 30 Chic All Black Bathroom Ideas for a Luxurious Modern Look
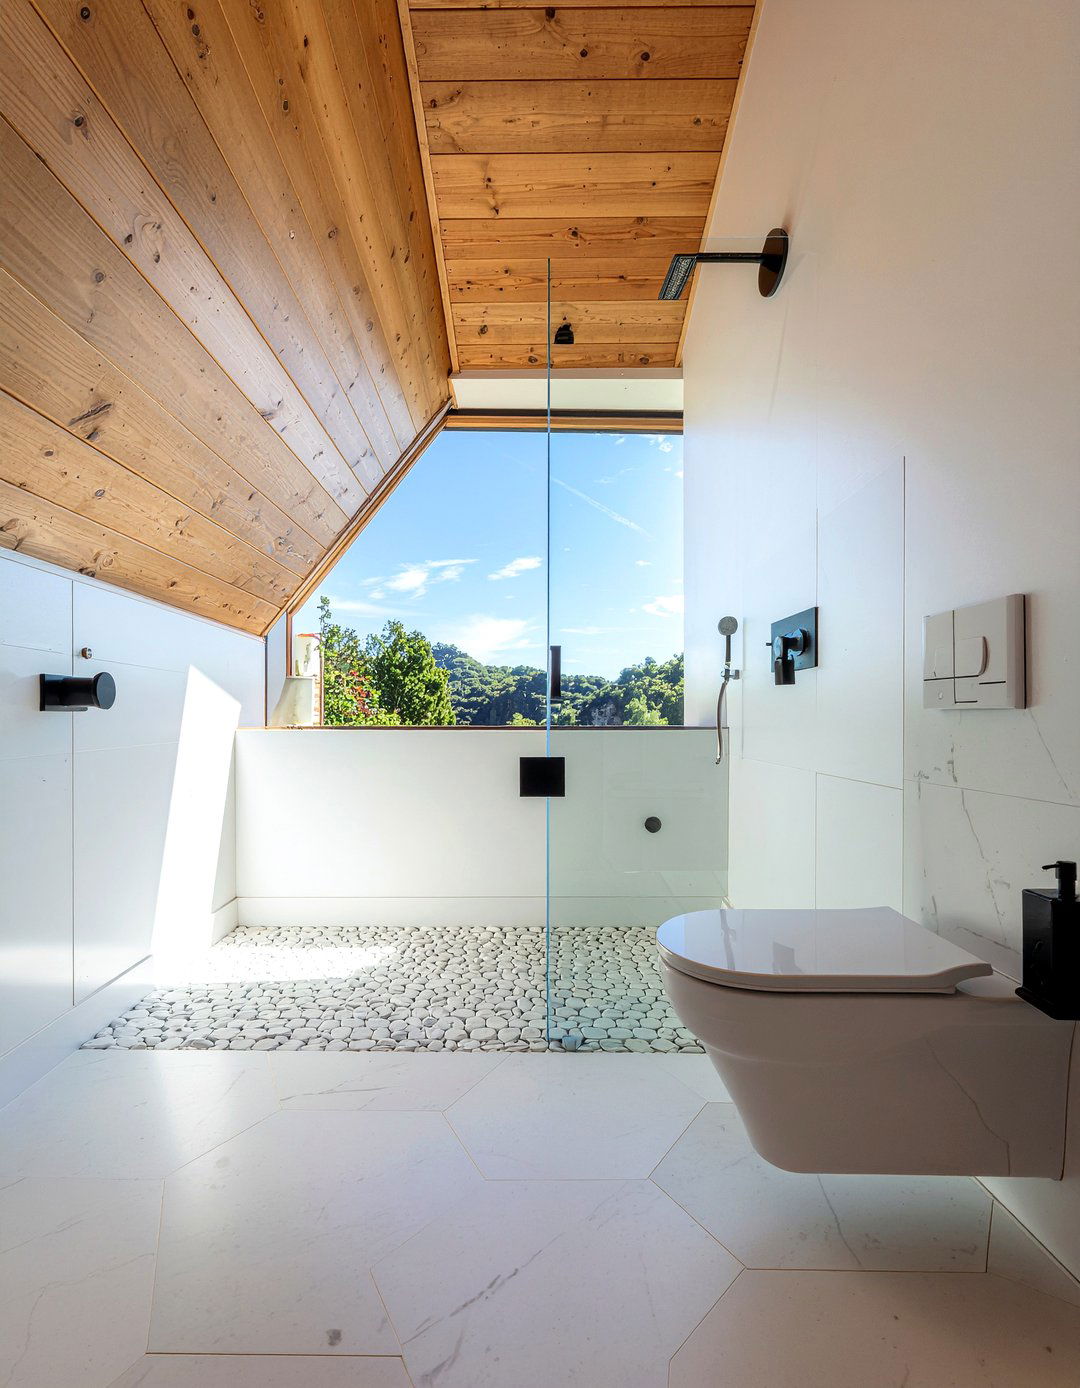 30 Modern Attic Bathroom Ideas for a Spa-Like Experience
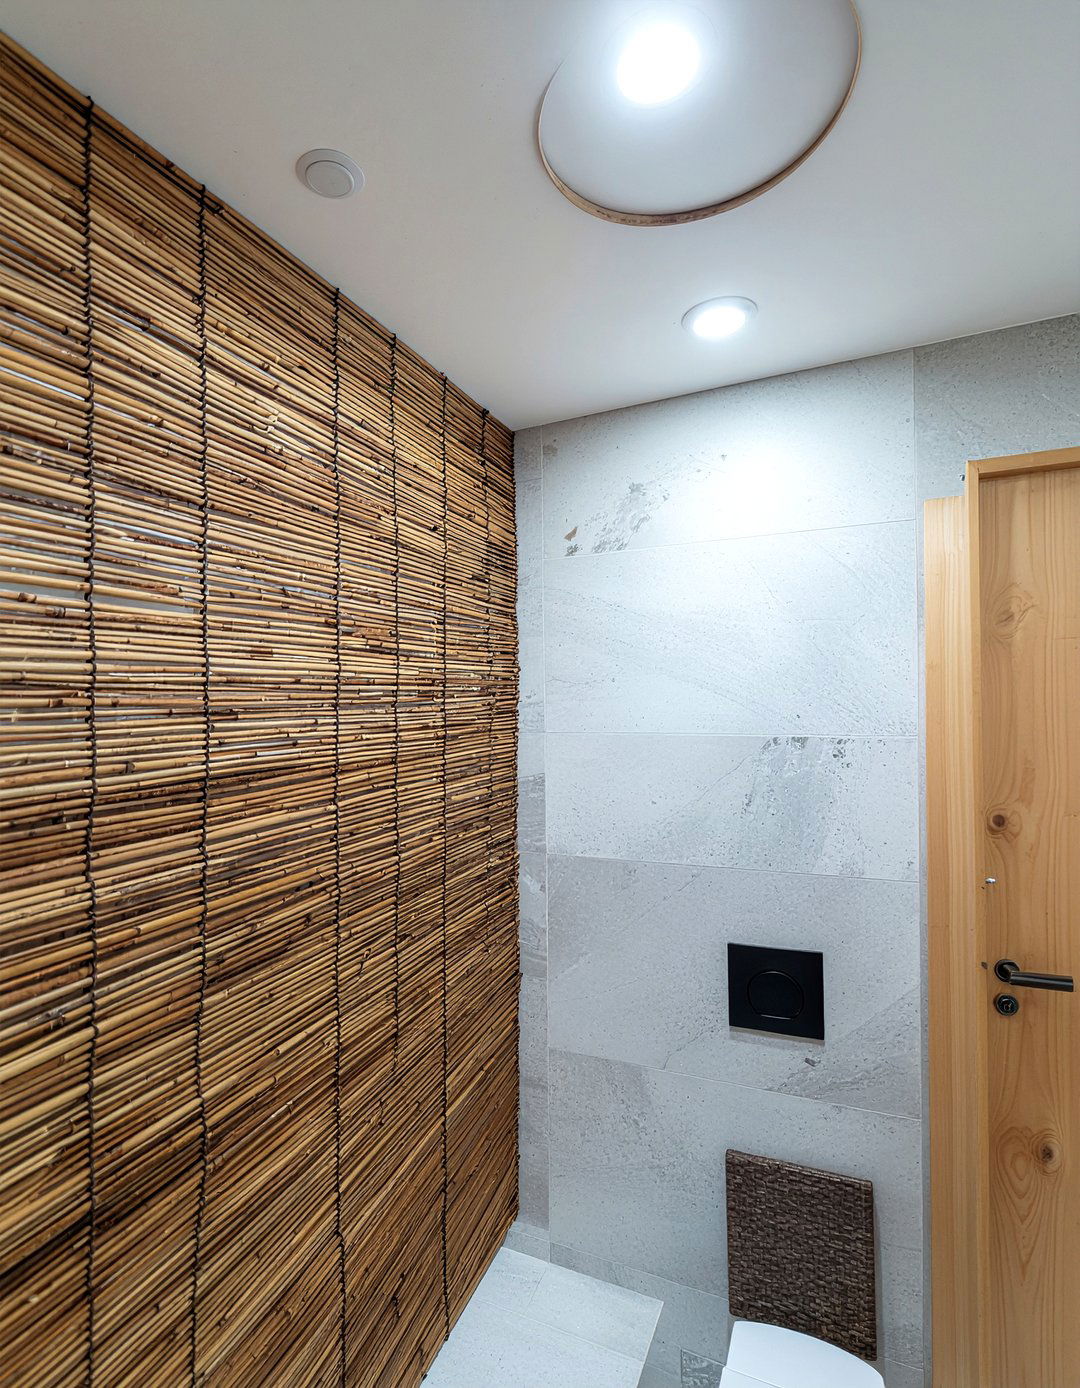 30 Bamboo Bathroom Ideas for a Spa-Like Tropical Retreat
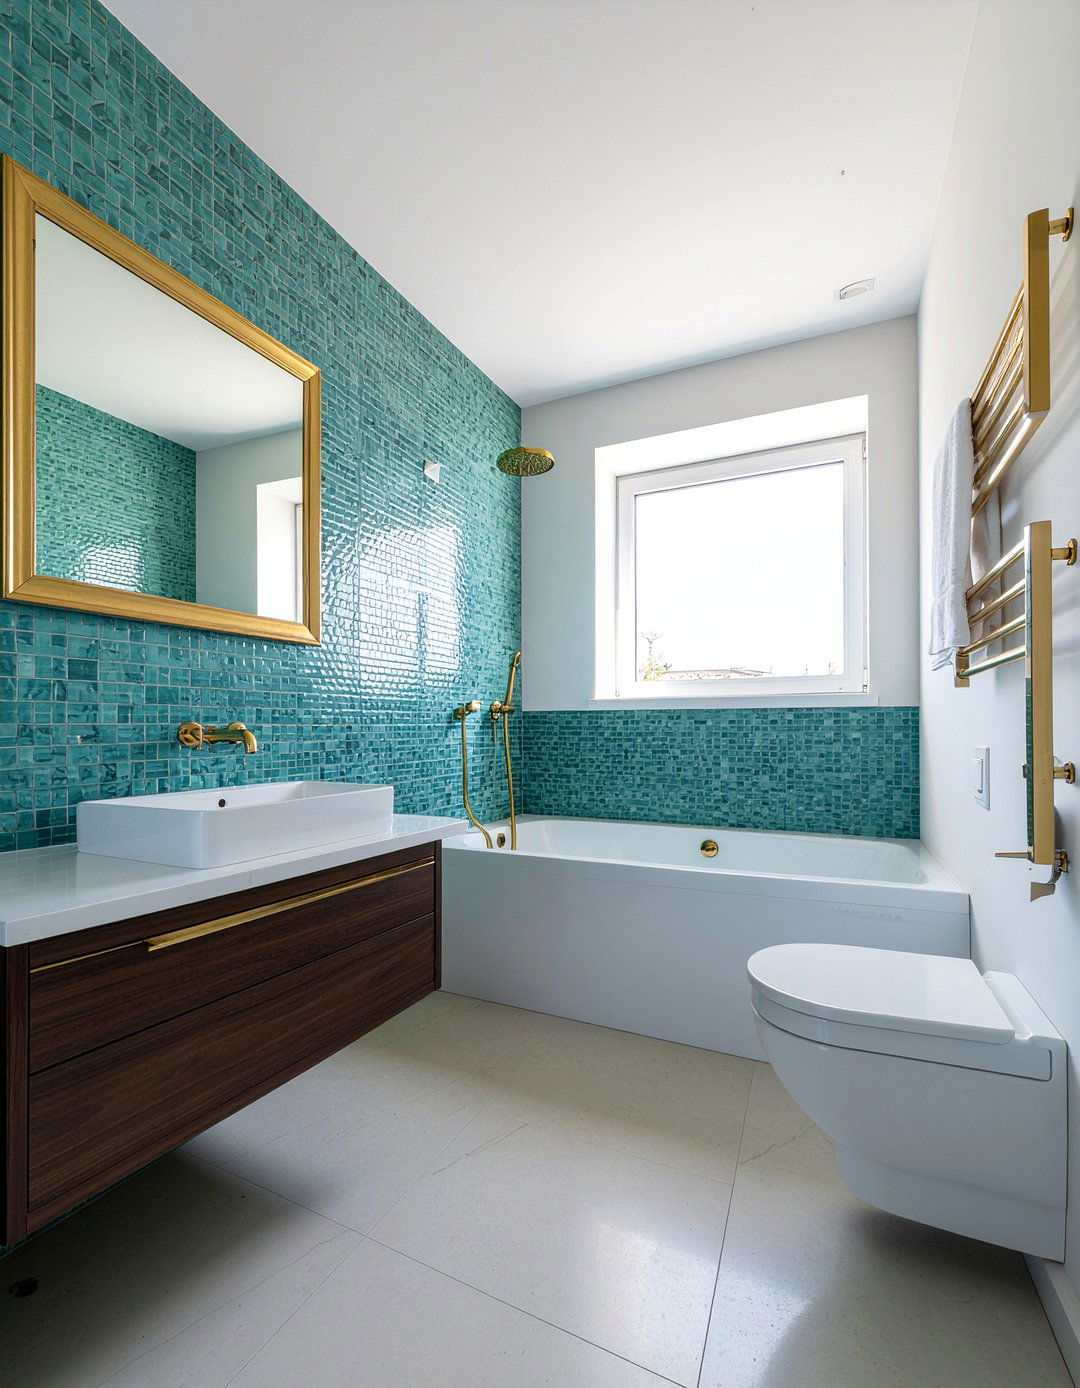 30 Refreshing Aqua Bathroom Ideas for a Serene Home Oasis
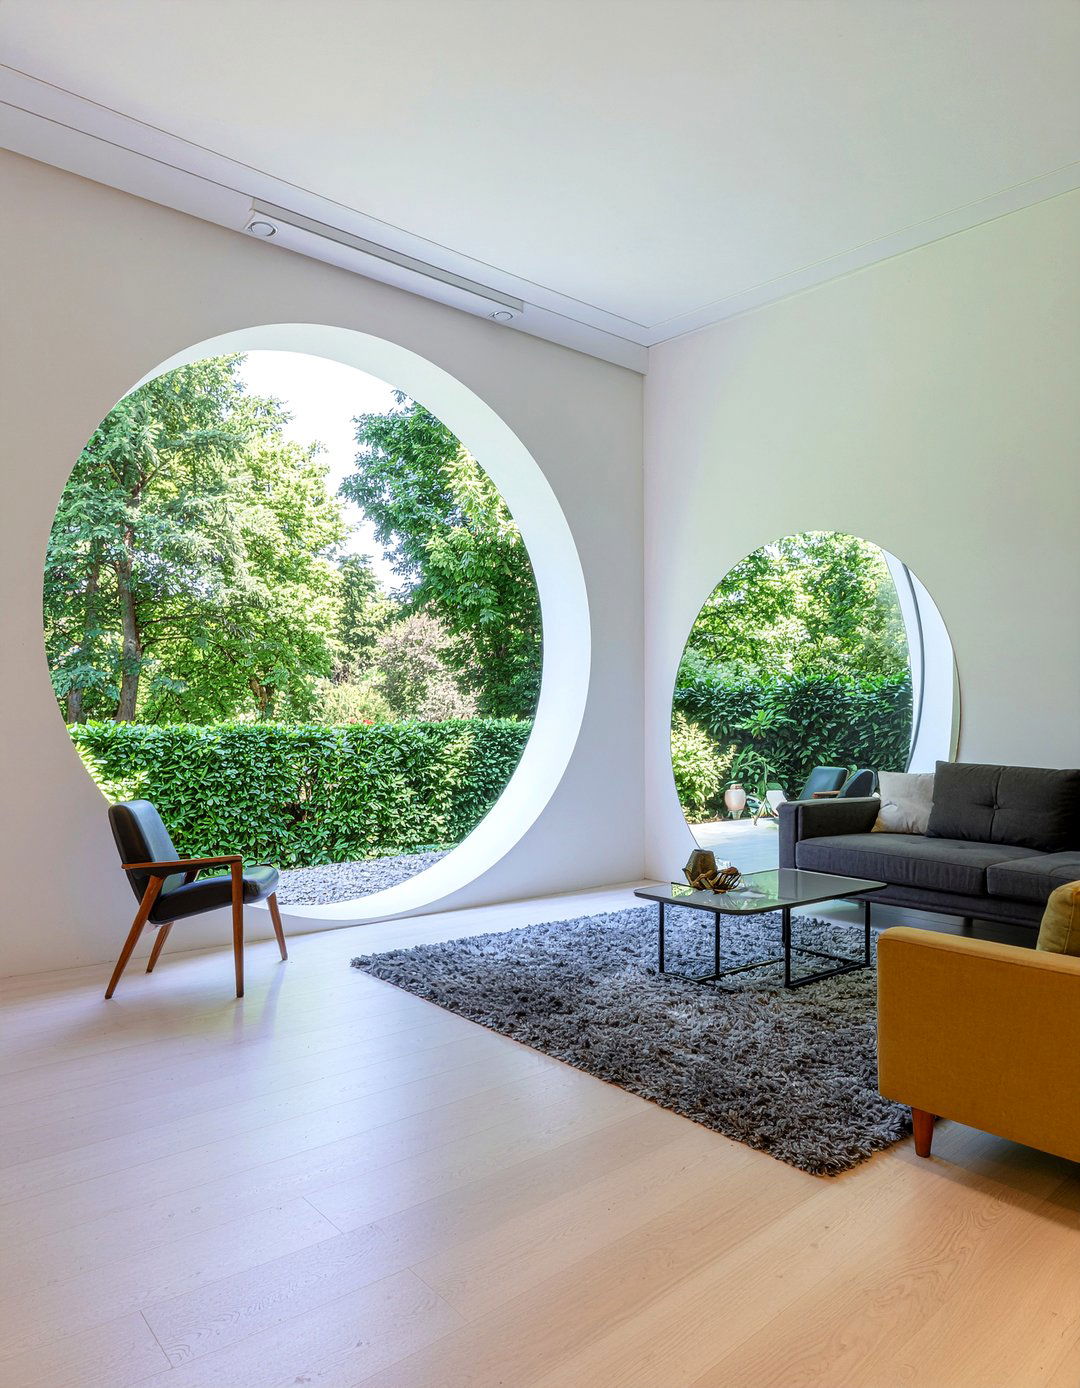
Living Room Ideas
Reimagine your living room as the ultimate entertainment hub with designer-inspired layouts, statement furniture, and conversation-starting accents. Discover how to balance comfort and sophistication for a space that welcomes both relaxation and memorable gatherings.
 30 Bright Living Room Natural Light Ideas for Airy Spaces
 30 Affordable Living Room Ideas for a Budget-Friendly Home
 30 Airy Living Room Ideas to Brighten Your Modern Space
 30 Bold All Black Living Room Ideas for a Modern Aesthetic
 30 Baby Proof Living Room Ideas for Safe and Chic Style
 30 Timeless Antique Living Room Ideas to Elevate Your Home
Kitchen Design Ideas
Elevate your culinary space with breakthrough kitchen design concepts, cutting-edge appliances, and brilliant storage solutions. Explore chef-worthy layouts and stunning finishes that merge high-performance functionality with show-stopping style.
 30 Affordable Kitchen Ideas for a Stunning Low-Cost Reno
 30 Best Accent Lighting Kitchen Ideas for a Modern Glow
 30 Bold All Black Kitchen Ideas for a Modern and Sleek Home
 30 Stunning All White Kitchen Ideas for a Bright Look
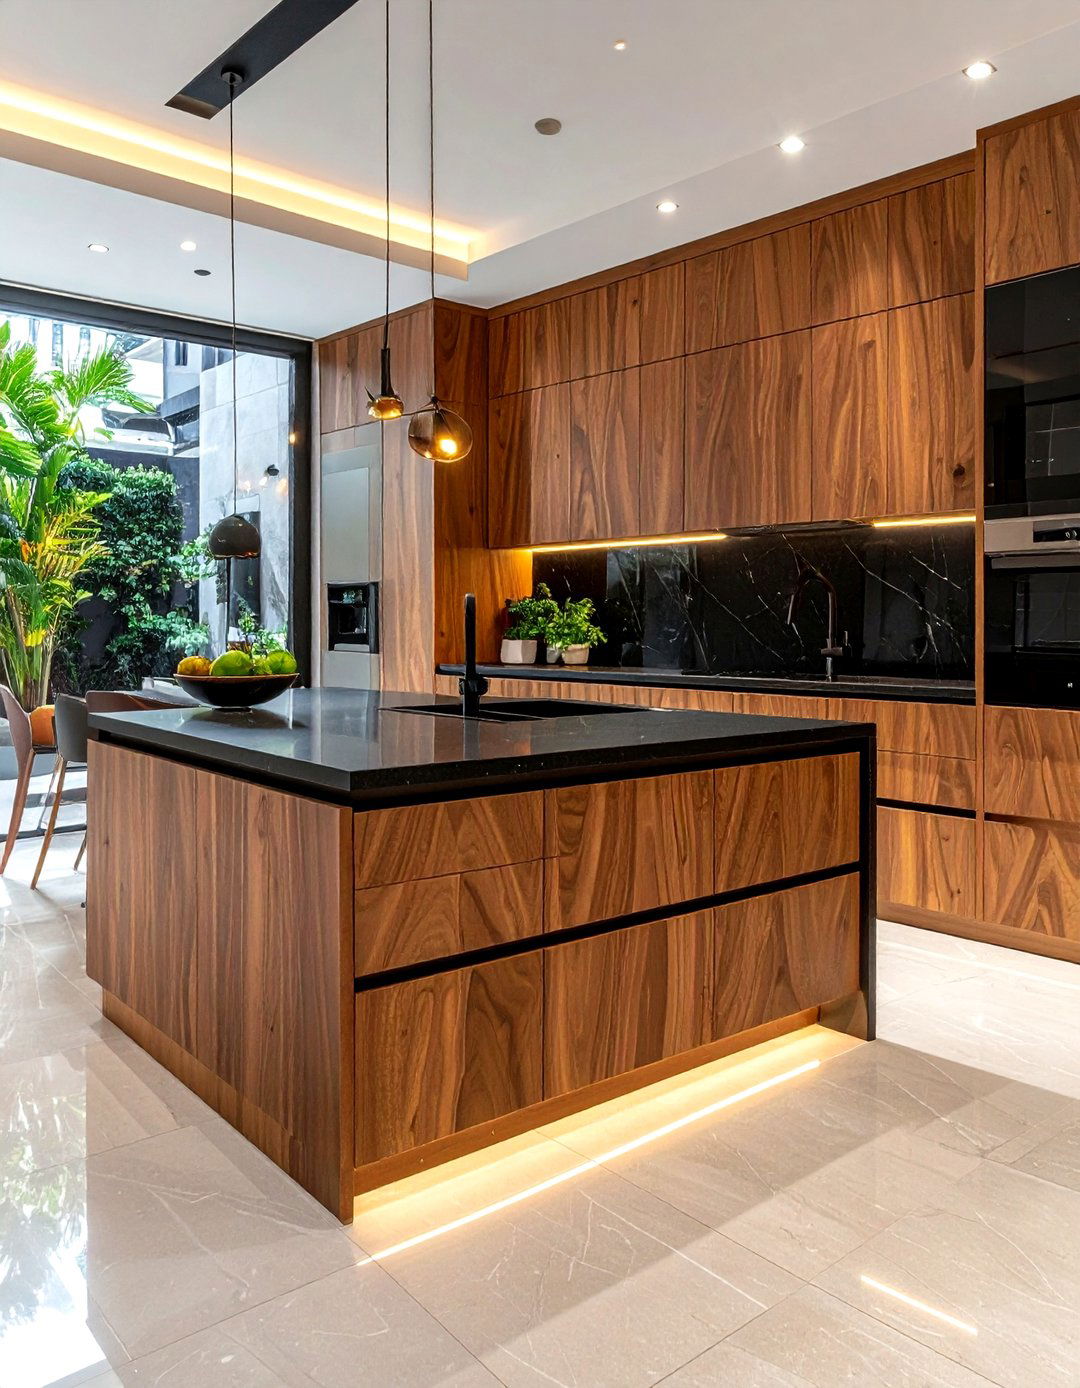 30 Amazing Kitchen Ideas to Build Your Dream Cooking Space
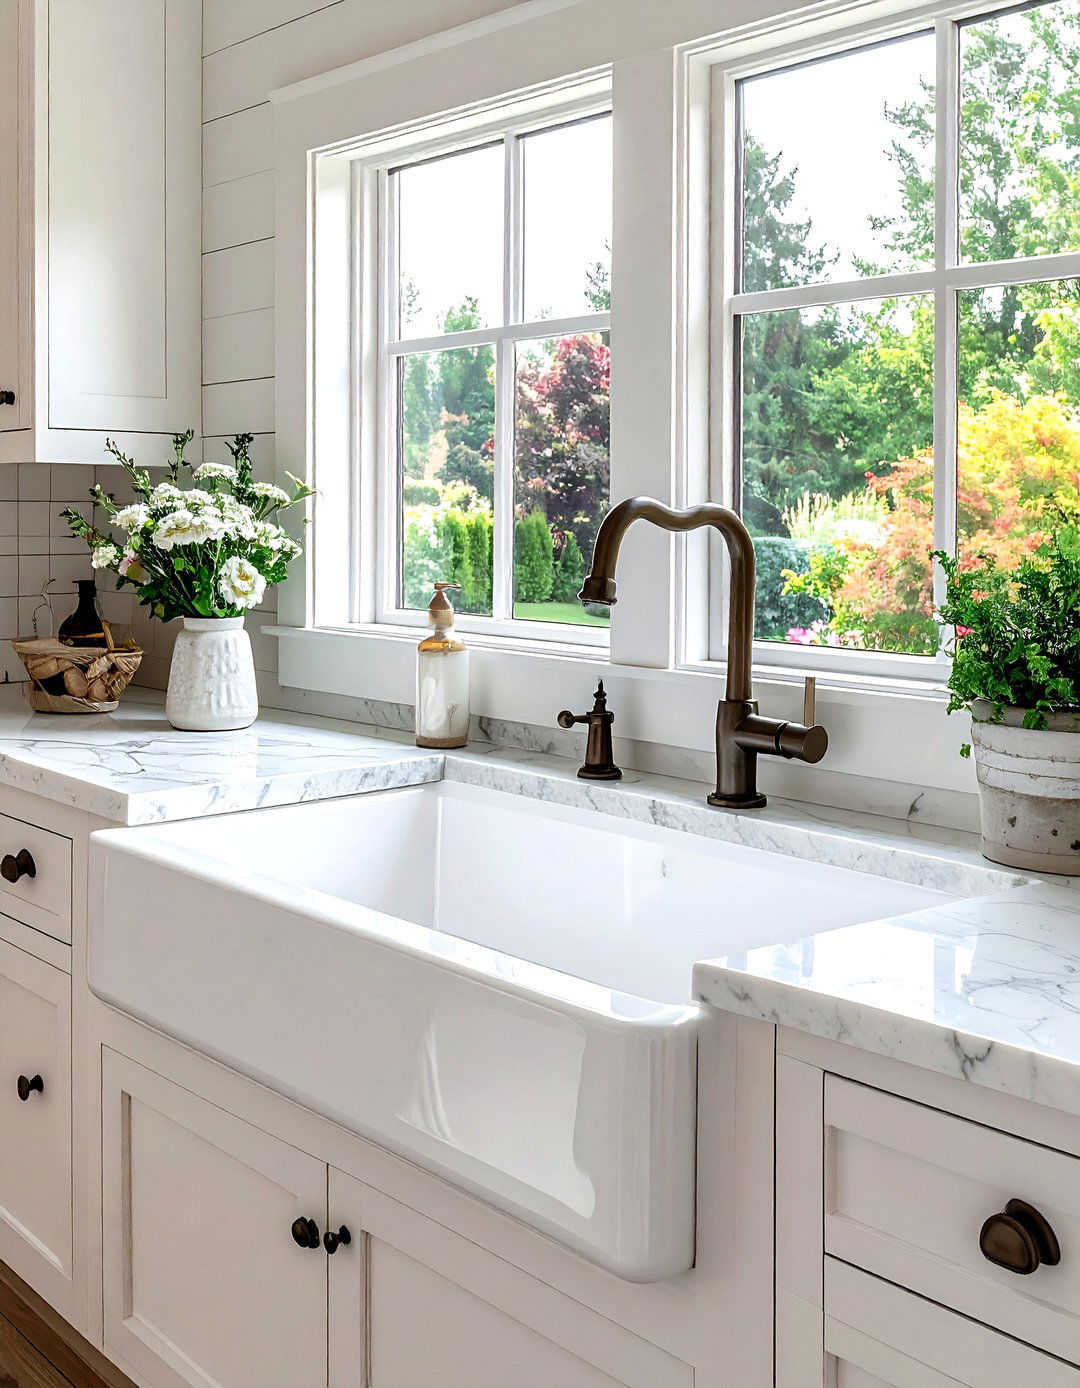 30 Rustic American Country Kitchen Ideas for Your Dream Home
Home and Garden
Create a harmonious indoor-outdoor lifestyle with expert home and garden design strategies. Discover sustainable landscaping secrets, seasonal decorating tips, and organizational systems that seamlessly connect your interior comfort with natural outdoor beauty.
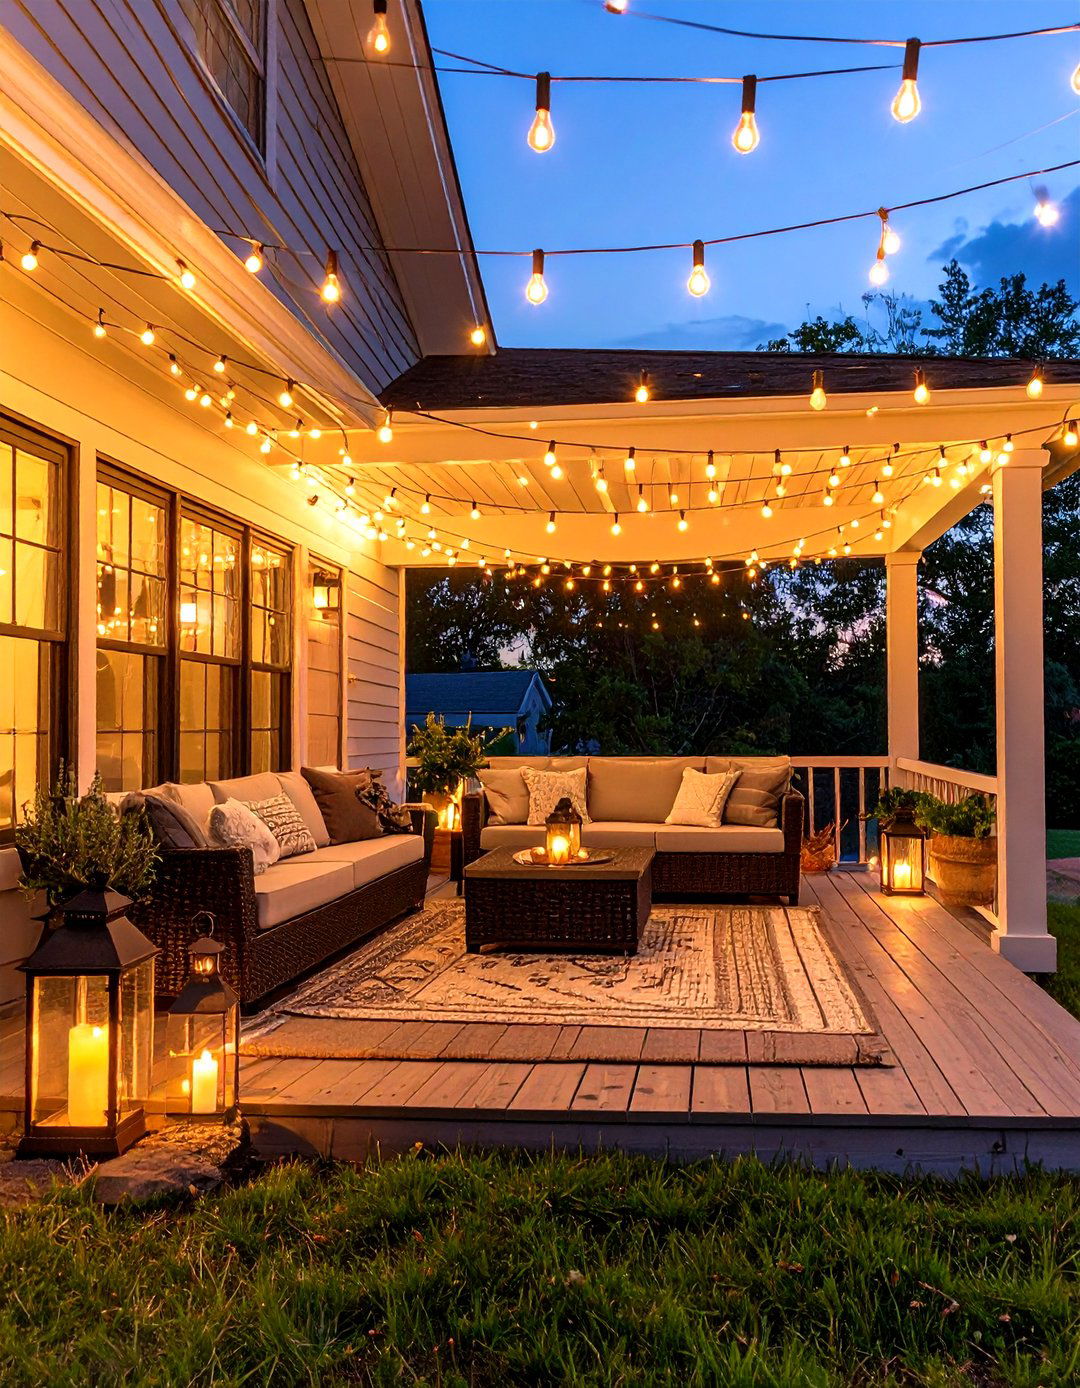
Outdoor Living Spaces
Craft extraordinary outdoor living experiences with weatherproof furniture, ambient lighting, and multi-seasonal design elements. Build the perfect alfresco dining areas, cozy fire pit lounges, and entertainment zones that extend your home's comfort into nature's embrace.
 30 Back Porch Decor Ideas for a Cozy Outdoor Sanctuary
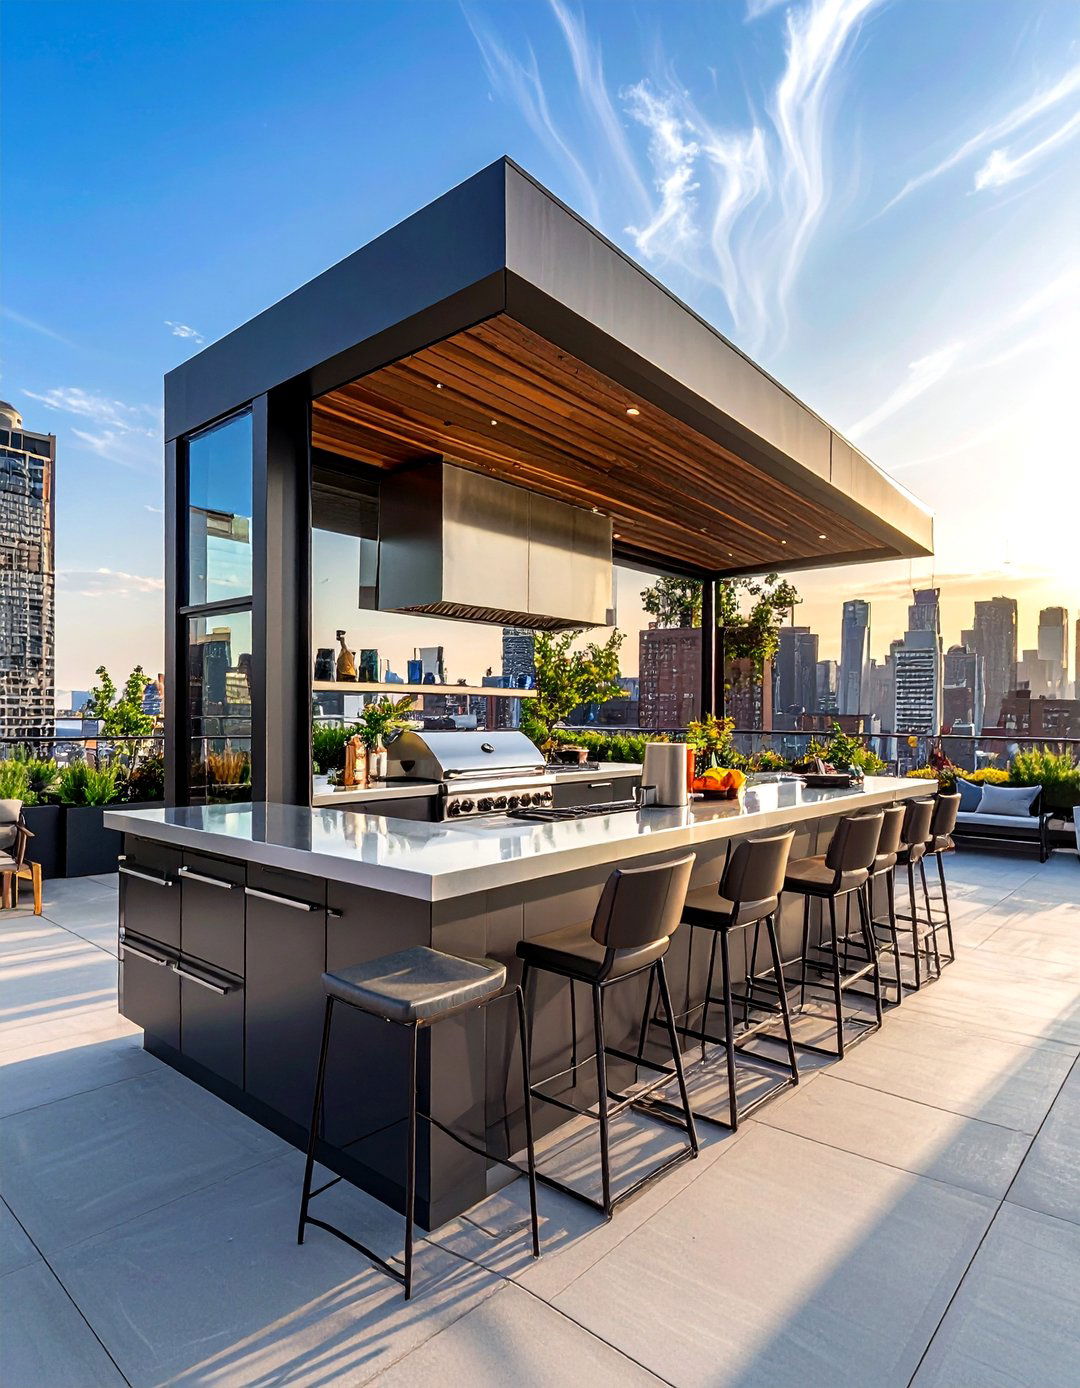 30 Backyard Kitchen Ideas for Ultimate Outdoor Cooking
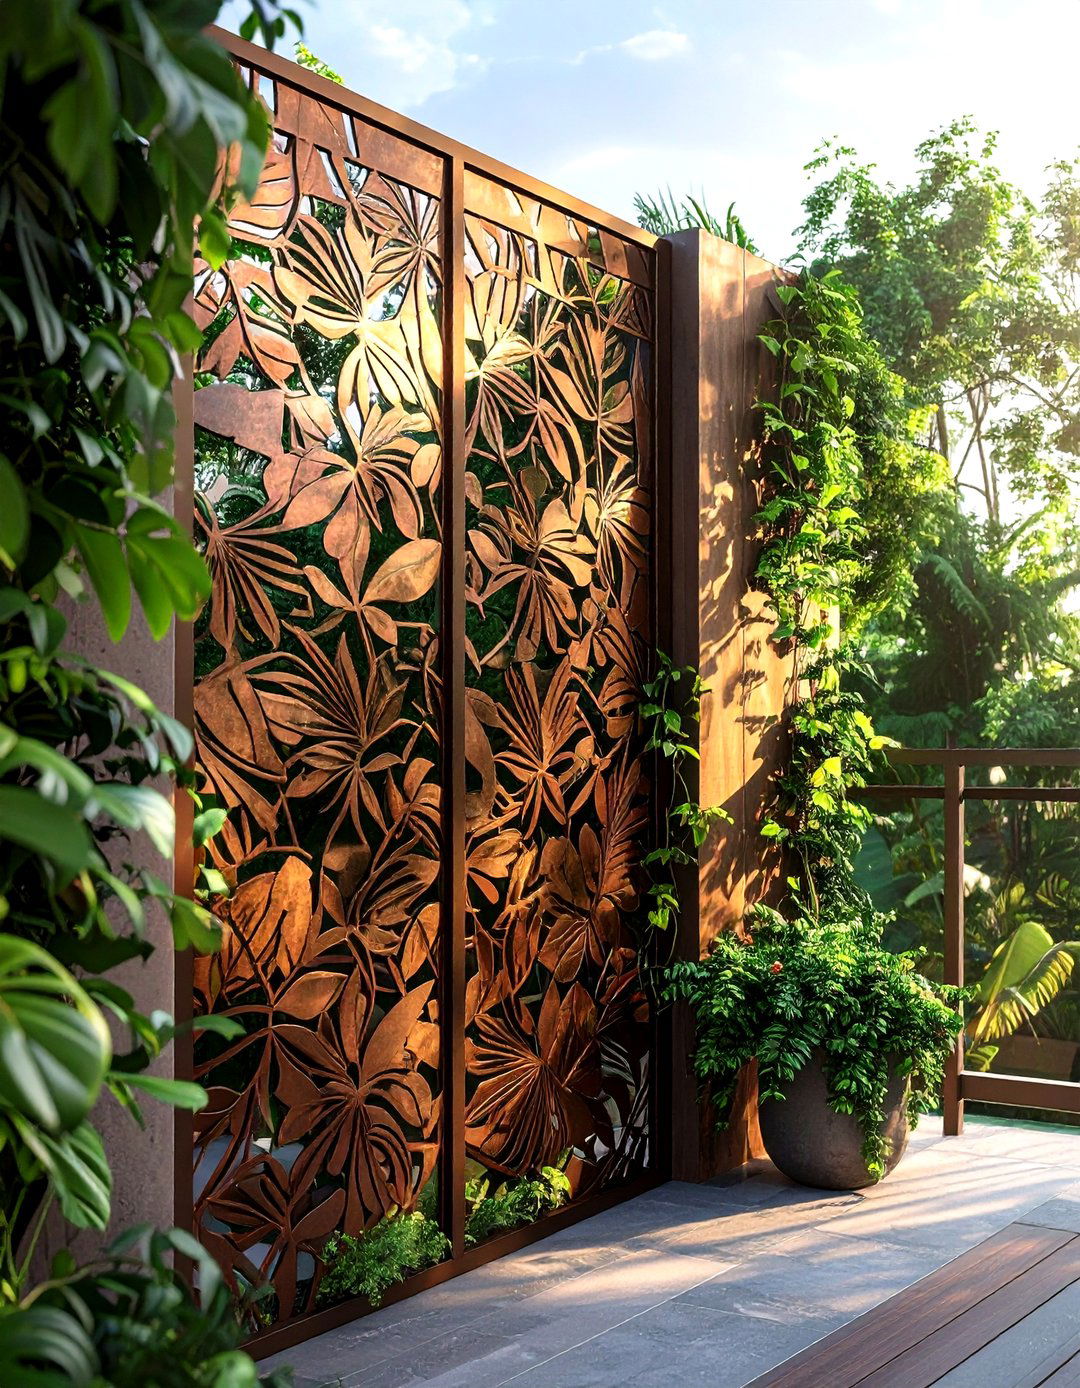 30 Apartment Balcony Ideas to Maximize Your Outdoor Space
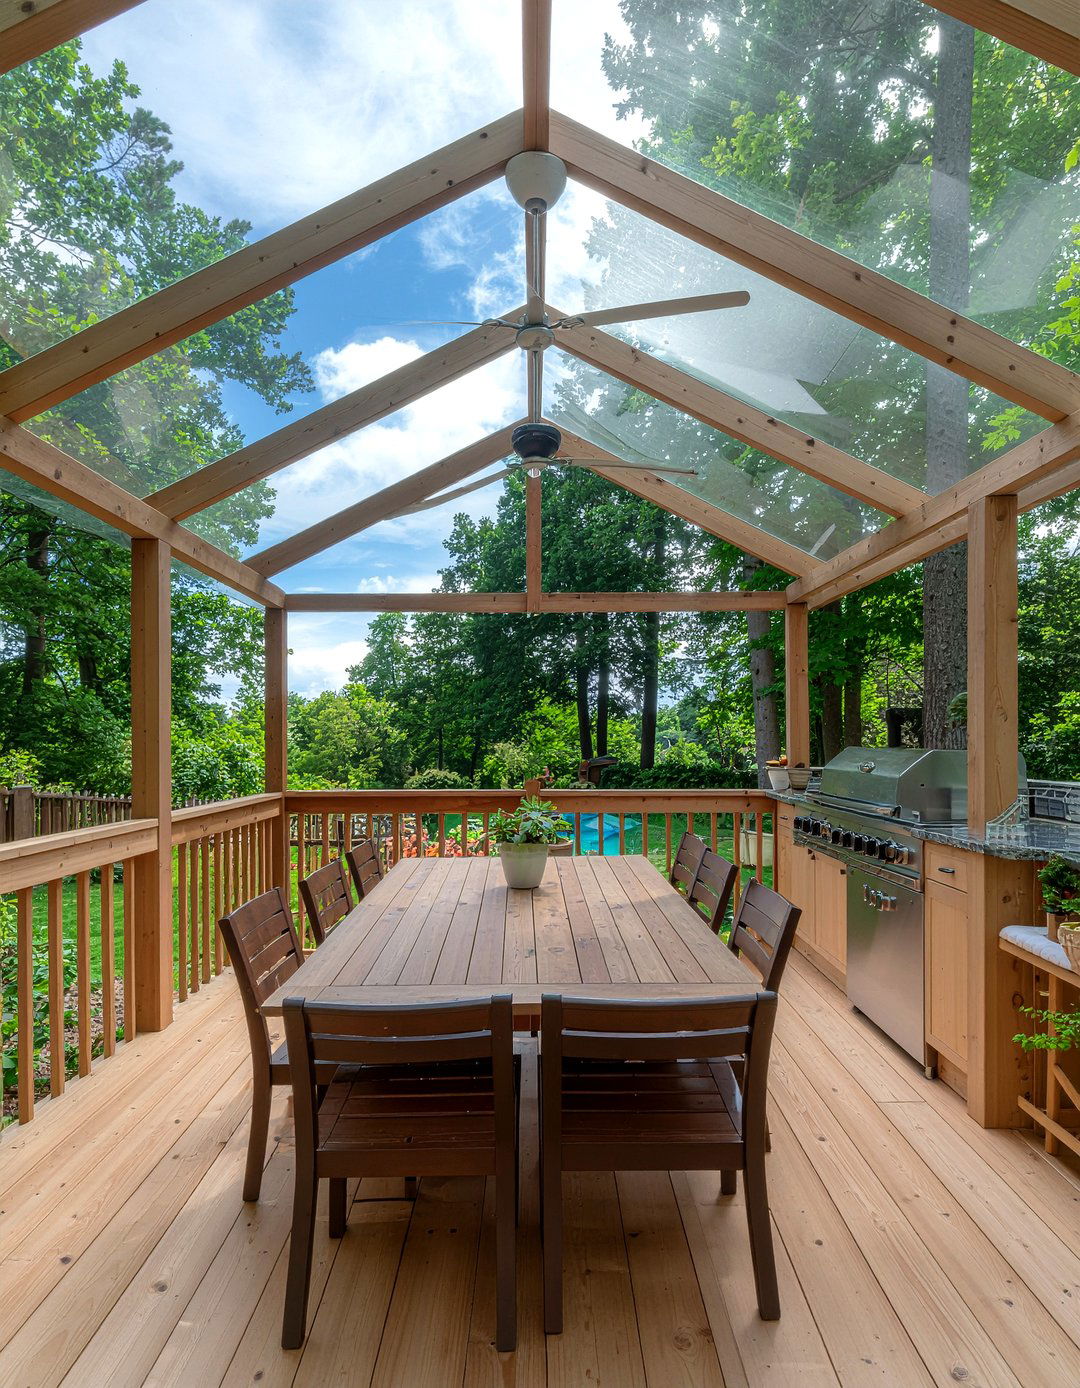 30 Covered Outdoor Kitchen Ideas for Perfect Entertaining
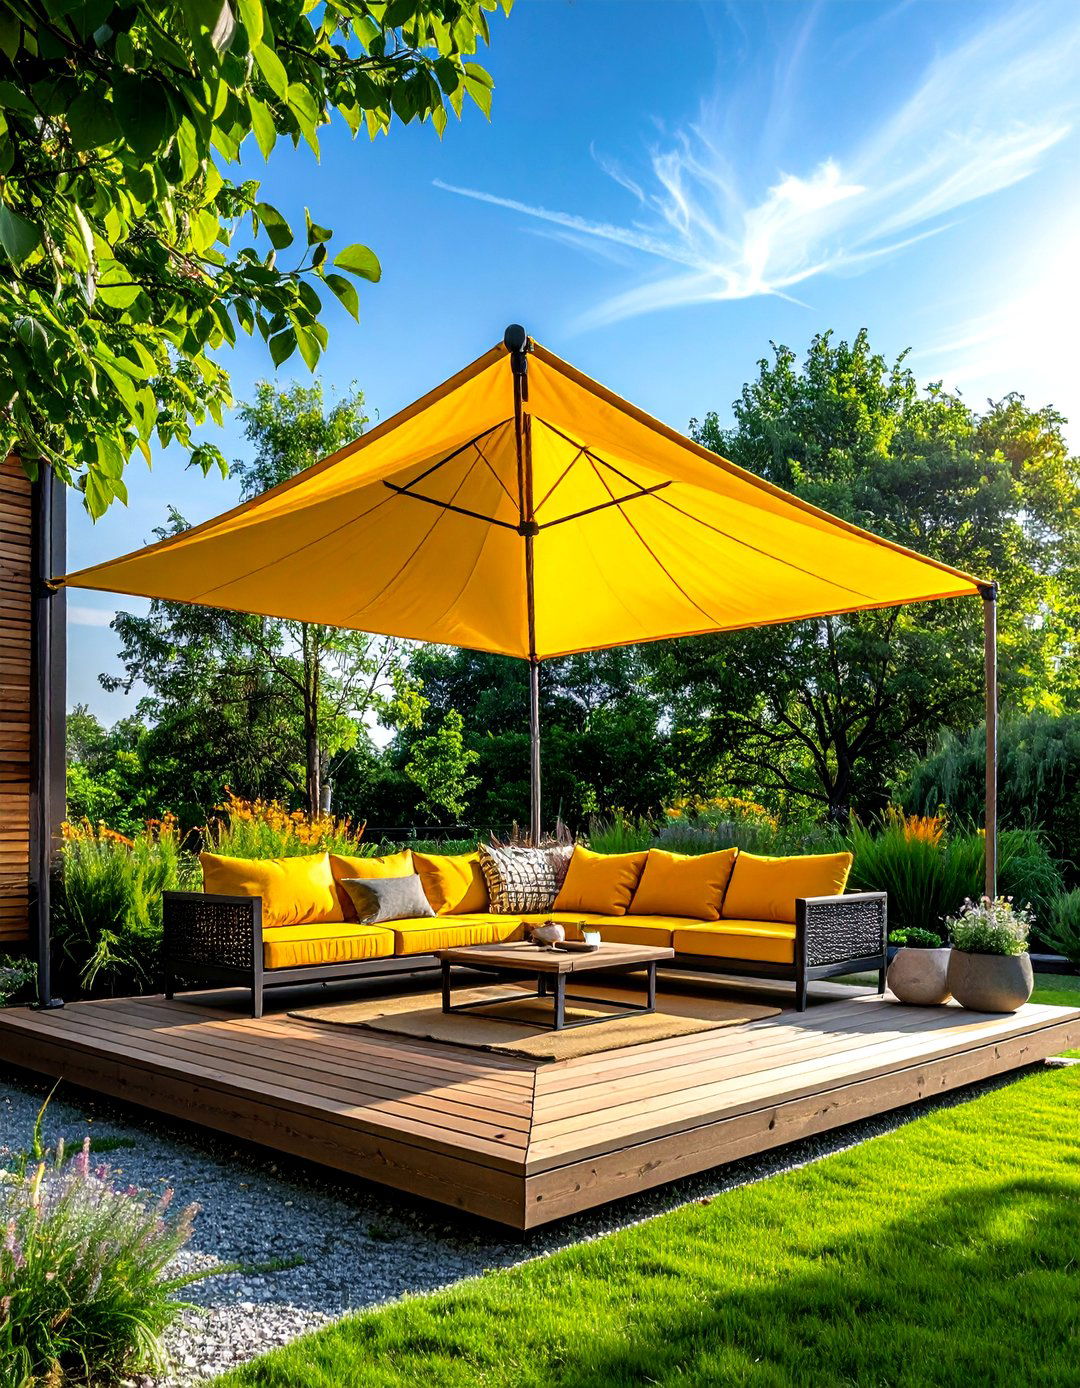 30 Deck Decor Ideas to Elevate Your Outdoor Living Area
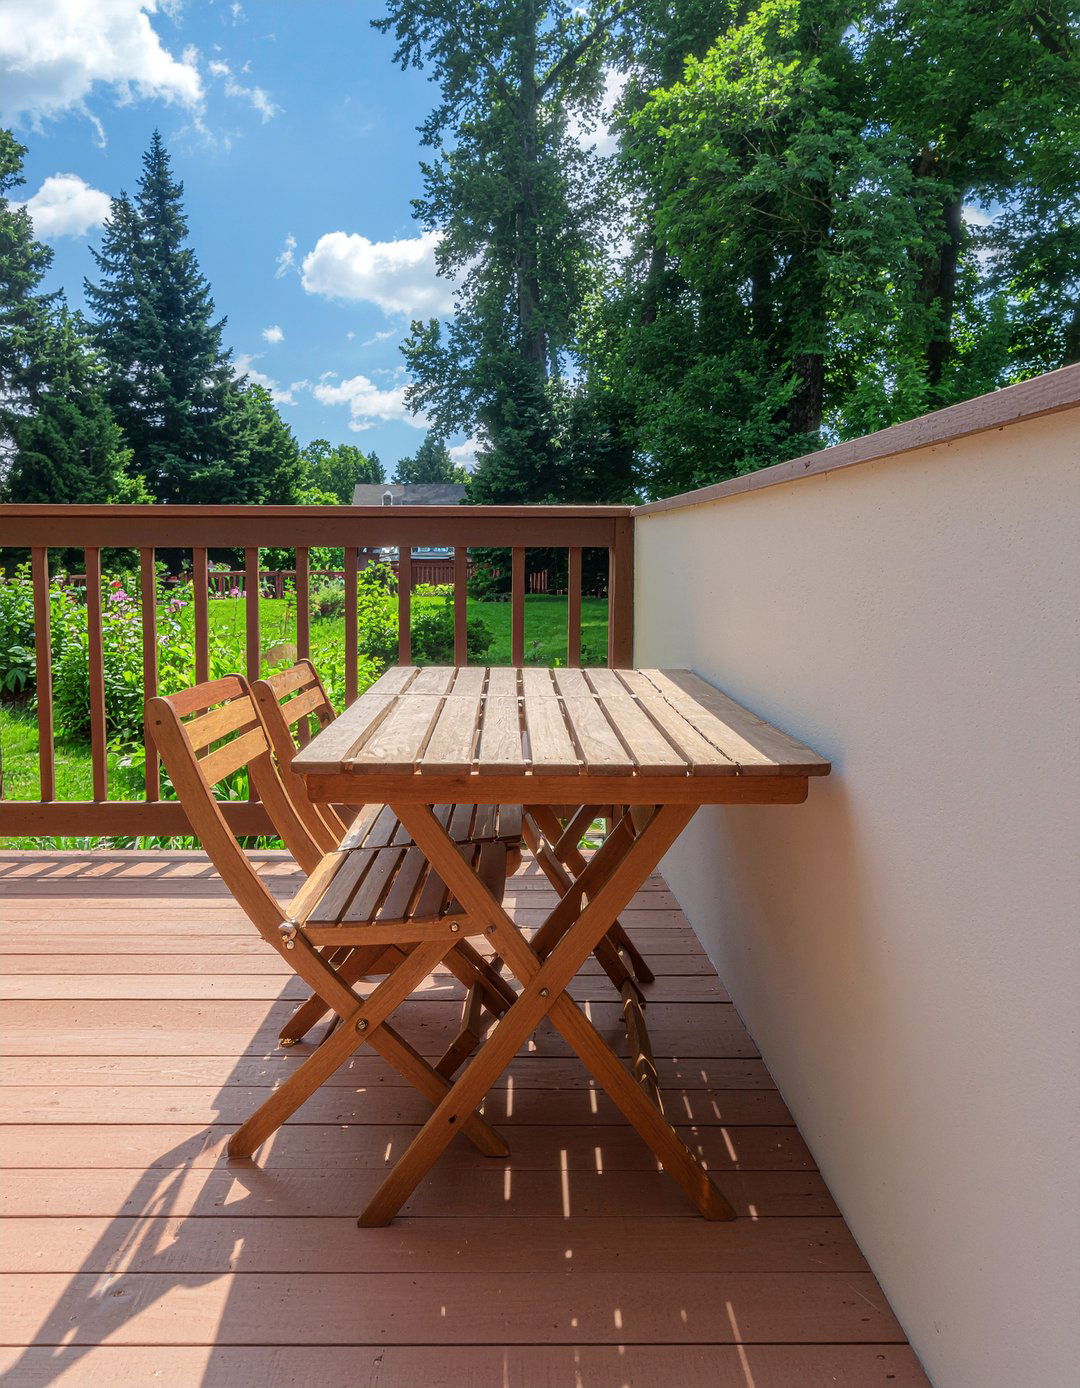 30 Deck Dining Ideas for the Perfect Outdoor Entertaining
Home Organization
Master the science of home organization with psychology-based decluttering methods, multi-functional storage innovations, and room-by-room systems. Transform chaos into calm with proven strategies that maintain long-term order while maximizing every square foot of your living space.
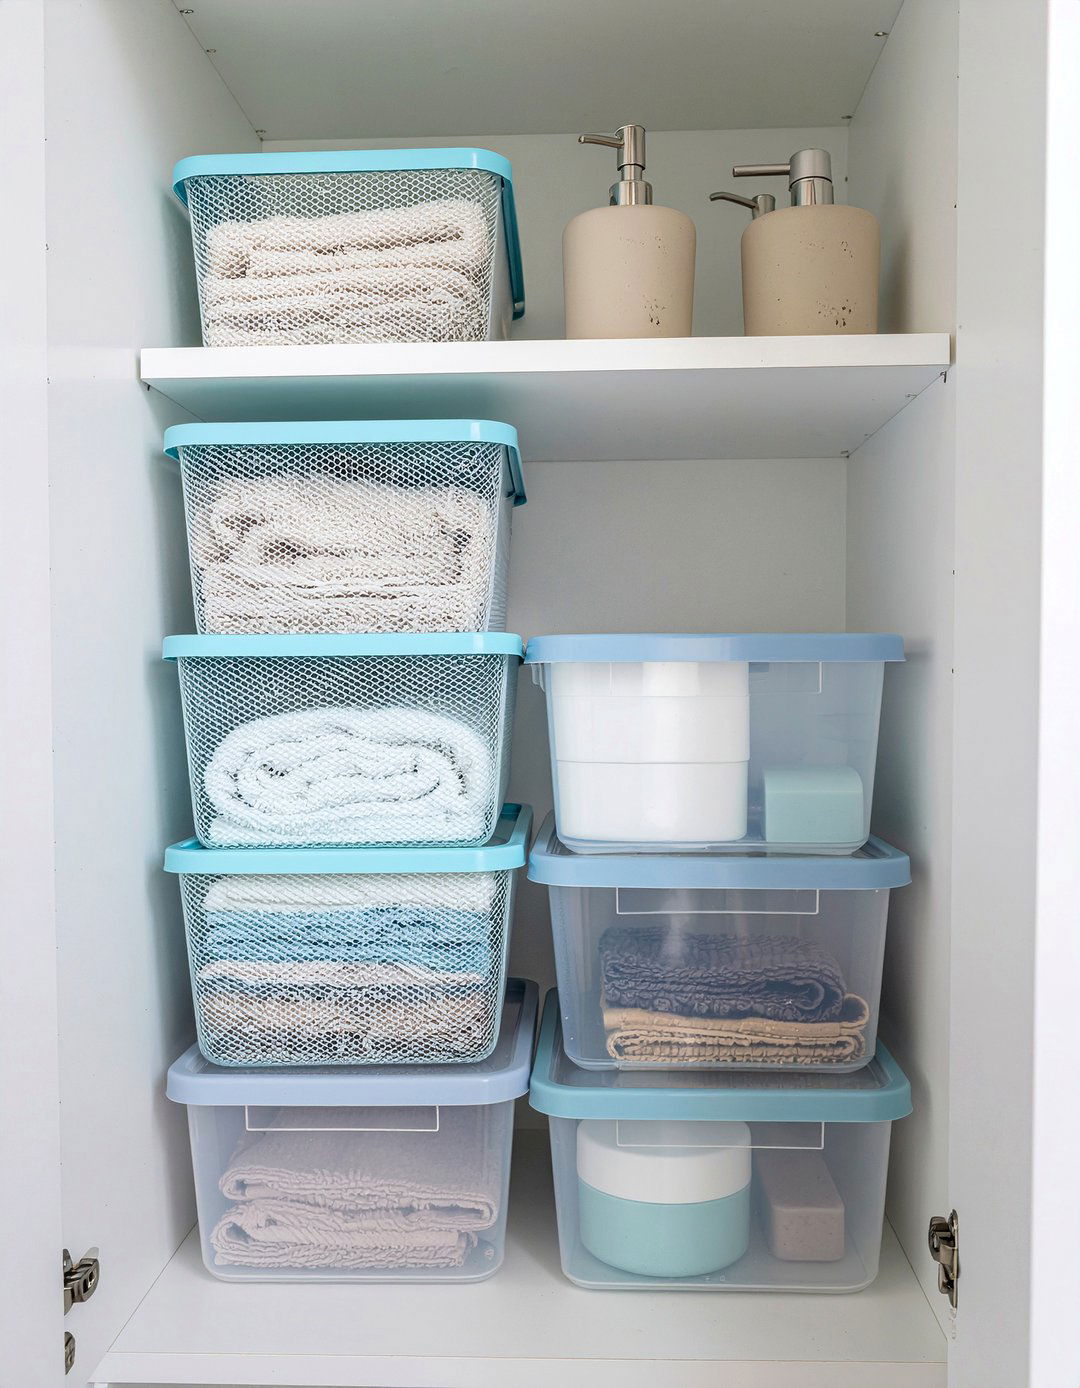 30 Clever Bathroom Cabinet Organizer Ideas for Tidy Drawers
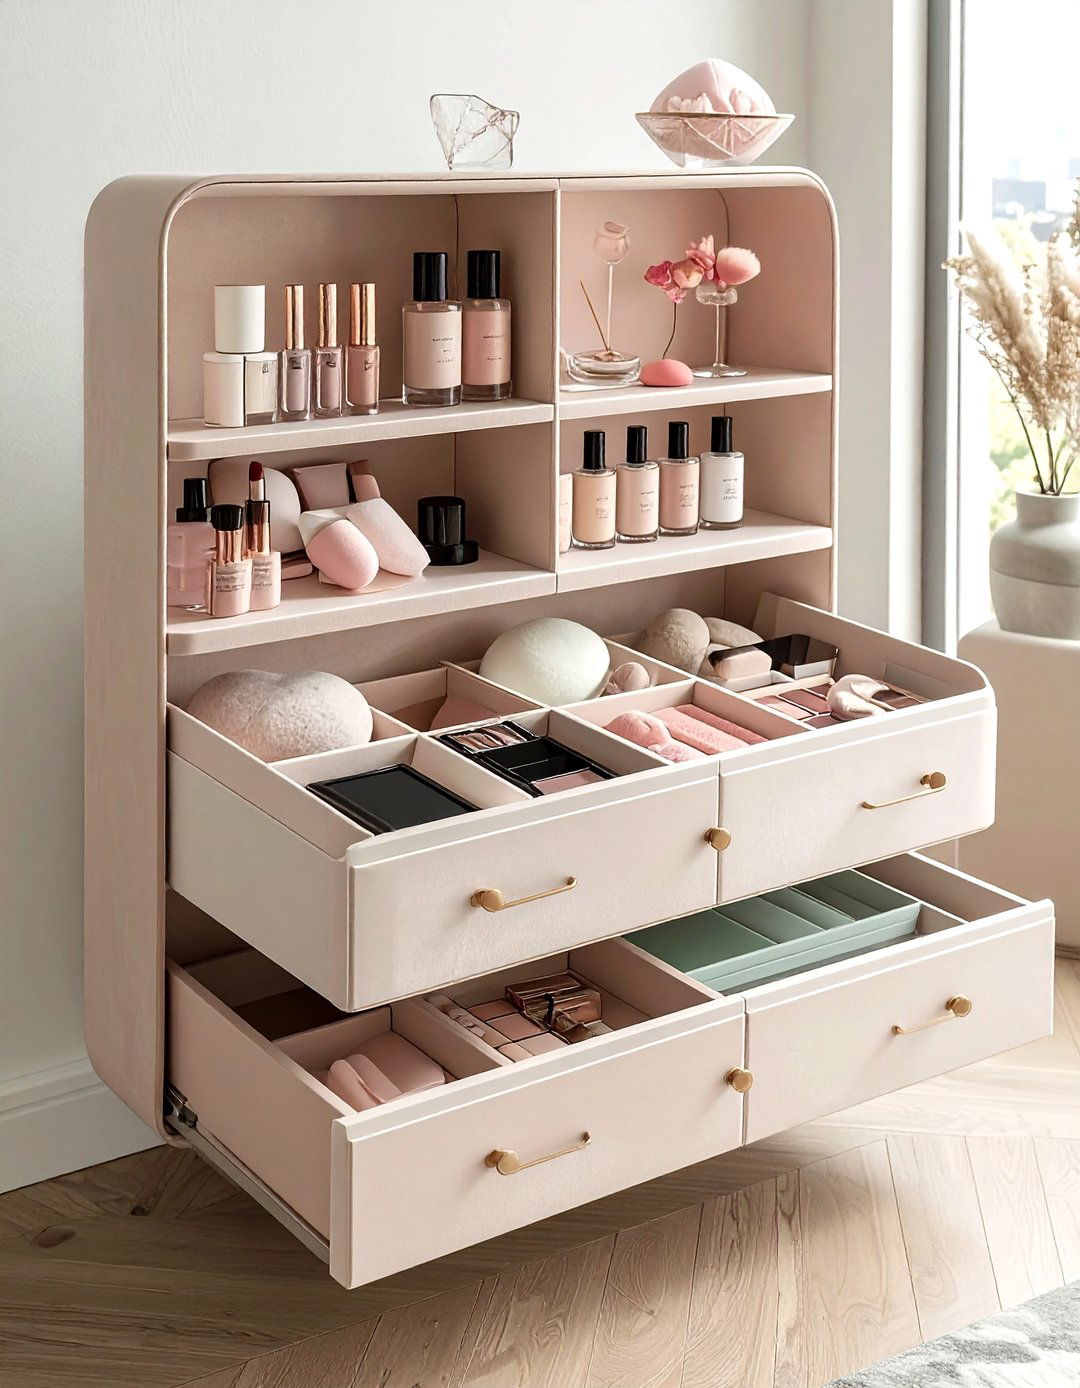 30 Best Bathroom Drawer organization Ideas for a Tidy Vanity
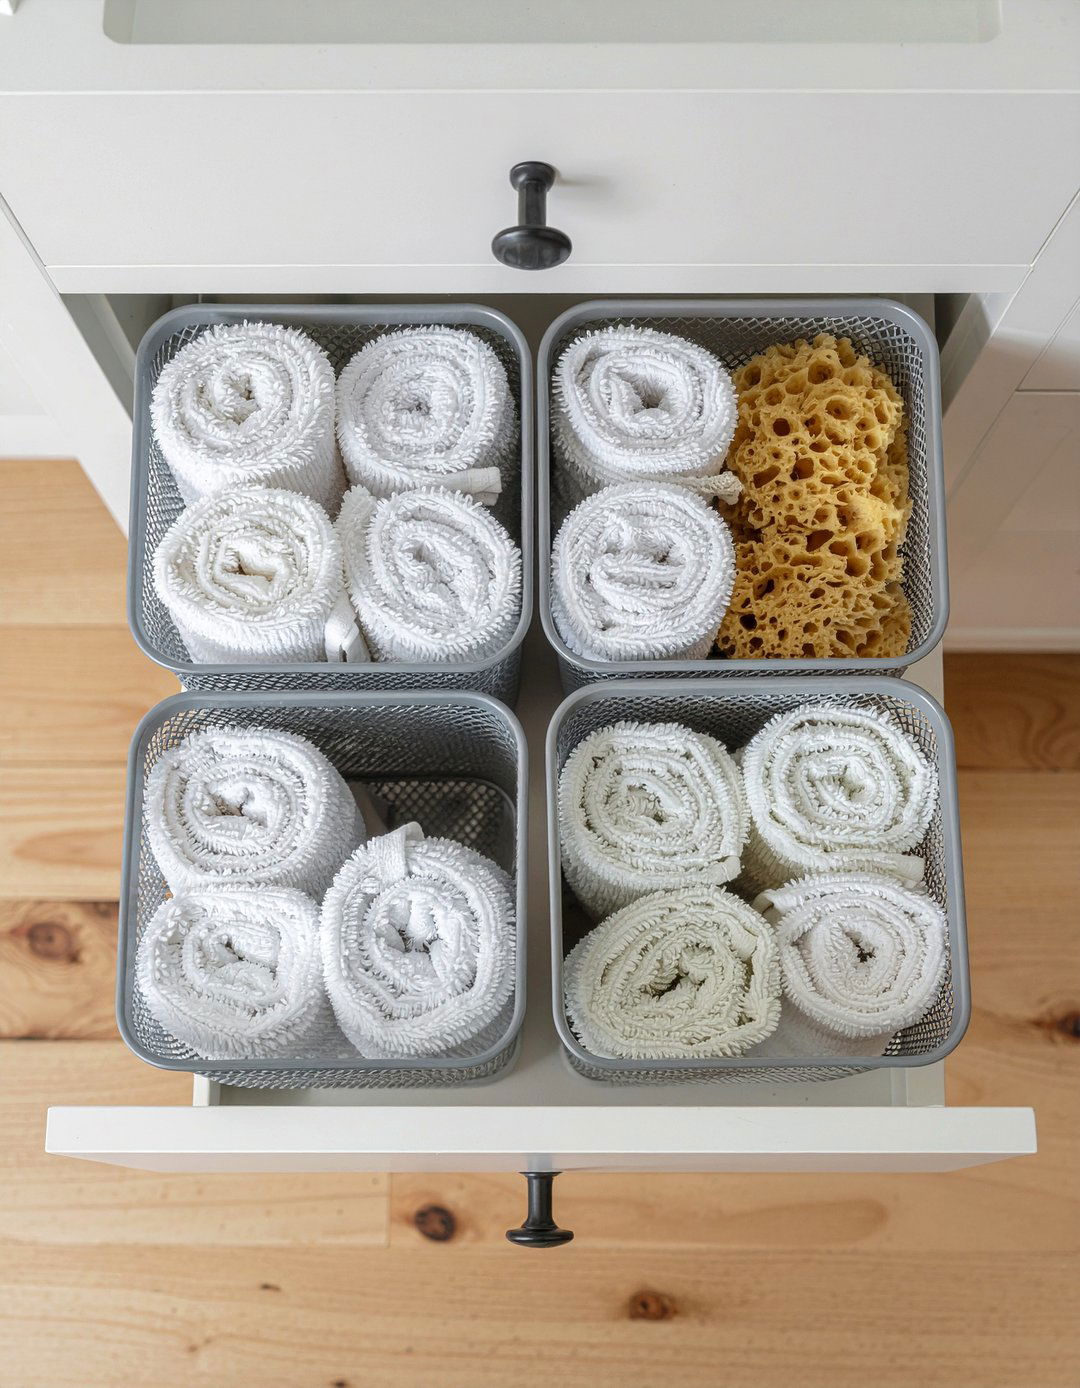 30 Clever Bathroom Drawer Organizer Ideas for Every Space
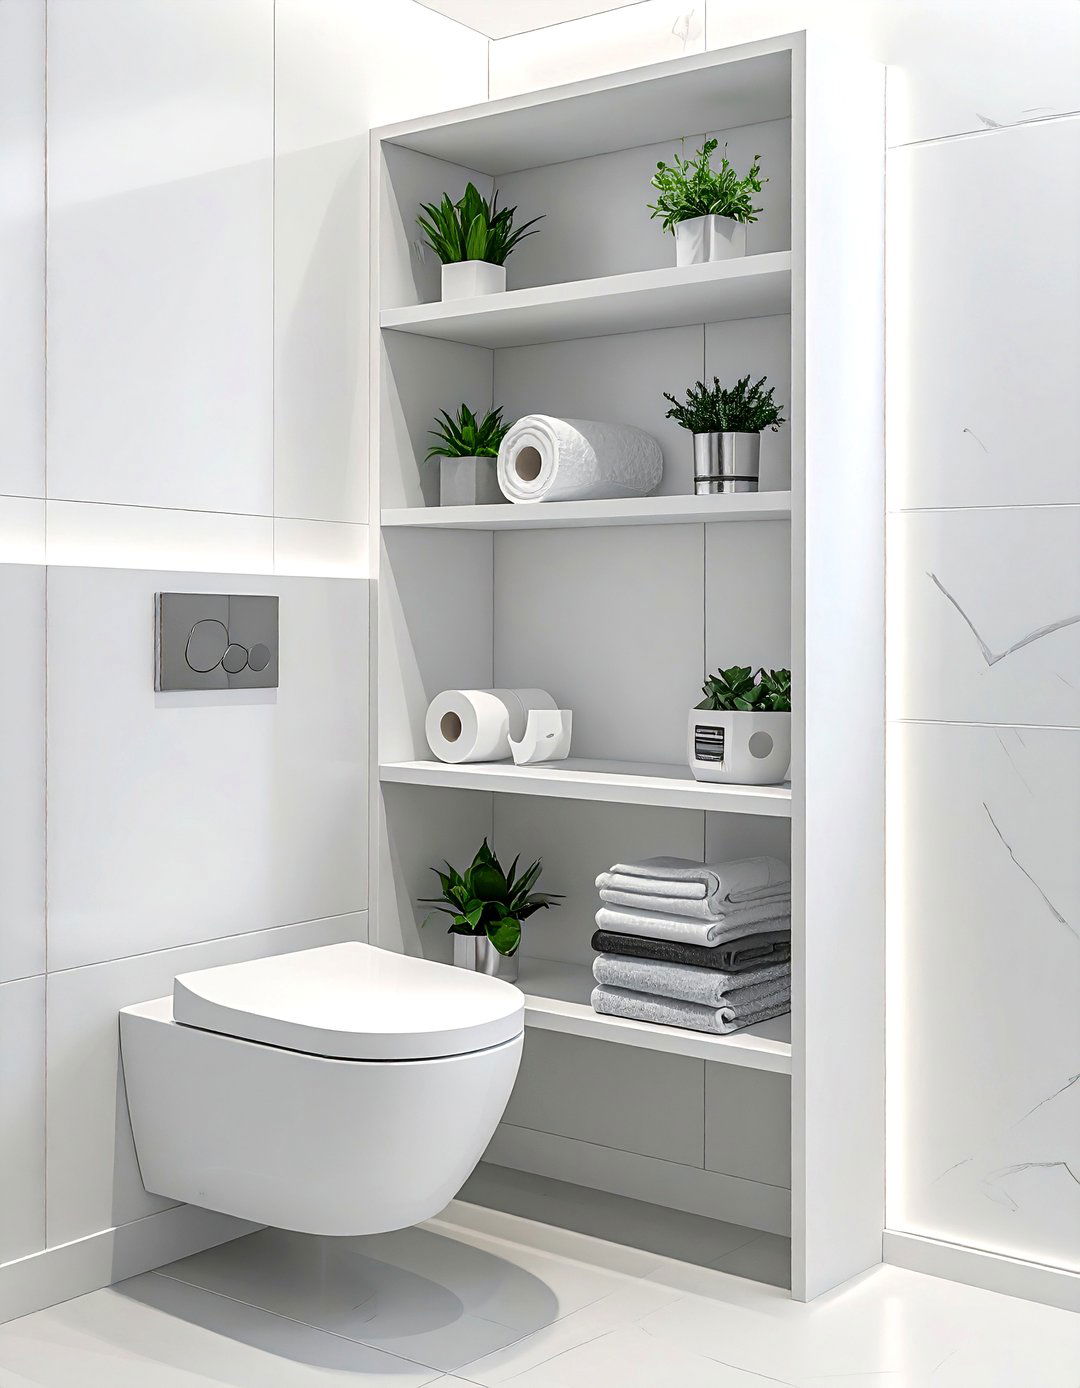 30 Smart Bathroom Corner Shelving Ideas for Extra Space
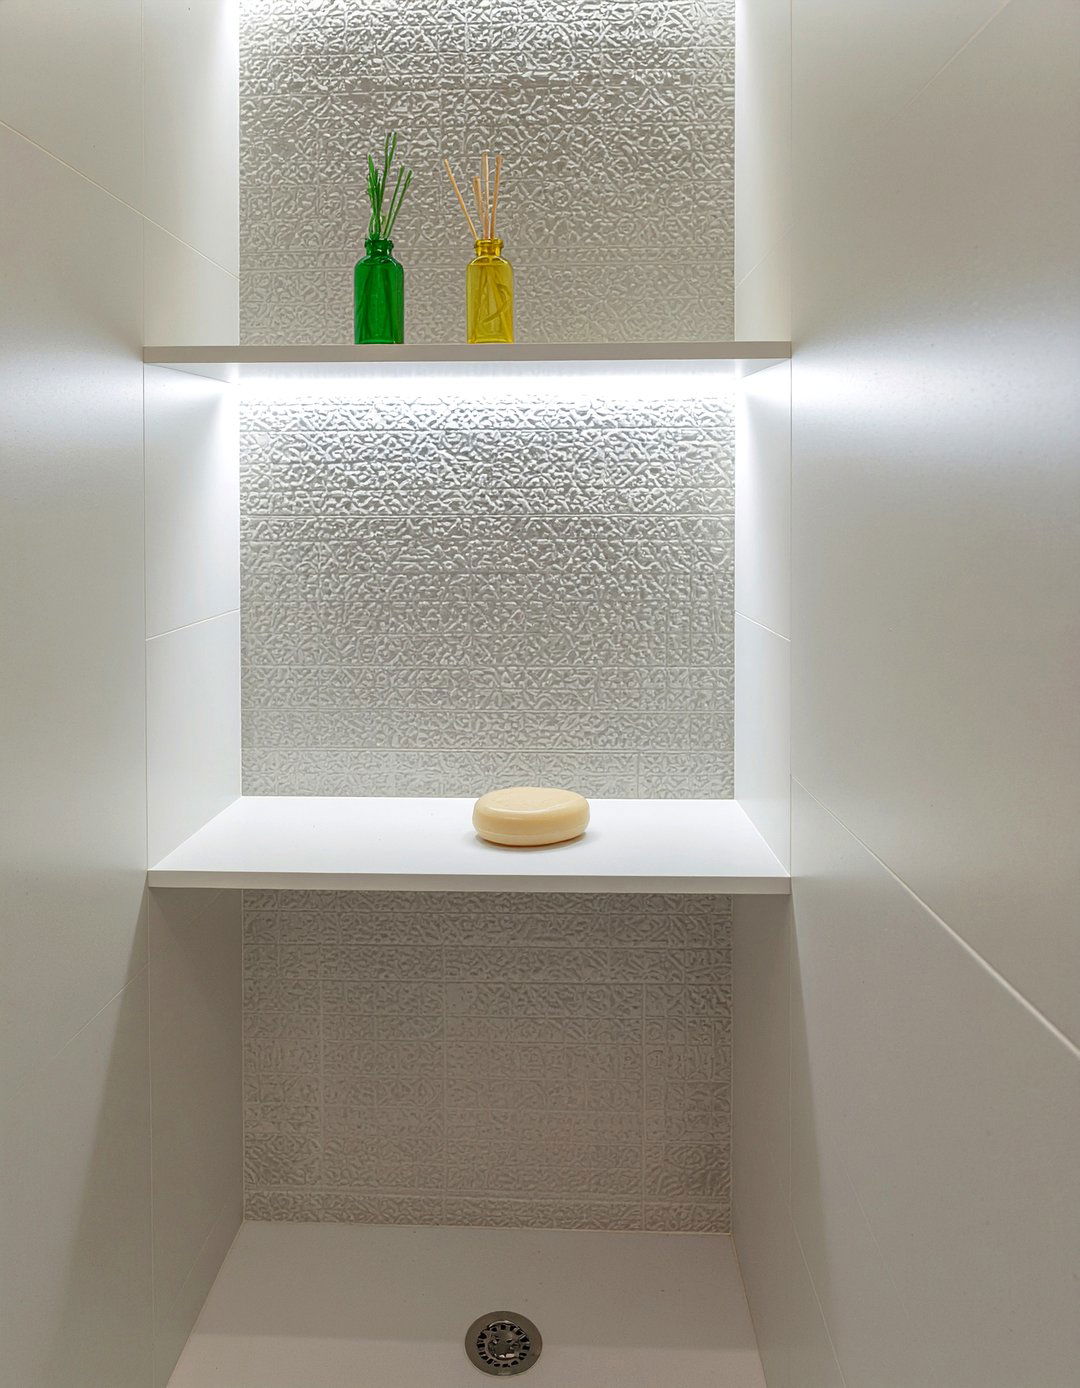 30 Handy Bathroom Corner Storage Ideas for Small Spaces
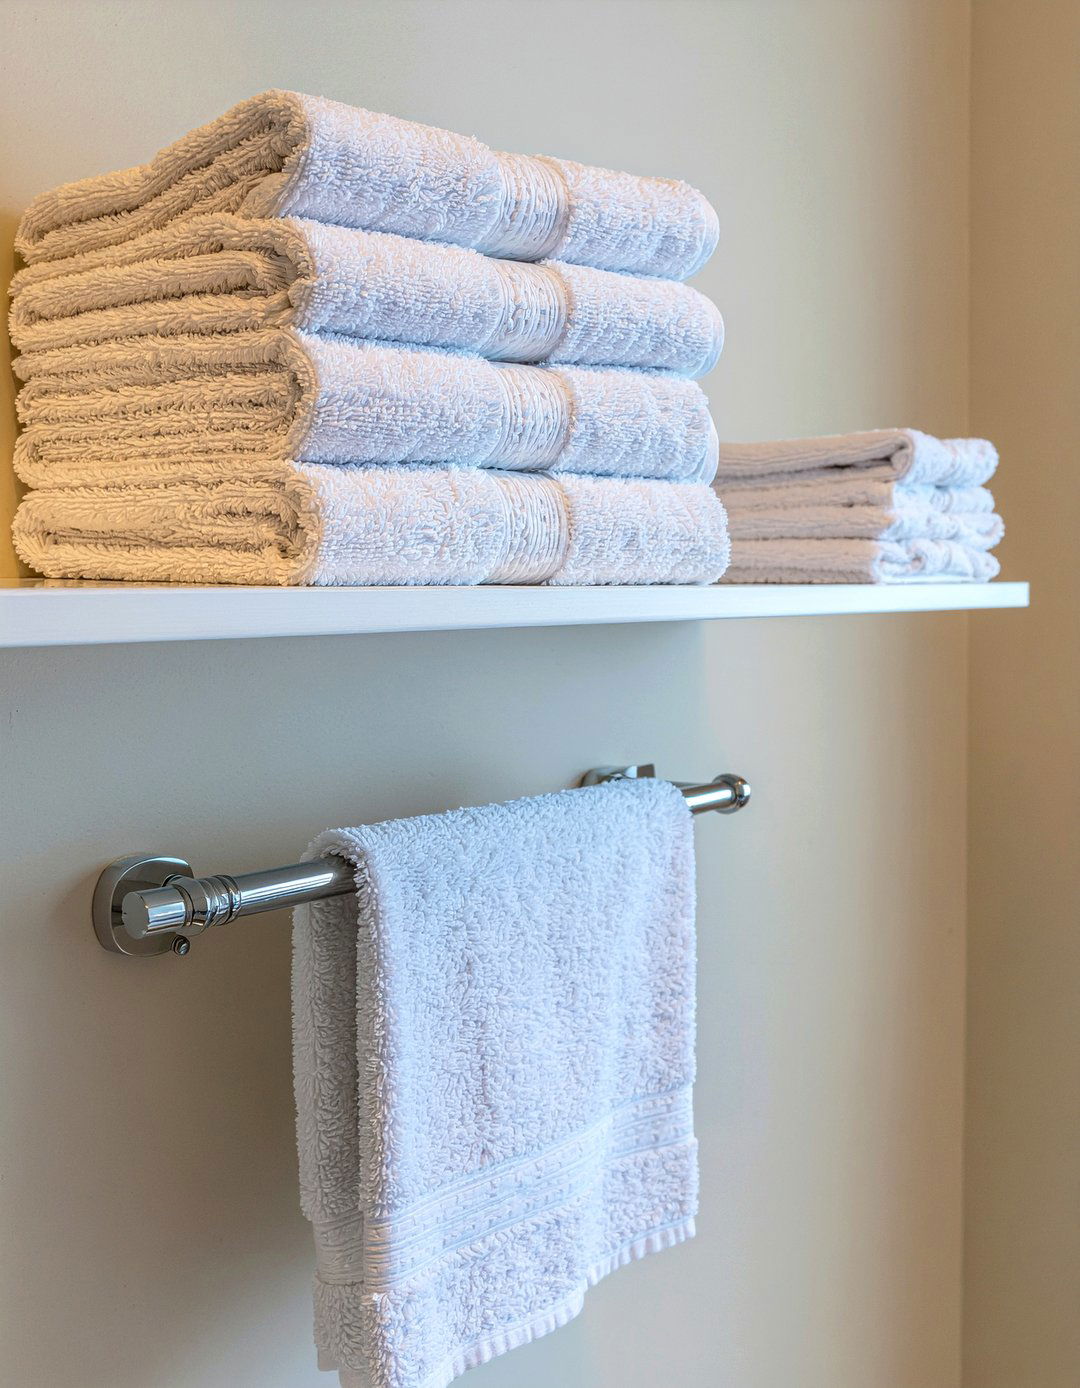 30 Clever Bathroom Creative Storage Ideas to Stay Organized
Trending Home Ideas
Lead the home design revolution with cutting-edge trends, viral DIY projects, and insider decorating secrets. Explore bold color movements, sustainable materials, and smart home innovations that position your space at the forefront of contemporary living.
 30 Bathroom Future Trend Ideas to Modernize Your Home Now
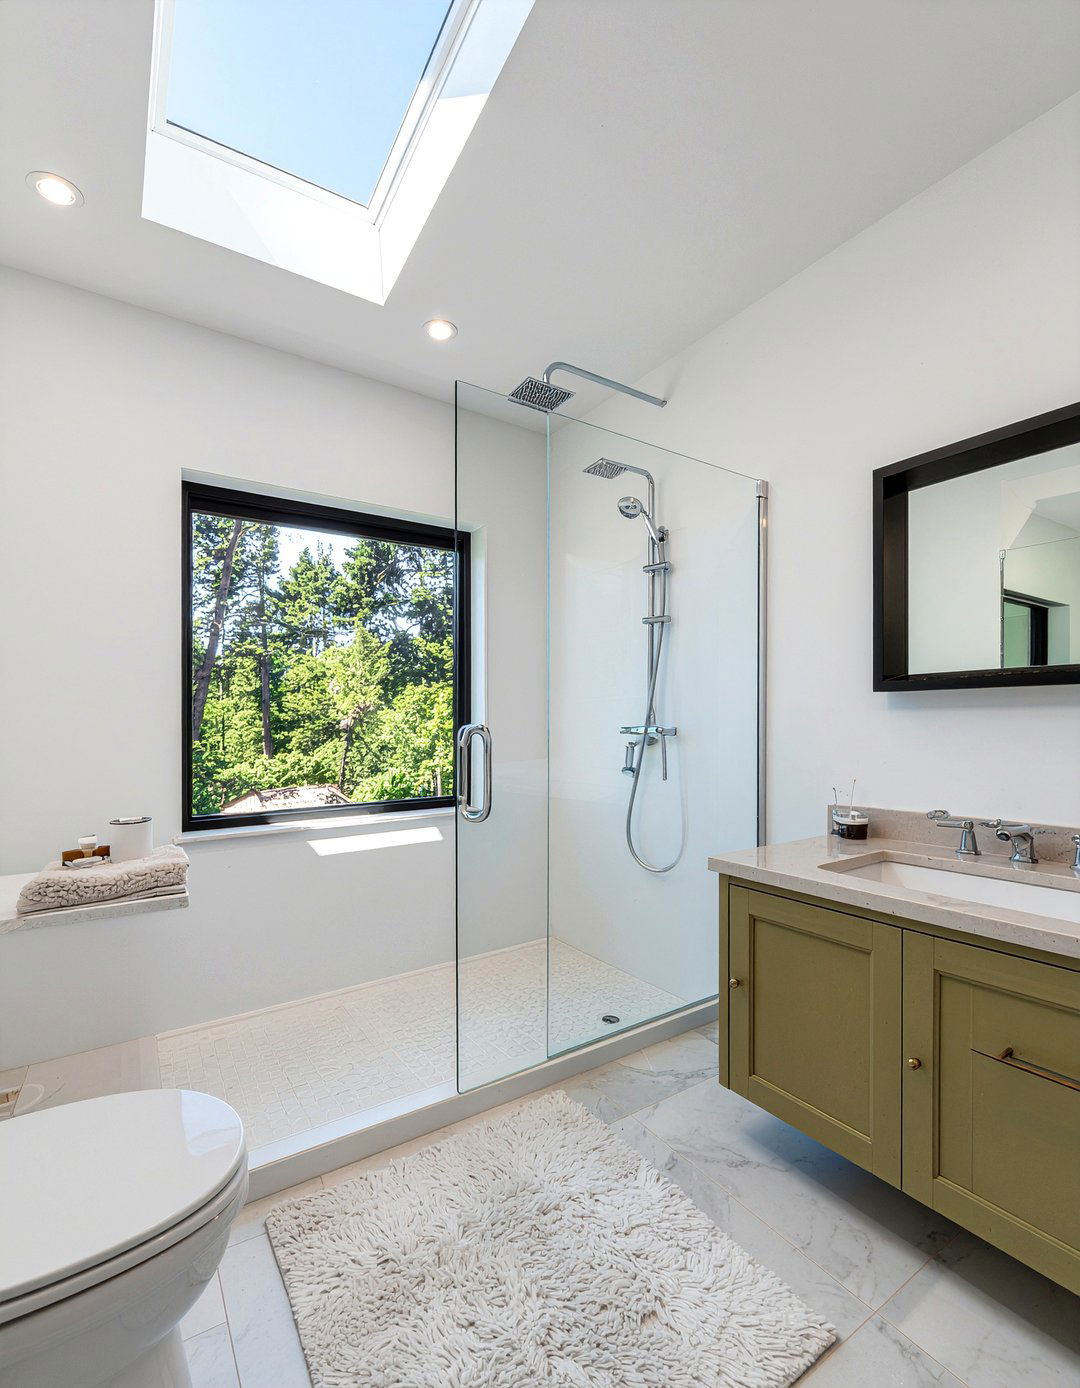 30 New Bathroom Trend Forecast Ideas for the Upcoming Year
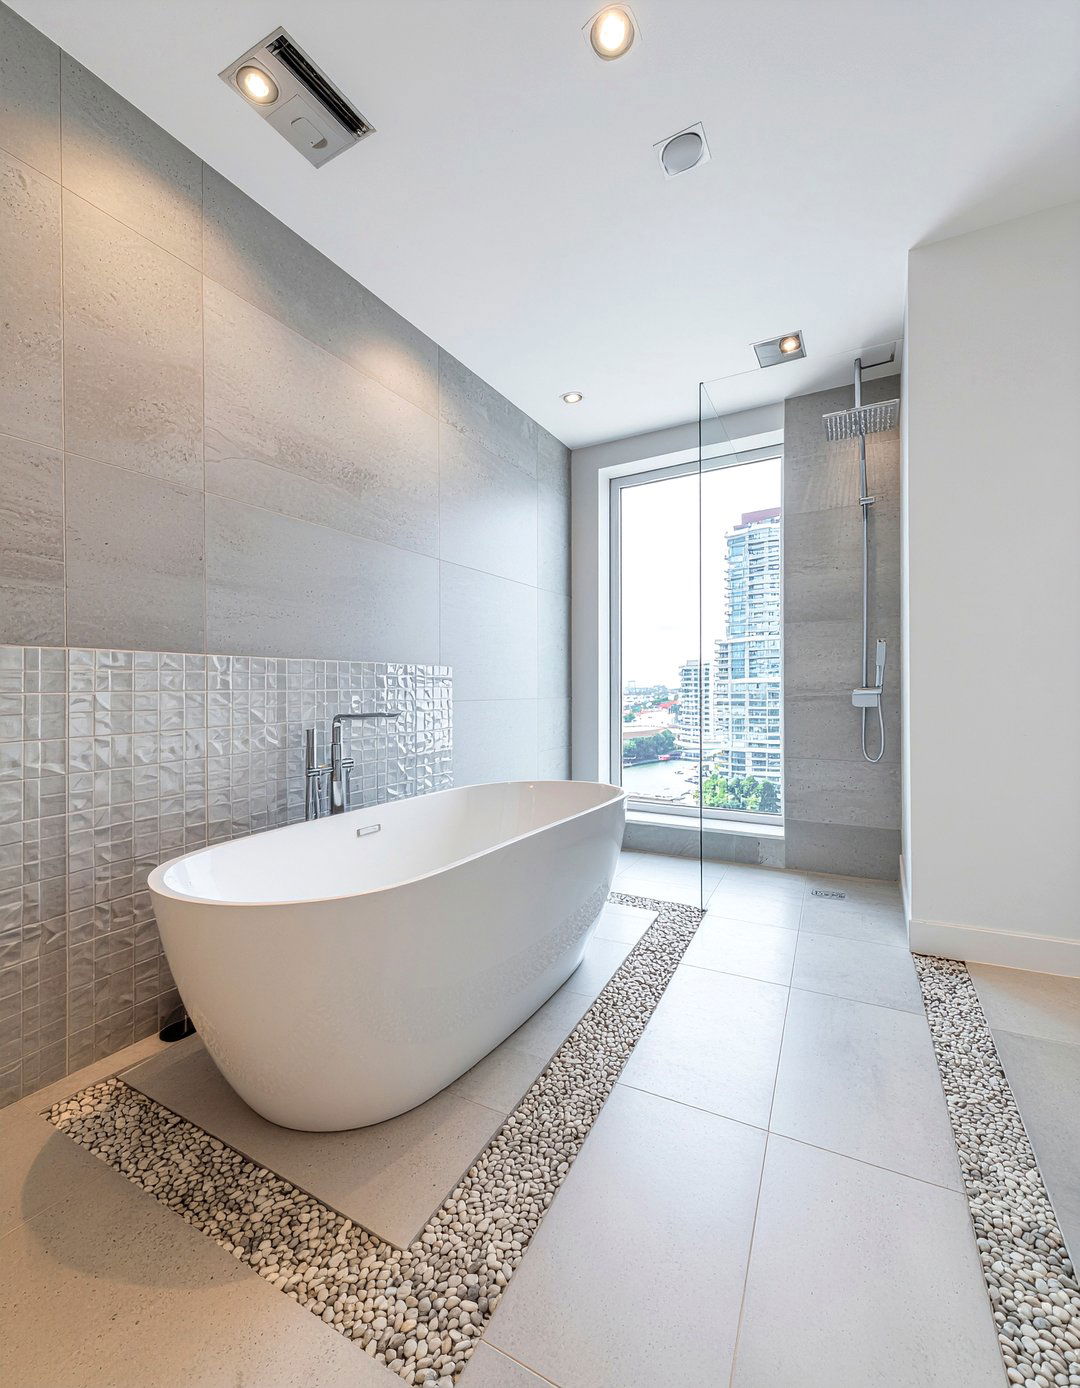 30 Modern Bathroom Trendy Element Ideas for a Chic Upgrade
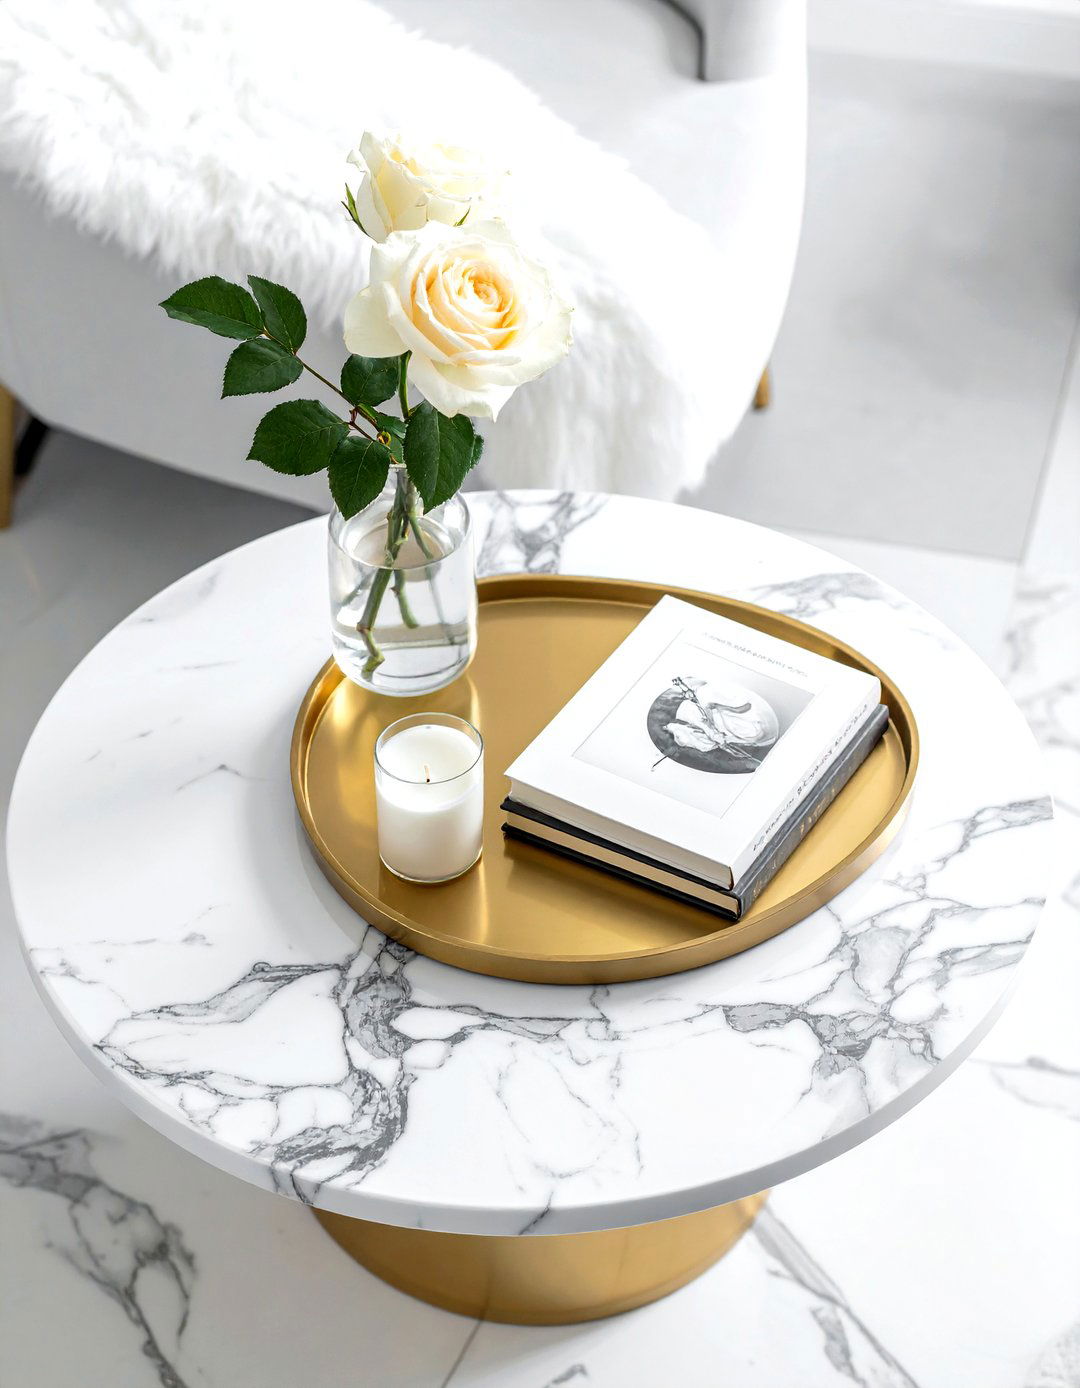 30 Decor Goals for the Ultimate Stylish Home Transformation
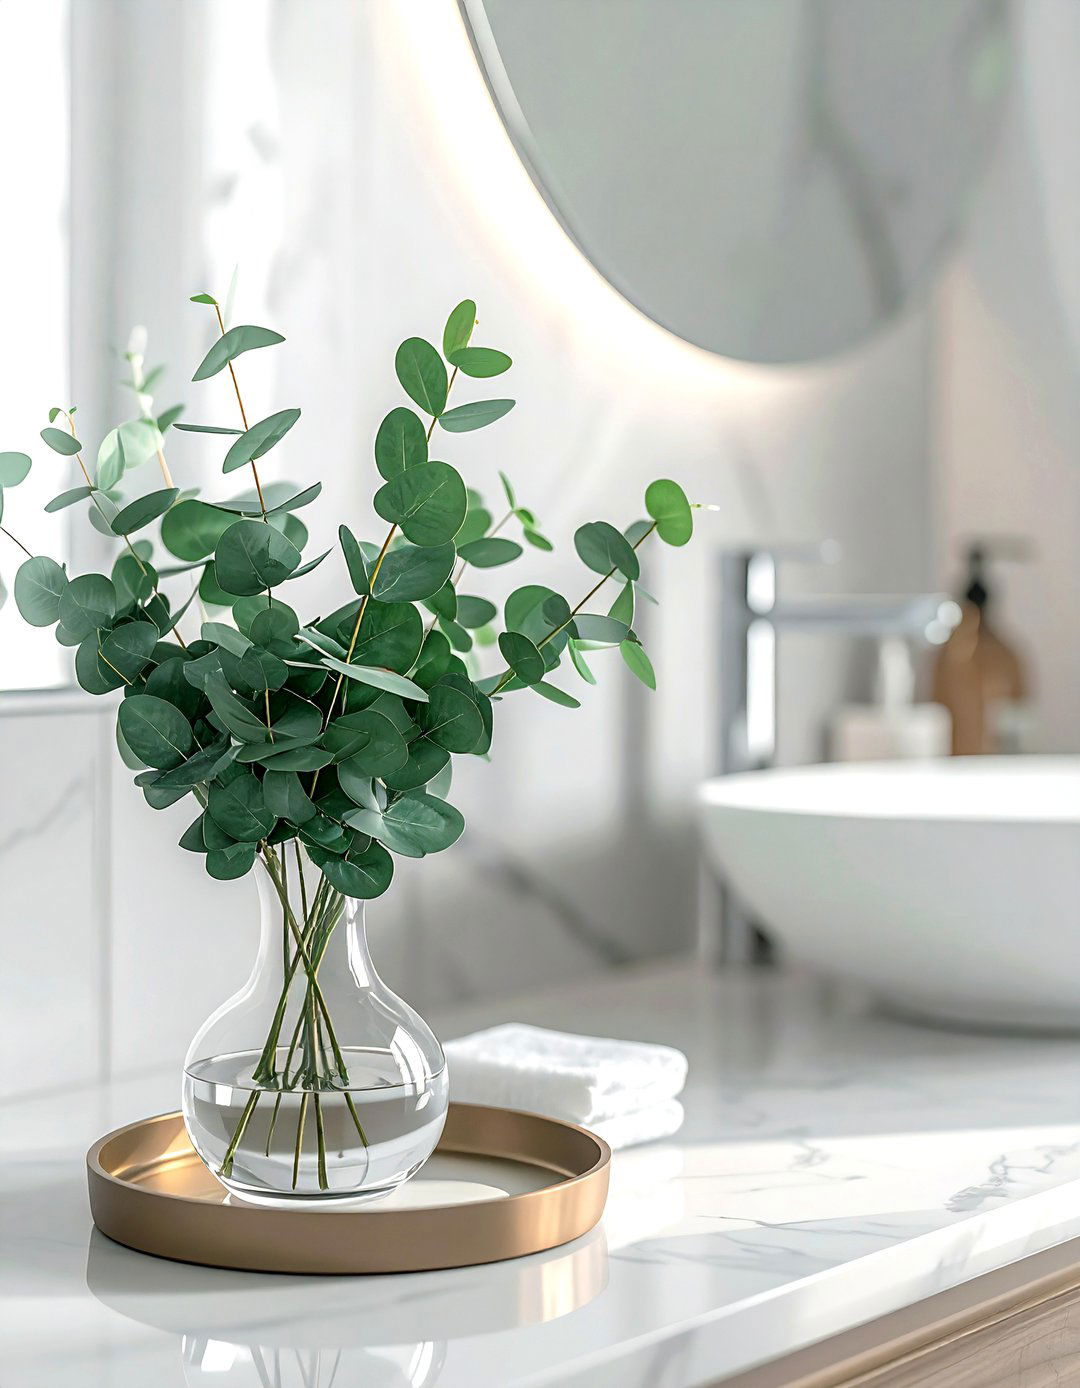 30 Decor Wishlist Ideas for Your Next Big Home Refresh
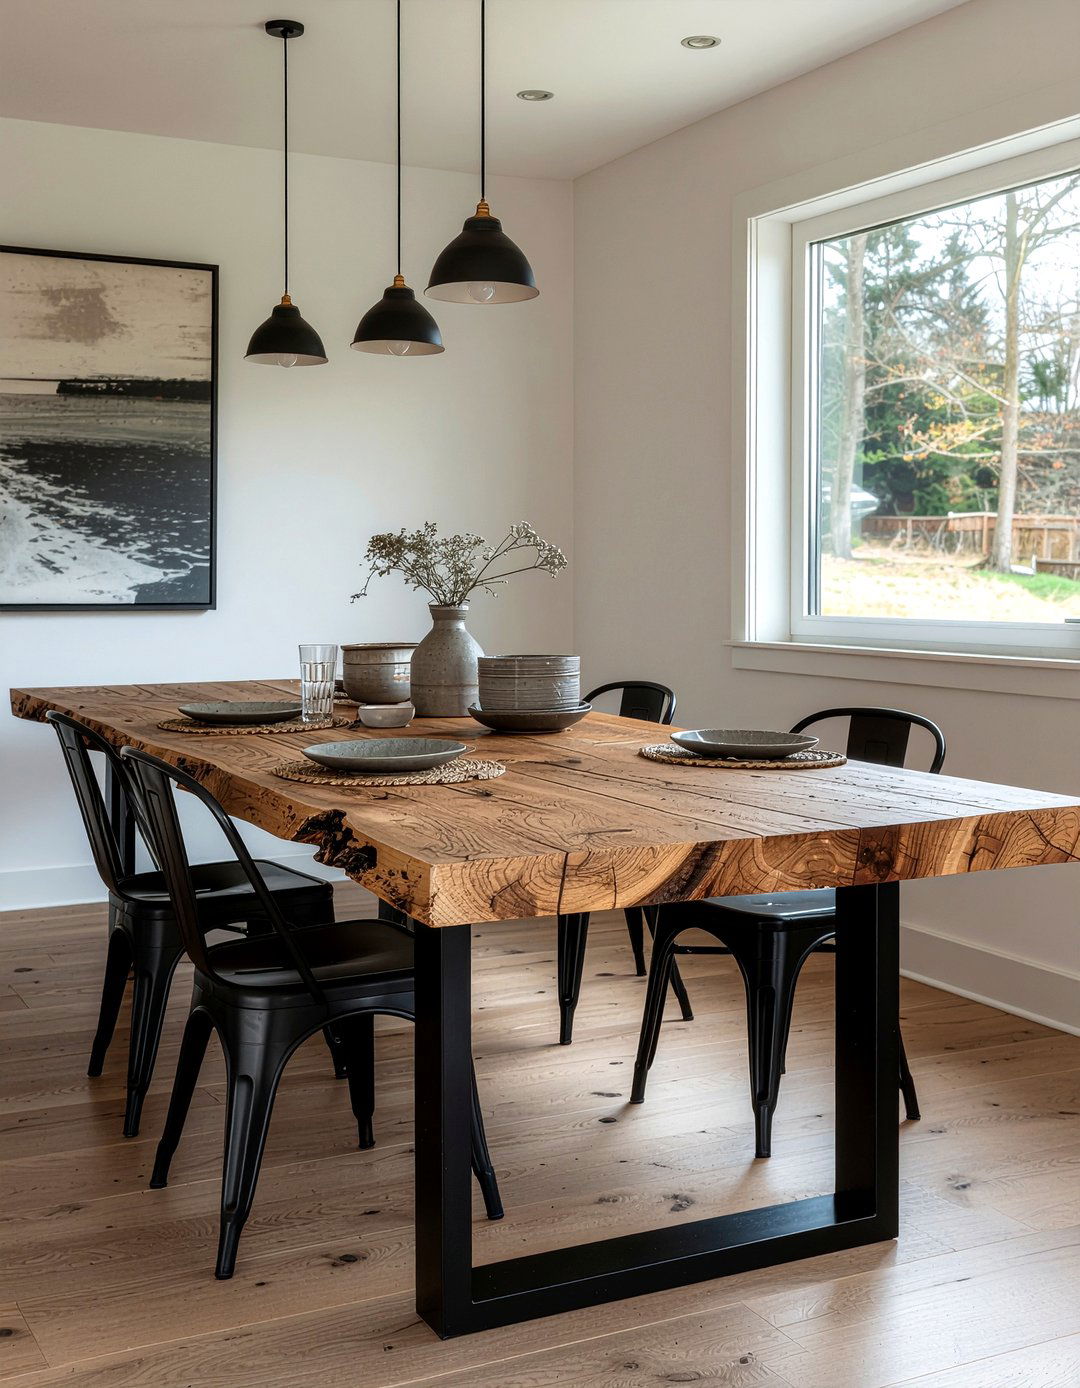 30 Best Dining Room Emerging Trend Ideas for a Modern Home
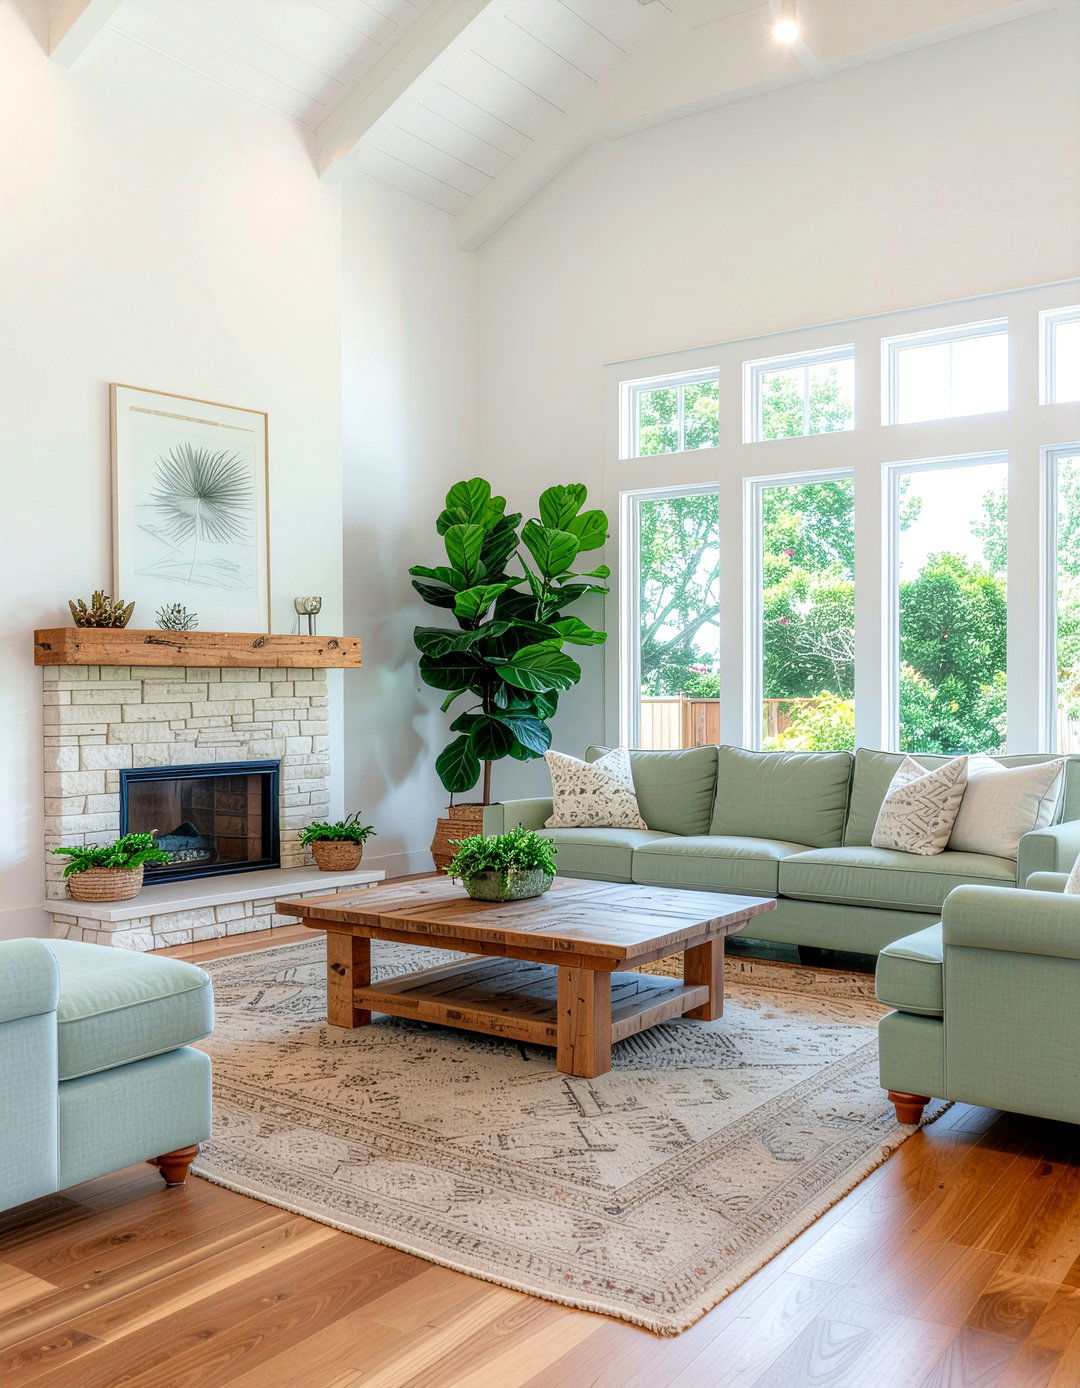 30 Emerging Decor Trend Ideas to Stay Ahead of the Curve
 30 McGee and Co Decor Ideas for a Sophisticated Modern Home
 30 Trending Decor Ideas for a Stylish and Modern Home Look
 30 Trendy Decor Ideas to Refresh Your Living Space in 2024
Interior Decor Ideas
Master the art of interior styling with designer secrets, budget-friendly makeover hacks, and personality-driven decor solutions. Discover how texture, lighting, and strategic accessories can instantly transform any room into a magazine-worthy space that reflects your unique lifestyle and taste.
 30 Affordable Dining Room Ideas for Budget-Friendly Style
 30 Affordable Bedroom Sets for a Complete Room Refresh
 30 Achievable Decor Ideas to Upgrade Your Home Instantly
 30 Stylish Acrylic Dining Chair Ideas for Modern Home Decor
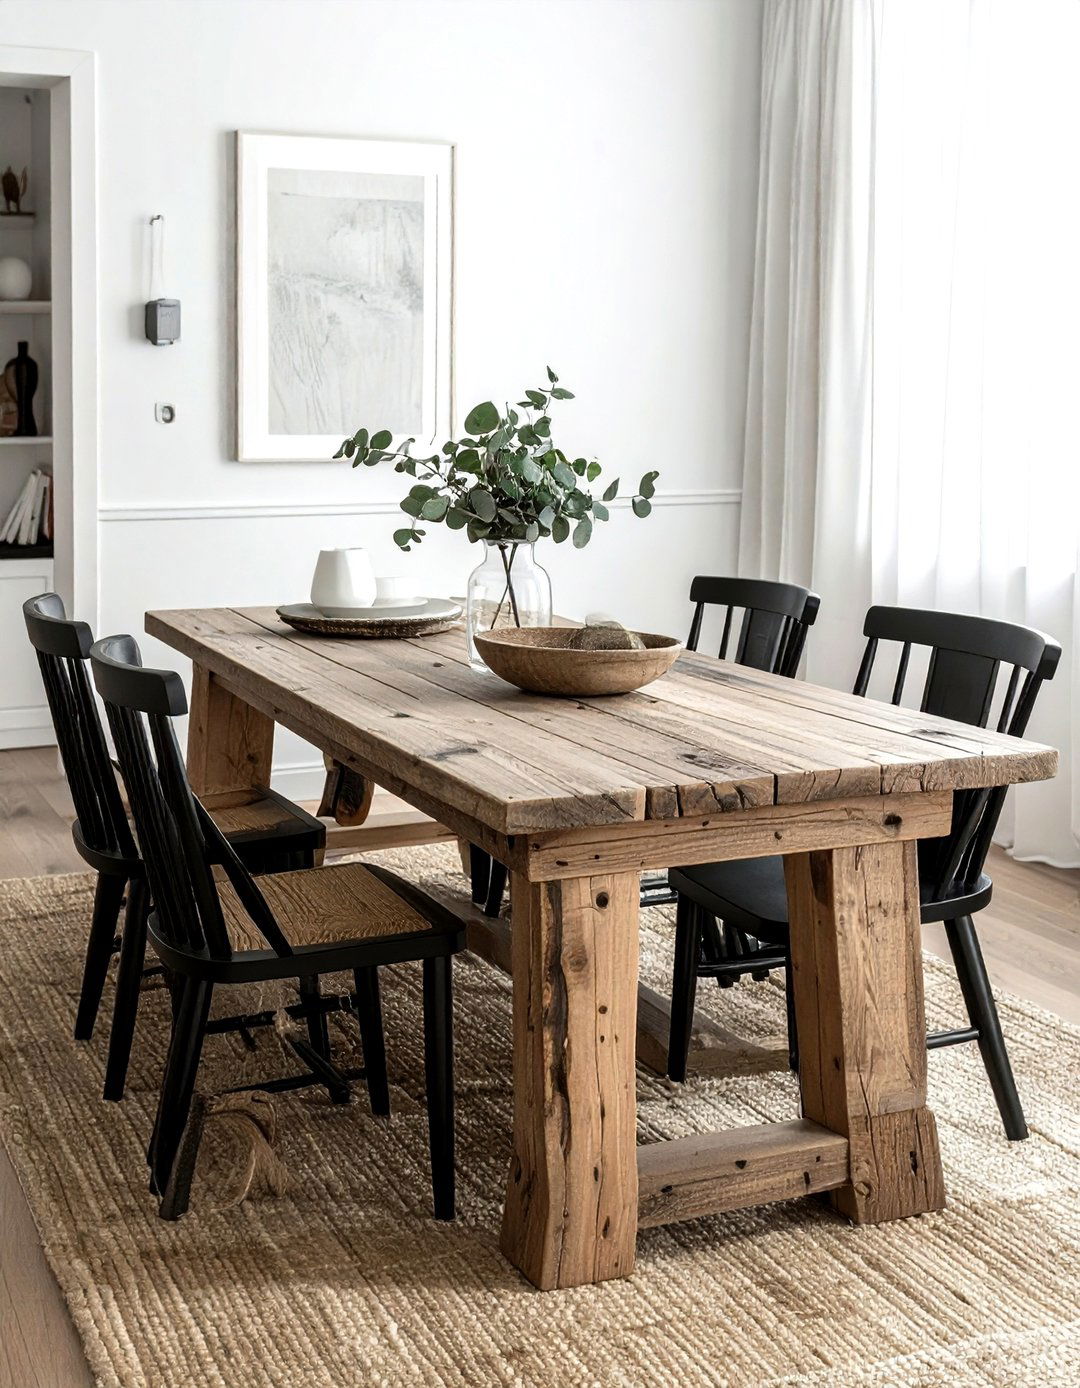 30 Achievable Dining Room Ideas for a Simple, Modern Makeover
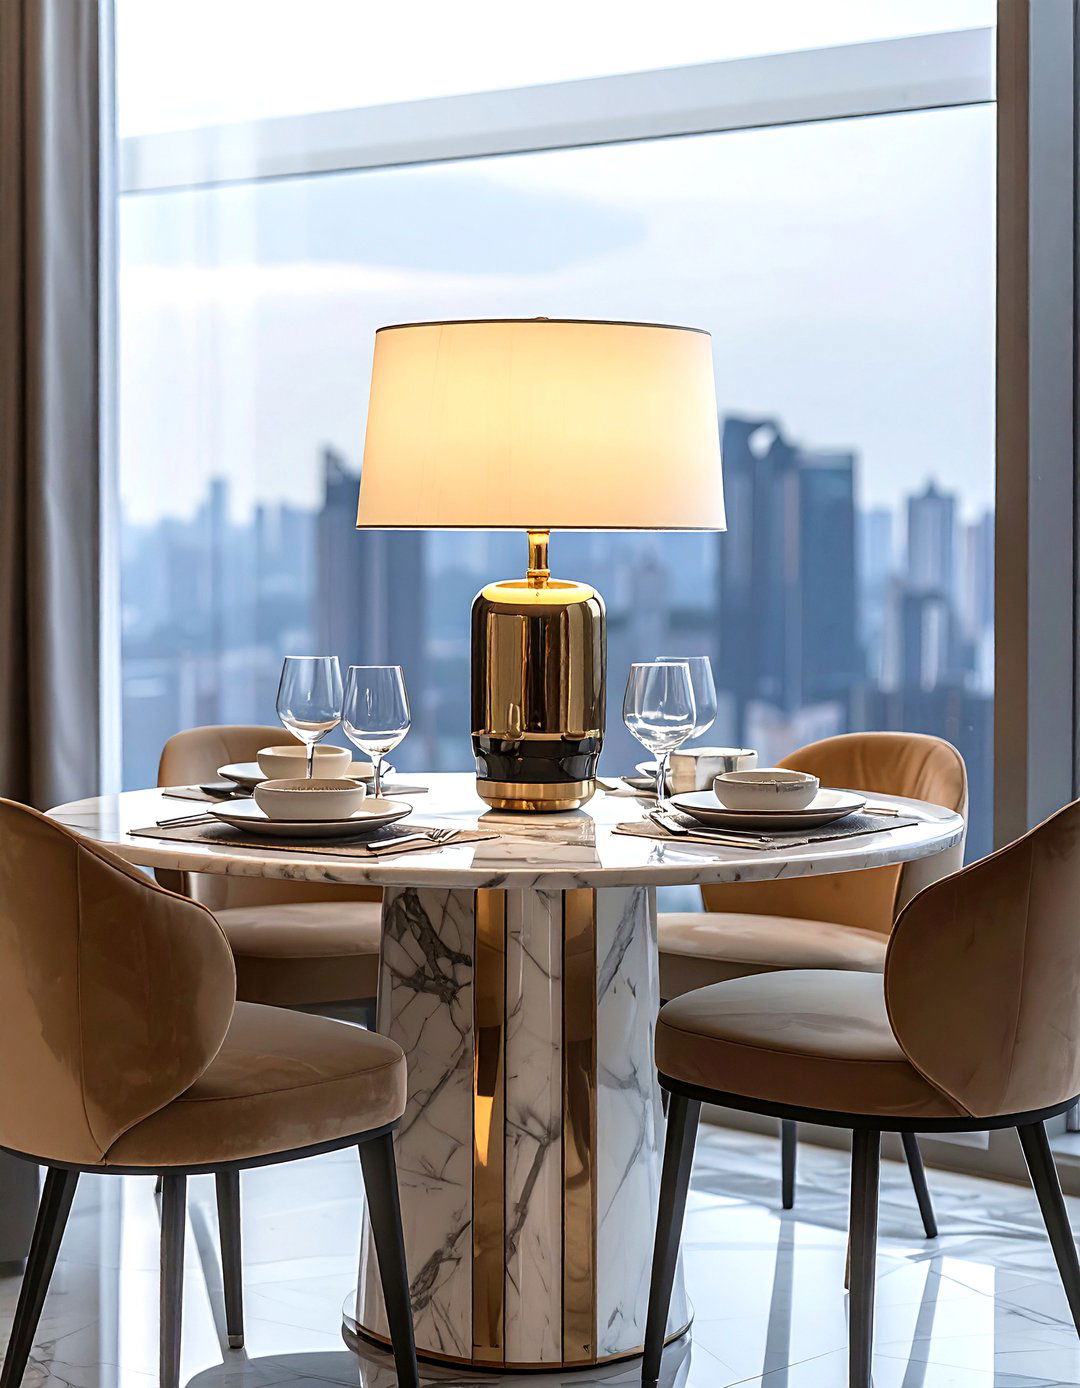 30 Unique Accent Lamp Ideas to Brighten Your Home Decor
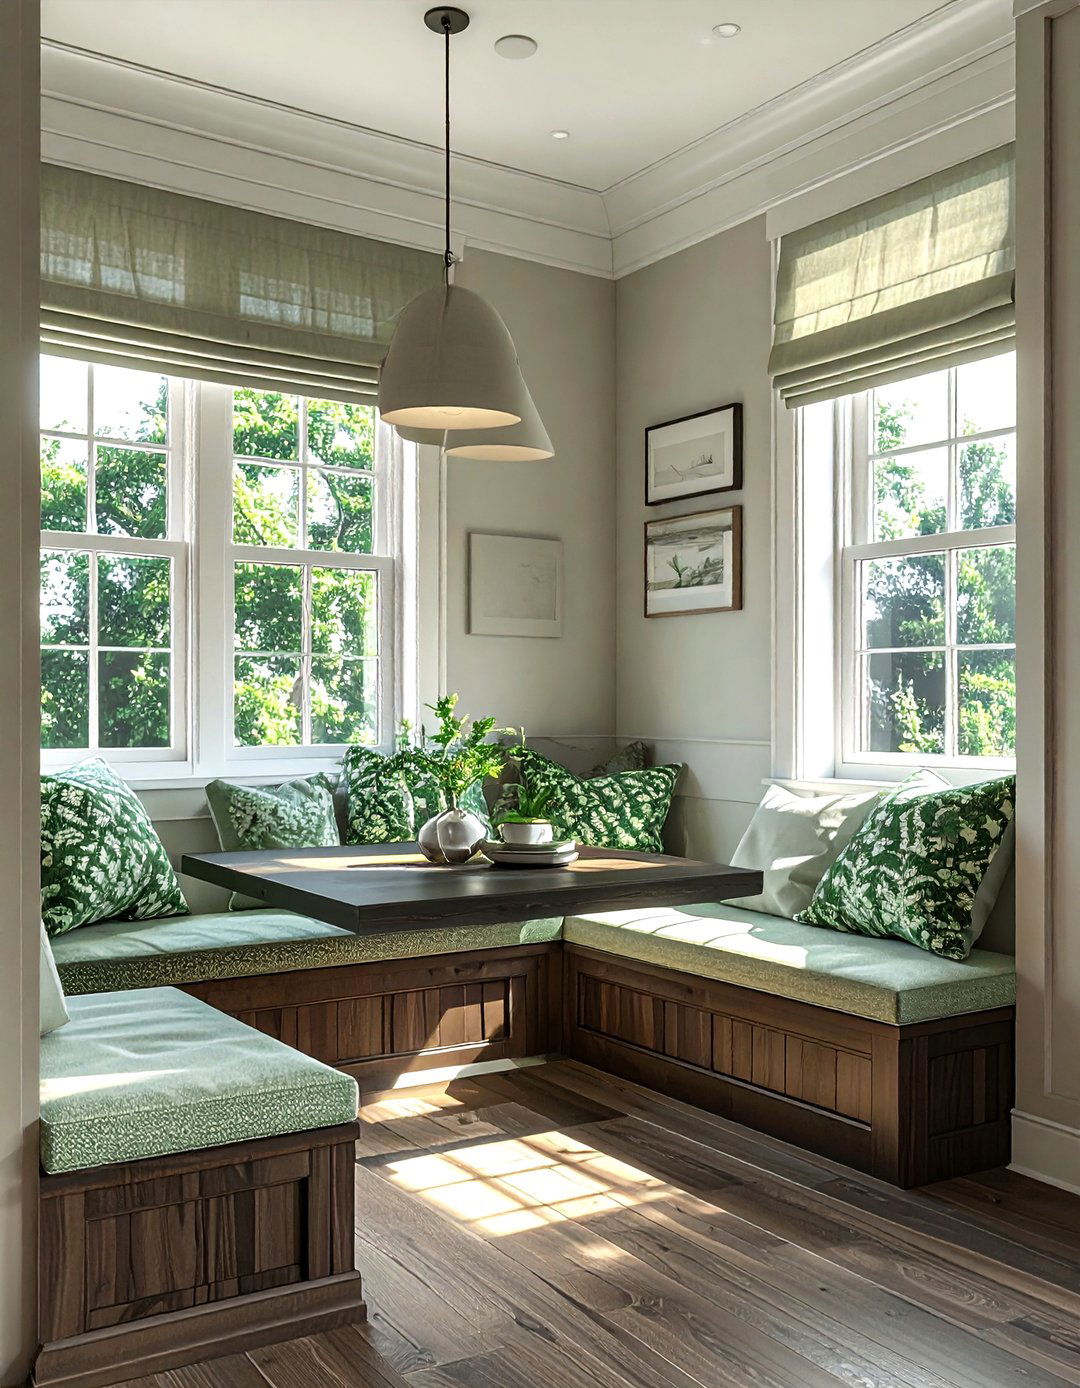 30 Cozy Alcove Dining Ideas to Maximize Your Small Space
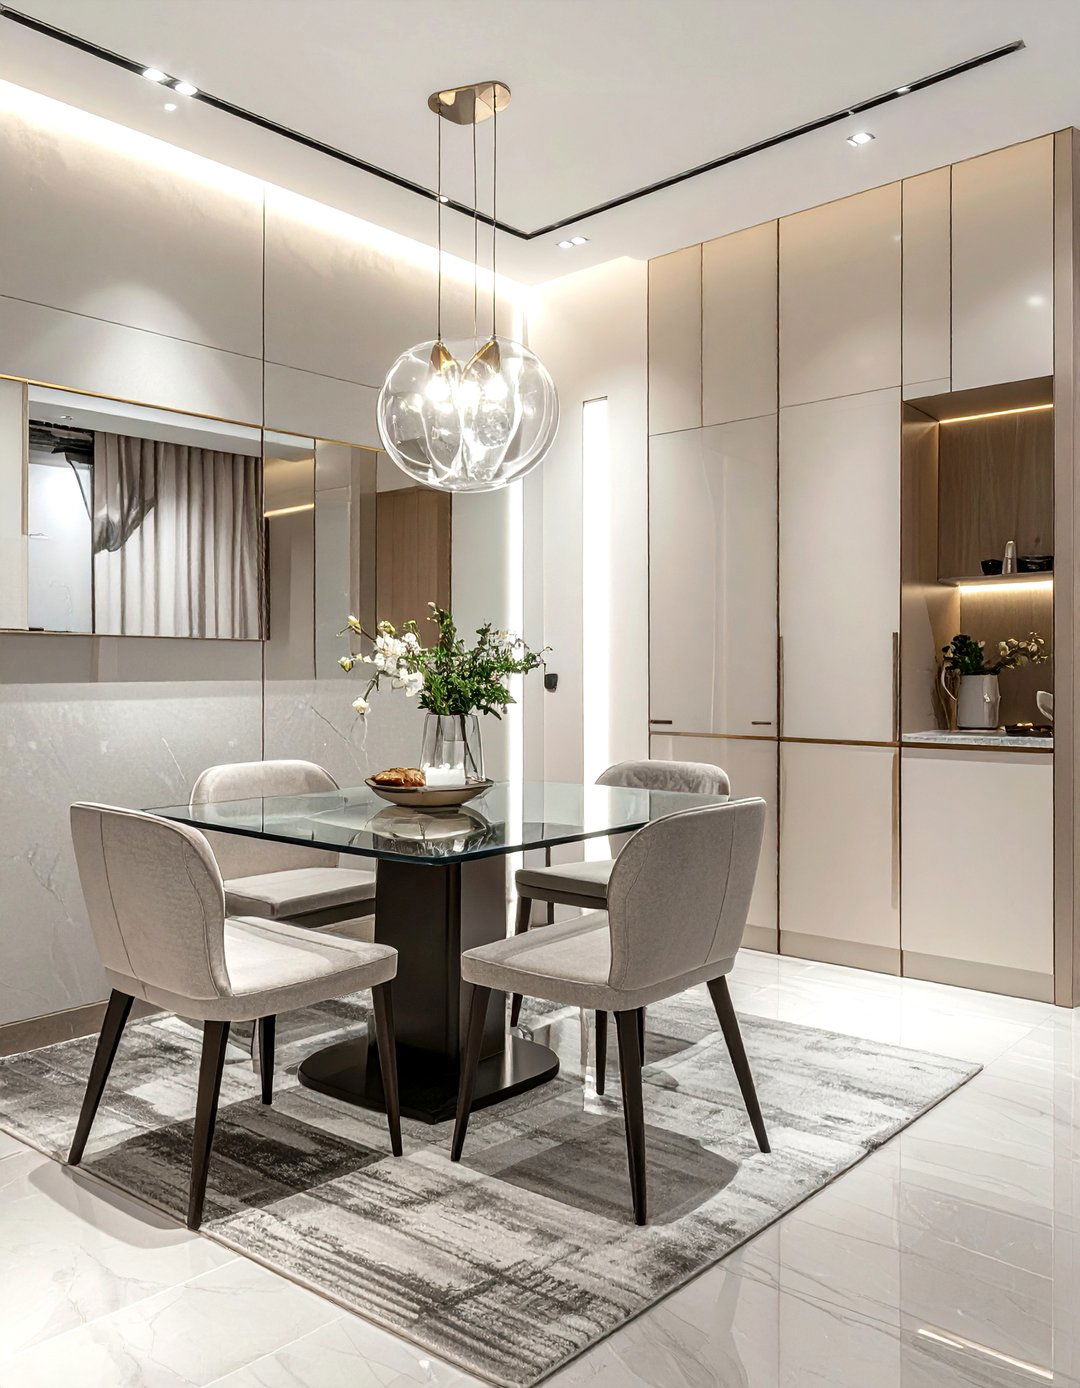 30 Fresh and Airy Dining Room Ideas for a Bright Atmosphere
 30 Airy Decor Ideas to Create a Light and Spacious Home Feel
 30 Creative Accent Wall Ideas to Instantly Elevate Your Home
 30 Bold Accent Wall Paint Ideas to Elevate Your Interior
 30 Creative Accent Wallpaper Ideas to Transform Your Walls